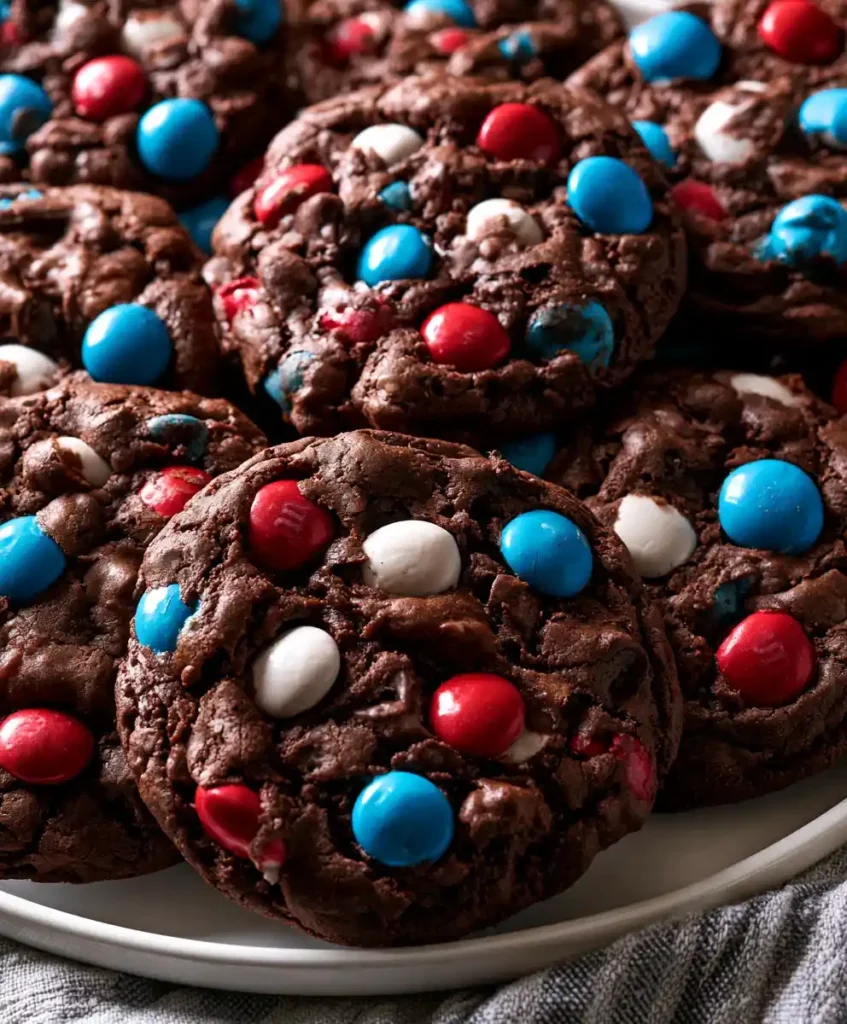
Need a festive dessert that takes almost zero effort? 4th of July Cookies are exactly the fix you’re looking for. I started making these years ago when I needed something quick between grilling and fireworks prep, and now it’s a non-negotiable holiday tradition. Four ingredients, twenty minutes, done.
Servings: About 24 cookies Prep Time: 10 minutes Bake Time: 8–10 minutes Total Time: About 20 minutes
Why These 4th of July Cookies Work So Well
Ever wonder why cake mix cookies taste so good despite requiring almost no baking skill? The cake mix already contains the right ratio of flour, sugar, and leavening, so you’re skipping half the usual work. That’s a genuine shortcut, not a cheat.
IMO, this is the ultimate lazy-genius recipe. The rich chocolate base paired with colorful red, white, and blue M&Ms creates a cookie that looks impressive without demanding real effort. Nobody needs to know how easy this actually was.
Ingredients You’ll Need
This recipe keeps things refreshingly minimal, with just four components total. Here’s your shopping list:
- Chocolate cake mix
- Eggs
- Oil
- Red, white, and blue M&Ms
Exact measurements are waiting for you in the recipe card at the bottom of this article. Four ingredients might feel too simple to be this good, but trust the process here.
How to Make 4th of July Cookies
Let’s walk through this slowly, because even a simple recipe benefits from a little attention to detail. Skipping small steps here can leave you with flat, greasy, or unevenly baked cookies. Follow along, and you’ll nail it easily.
Step 1: Preheat Your Oven Properly
Start by preheating your oven to 375 degrees Fahrenheit before doing anything else. This step matters more than people realize, since starting with a properly heated oven ensures even baking from the very first cookie. Skipping preheating often leads to uneven, inconsistent results.
While the oven heats up, gather your ingredients and equipment so everything’s within reach. Have you ever started mixing dough only to realize you forgot to preheat? Avoid that scramble entirely by handling this step first.
Step 2: Mix the Cookie Dough Thoroughly
Grab a large mixing bowl and add the chocolate cake mix, eggs, and oil together. Use a whisk or sturdy spoon to combine everything, breaking down any lumps as you go. Mix until the dough turns thick, glossy, and fully combined.
This step takes a bit of arm strength, since cake mix dough can feel dense and sticky. A slightly sticky dough is completely normal here, so don’t panic if it clings to your spoon. Keep mixing until no dry streaks of cake mix remain visible anywhere.
Step 3: Fold In the M&Ms Gently
Now for the fun part that makes these cookies genuinely festive. Add your red, white, and blue M&Ms directly into the dough, then fold them in carefully using a spatula. Gentle folding keeps the candies intact instead of crushing them into tiny fragments.
Keeping the M&Ms whole matters for both appearance and texture. Crushed candies bleed color into the dough and lose that satisfying crunch in every bite. Take your time here; rushing ruins the visual payoff you’re working toward.
Step 4: Prepare Your Baking Sheets
Line your cookie sheets with parchment paper to prevent sticking and make cleanup significantly easier. Parchment paper also helps cookies bake more evenly across the entire sheet. Skipping this step often means scrubbing burnt sugar off your pans later.
Using a spoon or cookie scoop, drop rounded balls of dough onto the prepared sheets. Leave about two inches of space between each one, since these cookies spread as they bake. Proper spacing prevents cookies from merging into one giant, awkward cookie puddle.
Step 5: Bake Until Just Golden
Slide your baking sheets into the preheated oven and set a timer for 8 to 10 minutes. Keep a close eye on them as the timer winds down, since cake mix cookies bake fast. You want the edges to turn slightly golden while the centers still look a bit soft.
FYI, slight underbaking here actually works in your favor. Pulling them out a touch early gives you that soft, chewy texture everyone loves in a good cookie. Trust your instincts over rigid timing if something looks ready sooner.
Step 6: Cool Before Serving
Once baked, let the cookies rest directly on the baking sheet for a few minutes before moving them. This brief resting period firms them up just enough for easy transferring without falling apart. Rushing this step risks crumbly, broken cookies.
Transfer them carefully to a cooling rack and let them cool completely before digging in. Have you ever burned your mouth on a cookie straight from the oven? Patience here saves you that unnecessary suffering and improves the final texture too.
Tips for Getting It Right Every Time
A handful of small habits separate decent cookies from genuinely great ones. None of these require extra ingredients, just a little attention.
- Use room temperature eggs for smoother, easier mixing
- Don’t overbake; check at the 8-minute mark for ideal softness
- Store leftovers in an airtight container to maintain freshness
- Drizzle melted white chocolate on top for an extra festive touch
- Add colorful sprinkles before baking for even more holiday flair
Equipment That Makes This Easier
You won’t need anything fancy for this recipe, just a few kitchen basics. Here’s what actually gets used.
- A large mixing bowl
- A whisk or sturdy spoon for mixing
- Cookie sheets, ideally lined with silicone mats
- Parchment paper for easy cleanup
- A cooling rack for even cooling
Fun Variations Worth Trying
Once you’ve mastered the classic version, why not experiment a little further? Small tweaks completely shift the personality of these cookies.
- Nutty Delight: Add chopped walnuts or pecans for extra crunch
- Gluten-Free Option: Substitute a gluten-free cake mix blend
- Festive Icing: Drizzle red, white, and blue icing once cooled
- Chewy Coconut: Stir in shredded coconut for a tropical twist
- Fruit Fusion: Swap M&Ms for dried cranberries or cherries
What to Serve Alongside It
These cookies pair beautifully with plenty of summer favorites. Pick based on your gathering and the overall vibe.
- A cold glass of lemonade or iced tea
- A colorful fresh fruit salad
- Whipped cream and berries for an extra decadent touch
- Arranged on a red, white, and blue platter for presentation
- Alongside other picnic or barbecue favorites
FAQs About 4th of July Cookies
Can I make this cookie dough in advance? Yes, absolutely. Prepare the dough a day ahead and refrigerate it, letting it sit at room temperature briefly before baking since cold dough scoops less easily.
How should I store leftover cookies? Keep them in an airtight container at room temperature. They stay fresh for about a week, assuming they last that long around your house.
Can I freeze these cookies? Definitely. Let them cool completely, then place them in a freezer-safe bag, laying them flat. Thaw overnight before serving for the best texture.
What’s the best way to customize this recipe? Try different candy combinations, swap in your favorite chocolate chips, or add warm spices like cinnamon for a subtle twist on the classic version.
Why did my cookies turn out flat? Overmixing the dough or using cold ingredients usually causes flat cookies. Stick with room temperature eggs and avoid overworking the dough for the best rise.
Final Thoughts
4th of July Cookies prove that festive baking doesn’t require complicated techniques or a long ingredient list. They’re rich, colorful, and genuinely simple enough for even the busiest holiday morning. IMO, once you make these, you’ll wonder why you ever bothered with more complicated cookie recipes.
Give this recipe a real shot before your next backyard celebration or fireworks show. The cake mix does the heavy lifting, and the M&Ms handle the festive flair. Your dessert table just found its new easiest tradition
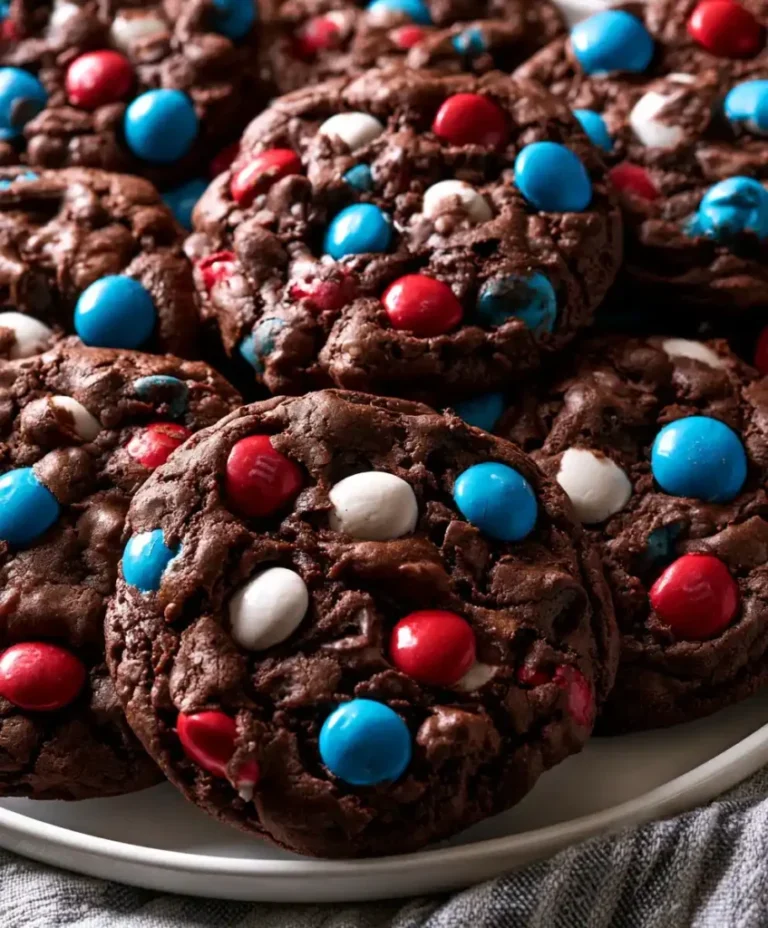
4th of July Cookies
Ingredients
Method
- Preheat your oven to 375°F (190°C).
- In a large mixing bowl, combine chocolate cake mix, eggs, and oil. Mix until thick and glossy.
- Gently fold in the red, white, and blue M&Ms using a spatula.
- Line cookie sheets with parchment paper.
- Drop rounded balls of dough onto the prepared sheets, leaving about 2 inches of space between each.
- Bake in the preheated oven for 8 to 10 minutes until the edges are golden and the centers are soft.
- Let the cookies rest on the baking sheet for a few minutes before transferring them to a cooling rack.