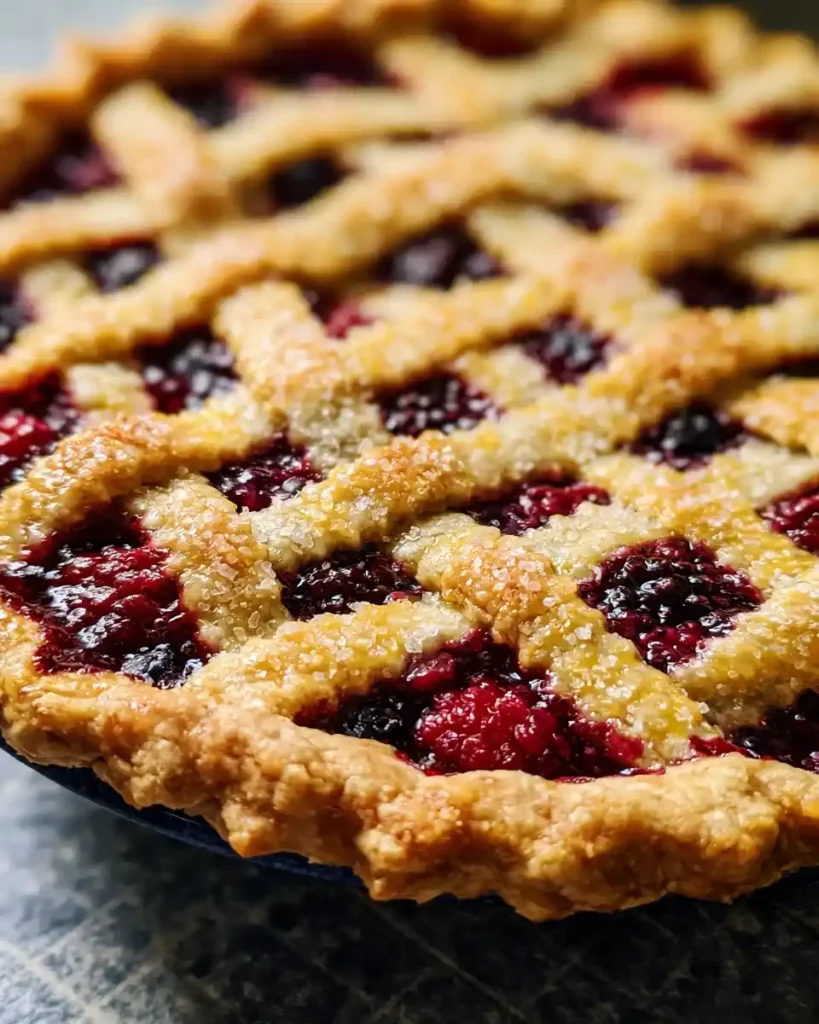
Nothing says summer quite like a bubbling berry pie pulled fresh from the oven. Razzleberry Pie mixes raspberries, blackberries, and blueberries under a flaky lattice crust, and it’s one of those desserts that makes your whole kitchen smell like a bakery. Ready to make one yourself?
My mom made a version of this pie every summer growing up, and I still catch myself humming while I roll out the dough for it. There’s just something nostalgic about a pie loaded with three kinds of berries bubbling away in the oven.
Servings: This recipe makes one 9-inch pie, cutting into 8 slices.
Prep time: 40 minutes Bake time: 45 to 55 minutes Total time: about 1 hour 30 minutes, plus cooling time
Yes, there’s a bit of hands-on work here, but the payoff is a bakery-quality pie that costs a fraction of what you’d pay for one at a shop.
Why Razzleberry Pie Deserves a Spot on Your Table
Have you ever wondered why berry pies taste so much better than a single-fruit version? Combining raspberries, blackberries, and blueberries creates layers of sweet, tart, and deep flavor that a single berry just can’t match on its own.
This pie also looks impressive without demanding advanced baking skills. A lattice top makes any home baker look like a professional, even if your weaving isn’t perfectly even.
IMO, that mix of rustic charm and serious flavor is exactly why this pie belongs at every summer gathering. It’s the kind of dessert people remember and ask you to make again.
What You’ll Need for Razzleberry Pie
Here’s your ingredient list, most of which you can find at any regular grocery store.
- Pie dough for a double crust – enough for one 9-inch pie, top and bottom
- Fresh raspberries – 2 cups
- Fresh blackberries – 2 cups
- Fresh blueberries – 2 cups
- Granulated sugar – 1/2 cup, plus more to taste
- Ultra Gel (or cornstarch) – 1/4 cup
- Egg – 1 large, for the egg wash
- Water or milk – 1 tablespoon, for the egg wash
- Turbinado or regular sugar – 1 tablespoon, for topping
Simple list, big payoff. Frozen berries work here too if fresh ones aren’t in season.
How to Make Razzleberry Pie
This recipe breaks into five clear stages: crust, filling, assembly, baking, and cooling. Let’s walk through each step slowly so nothing feels rushed or confusing.
Step 1: Prepare Your Pie Dough
Start by mixing your pie dough just until it comes together, being careful not to overwork it. Overworked dough turns tough instead of flaky, and nobody wants a chewy pie crust.
Keep your butter cold throughout this whole process, since cold butter is the secret behind those flaky, buttery layers. Divide the dough in half, shape each half into a flat disc, and wrap them separately in plastic wrap.
Refrigerate the dough for at least 30 minutes before rolling it out. This resting period lets the gluten relax and keeps the butter firm, both of which make rolling much easier later.
Once chilled, roll out one disc on a lightly floured surface and press it into your 9-inch pie plate, letting the extra dough hang over the edges. Roll out the second disc to about 1/8 inch thick and slice it into long strips for your lattice top.
Cover both the lined pie plate and the strips with plastic wrap and refrigerate again until you’re ready to fill and assemble. Keeping everything cold right up until baking time is the real trick to a flaky crust.
Step 2: Preheat the Oven and Blind Bake
Preheat your oven to 375 degrees Fahrenheit while you finish prepping everything else. A properly heated oven matters more than people realize, since it sets the tone for even baking from the very first minute.
If you’d like an extra-crisp bottom crust, blind bake it first. Line the crust with parchment paper, fill it with pie weights or dry beans, and bake for about 15 minutes before removing the weights and parchment.
This step helps prevent a soggy bottom, which is honestly one of the most disappointing things that can happen to an otherwise great pie. Skip it if you’re short on time, but it’s worth doing if you have the extra fifteen minutes.
Step 3: Cook the Berry Filling
While your crust bakes, combine the raspberries, blackberries, and blueberries in a large saucepan. Sprinkle in your granulated sugar, adjusting the amount slightly if your berries taste especially tart.
Add the Ultra Gel or cornstarch to the pan, since this is what thickens all that berry juice into a proper pie filling. Cook everything over medium-low heat, gently folding the berries as they release their juices and begin to bubble.
This process takes about 5 to 7 minutes, and you’ll notice the mixture turning glossy and fragrant as it thickens. If the filling gets too thick for your liking, a small splash of water loosens it right back up.
Have you ever watched berries go from firm to jammy in real time? It’s oddly satisfying, and your kitchen will smell incredible the entire time this is happening.
Step 4: Assemble the Pie
Once your filling is thick, glossy, and fragrant, pour it carefully into your prepared crust. Spread it out evenly so every section of the pie gets a fair share of that berry goodness.
Now comes the fun part: the lattice top. Lay your dough strips across the filling one direction first, then weave the remaining strips over and under to create a classic crisscross pattern.
Don’t stress over making it perfectly even. A slightly rustic, imperfect lattice actually adds to the homemade charm that makes this pie feel special in the first place.
Trim away any excess dough hanging over the edges, then fold the edges under and crimp them with your fingers or a fork. This step seals everything in and gives your pie that classic, finished bakery look.
Step 5: Brush, Sprinkle, and Bake
Whisk your egg together with the water or milk to create a simple egg wash. Brush this mixture generously over the entire lattice top, since it’s what gives your crust that beautiful golden shine once baked.
Sprinkle turbinado or regular sugar over the top for a little extra sweetness and crunch. This small step makes a noticeable difference in both texture and appearance once the pie comes out of the oven.
Bake the pie for 25 minutes, then loosely cover the edges with aluminum foil to prevent them from browning too quickly. Continue baking for another 20 to 30 minutes, until the filling bubbles and the crust turns a deep golden brown.
Step 6: Cool Completely Before Slicing
This part takes real patience, but skipping it ruins your slices. Let the pie cool completely on the counter for at least two hours, or even overnight if you can hold off.
Cooling gives the filling time to set properly, so your slices hold their shape instead of sliding into a soupy mess on the plate. FYI, the wait is worth it once you see that first clean, beautiful slice.
Tips for the Best Razzleberry Pie
- Keep your butter and dough cold throughout the entire process for the flakiest possible crust.
- Blind bake your crust if you want to guarantee a crisp, non-soggy bottom layer.
- Taste your berries before adding sugar, since ripeness varies a lot from batch to batch.
- Let the pie cool fully, ideally overnight, so the filling sets and slices cleanly.
- Use a pie shield or foil ring to keep the crust edges from burning during the longer bake.
Fun Variations to Try
Once you’ve nailed the classic version, feel free to experiment a little.
- Berry swap: Replace one berry with strawberries or cherries for a different flavor combination.
- Gluten-free crust: Use a gluten-free pie dough to make this recipe work for more diets.
- Lower sugar: Cut the sugar down to 1/4 cup, or use honey or maple syrup as a natural substitute.
- Coconut addition: Stir shredded coconut into the filling for an unexpected tropical note.
- Warm spice version: Add a pinch of cinnamon or nutmeg to the berry mixture for a cozy, fall-inspired twist.
Frequently Asked Questions About Razzleberry Pie
Can I use frozen berries instead of fresh? Yes, frozen berries work well here, especially outside of peak berry season. Thaw and drain them thoroughly first, since extra moisture leads to a runnier filling.
How should I store leftover Razzleberry Pie? Store leftovers covered loosely in the fridge for up to three days. Enjoy slices cold, or warm one gently in the oven for a few minutes.
Can I prepare the pie dough ahead of time? Absolutely. Wrap the dough tightly and refrigerate it for up to three days, or freeze it for up to a month if you want to plan even further ahead.
What’s the best way to serve Razzleberry Pie? Serve slices warm with a scoop of vanilla ice cream or a dollop of whipped cream. That contrast between warm pie and cold topping is genuinely hard to beat.
How do I know when the pie is fully baked? Look for a deep golden crust and filling that’s actively bubbling around the edges. That bubbling is your cue that the thickener has fully activated.
Why did my berry filling turn out runny? This usually means either too little thickener was used or the pie didn’t cool long enough before slicing. Give it the full cooling time, and don’t skip the Ultra Gel or cornstarch.
Final Thoughts
Razzleberry Pie brings together three berries, one flaky crust, and a whole lot of nostalgia in a single dish. It takes a bit of patience, especially during that cooling stage, but every slice makes the wait completely worth it.
Bake this one for your next family dinner or summer cookout, and don’t be surprised when everyone asks for the recipe before they’ve even finished their first slice.
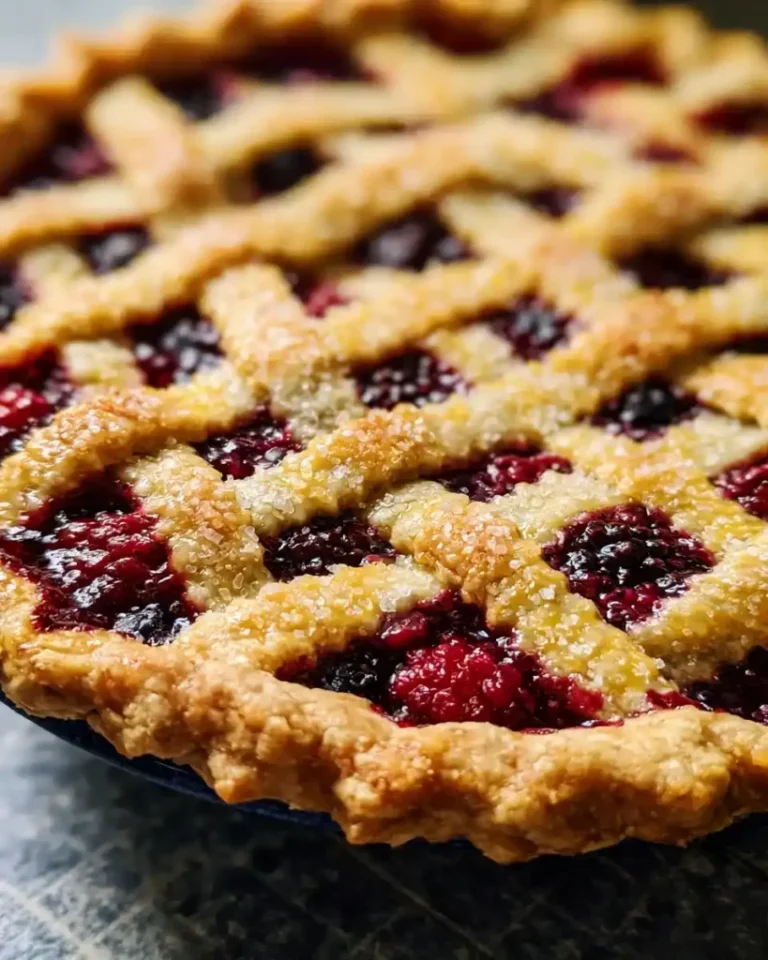
Razzleberry Pie
Ingredients
Method
- Mix your pie dough just until it comes together, being careful not to overwork it.
- Divide the dough in half, shape each half into a flat disc, and wrap them in plastic wrap.
- Refrigerate for at least 30 minutes before rolling it out.
- Roll out one disc on a lightly floured surface and press it into your pie plate, letting the extra dough hang over the edges.
- Roll out the second disc to about 1/8 inch thick and slice it into strips for the lattice top.
- Preheat oven to 375°F.
- Blind bake the crust with parchment and pie weights for about 15 minutes to prevent a soggy bottom.
- Combine raspberries, blackberries, and blueberries in a large saucepan.
- Add granulated sugar and Ultra Gel or cornstarch.
- Cook over medium-low heat for 5 to 7 minutes until the mixture thickens.
- Pour the berry filling into the prepared crust and spread it evenly.
- Create a lattice top with the dough strips.
- Trim excess dough and crimp the edges.
- Brush the top with egg wash and sprinkle with sugar.
- Bake for 25 minutes; cover edges with foil and continue baking for another 20 to 30 minutes.
- Cool completely on the counter for at least 2 hours or overnight before slicing.



