Servings: 12 bars Prep Time: 20 minutes Bake Time: 32 minutes Total Time: About 2 hours, including cooling
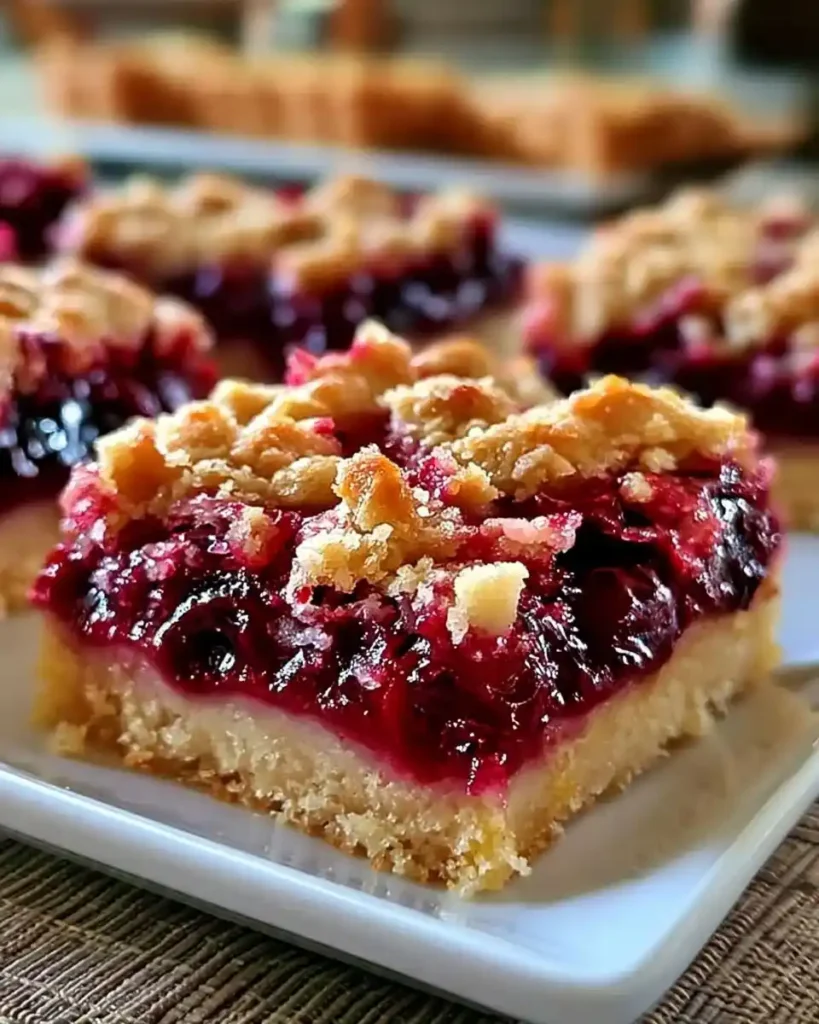
All the flavor of a classic cherry pie, none of the fussy crust-crimping. A Buttery Cherry Pie Bars recipe delivers a crumbly, buttery base, a sweet-tart cherry center, and a golden crumb topping, cut into neat squares. IMO these are easier and more forgiving than any pie you’ll ever attempt.
I started making these after one too many pies fell apart the second I tried slicing them. Bars solve that problem completely; no lattice, no soggy bottom crust, no crying over a collapsed slice. Have you ever wondered why bars taste just as good as pie without any of the stress?
The answer is simple. Same flavors, way less effort.
Why This Buttery Cherry Pie Bars Recipe Works
The buttery shortbread base does double duty here, forming both the crust and the crumb topping from a single batch of dough. That means less prep and fewer dishes, without sacrificing any of that classic pie texture. Cold butter is the key to keeping that crumb genuinely crisp.
The cherry filling brings bright, tart contrast against all that buttery richness. Together, they hit the same sweet-tart balance you’d expect from a slice of cherry pie. Compare that to a plain shortbread bar, and the cherry layer is clearly doing all the heavy lifting.
Ingredients You’ll Need
Here’s everything required for twelve Buttery Cherry Pie Bars. A short list, mostly pantry staples you likely already have on hand.
- 2 cups all-purpose flour
- 1/2 cup granulated sugar
- 1/2 teaspoon baking powder
- 1/4 teaspoon salt
- 1 cup unsalted butter, cold and cubed
- 1 can (21 ounces) cherry pie filling
- 1/4 teaspoon almond extract, optional
That’s the whole ingredient list. Seven items, and one of them is entirely optional.
How to Make Buttery Cherry Pie Bars
Let’s walk through the process in detail. A few small techniques here make the difference between a soggy bar and a properly crisp one.
Step 1: Preheat the Oven and Prep the Pan
Preheat your oven to 350°F. Grease a 9×13-inch baking dish thoroughly, making sure to coat the corners so the bars release cleanly once baked. Set the pan aside while you prepare the dough.
Step 2: Whisk the Dry Ingredients
In a large bowl, whisk together the flour, granulated sugar, baking powder, and salt. Whisking these together first ensures the baking powder and salt distribute evenly throughout the flour instead of clumping in one spot. This small step makes a real difference in how evenly the bars bake.
Step 3: Cut in the Cold Butter
Add the cold, cubed butter to the dry mixture. Using a pastry cutter or a fork, work the butter into the flour mixture until it resembles coarse, pea-sized crumbs. Keeping the butter cold throughout this step is essential; warm butter blends too smoothly and leaves you without that crumbly, crisp texture once baked.
If you’re using the almond extract, stir it into the mixture at this stage. It adds a subtle depth of flavor that pairs beautifully with the cherries without overpowering them.
Step 4: Press the Crust Layer
Measure out about half of the crumb mixture and press it firmly and evenly into the bottom of the prepared baking dish. Use the back of a measuring cup or your fingers to pack it down into a solid, even layer. A firmly packed crust holds together much better once you slice into the finished bars.
Step 5: Add the Cherry Filling
Spread the cherry pie filling evenly over the pressed crust, making sure it reaches all the way into the corners of the pan. An offset spatula or the back of a spoon works well for spreading it smoothly without disturbing the crust underneath.
Step 6: Add the Crumb Topping
Take the remaining crumb mixture and scatter it evenly over the cherry filling. Don’t press this layer down; you want it loose and crumbly so it bakes into a texture with actual crunch. Leave a few gaps here and there so the cherry filling peeks through as it bakes.
Step 7: Bake Until Golden
Bake for 30 to 35 minutes, watching for the top to turn golden brown and the filling to bubble slightly at the edges. Every oven runs a little differently, so start checking around the 28-minute mark to avoid overbaking. The kitchen should smell incredible by this point, which is honestly half the fun of making these.
Step 8: Cool Completely Before Slicing
Let the bars cool completely in the pan, which takes about an hour at room temperature. This cooling period is non-negotiable; slicing too soon results in a messy, filling-everywhere situation instead of clean squares. Once fully cooled, slice into twelve even bars using a sharp knife.
Tips for the Best Results
A handful of small habits separate a great batch from a disappointing one. Keep these in mind while baking.
- Keep the butter cold: Room-temperature butter blends too smoothly and won’t create that crumbly, crisp texture.
- Don’t overmix the dough: Stop working the butter in once it reaches a coarse crumb texture, since overmixing leads to tough bars.
- Let the bars cool fully: Slicing warm bars almost guarantees a messy, oozing result instead of neat squares.
- Wipe the knife between cuts: This keeps the edges clean, especially with a juicy filling like cherry.
Variations Worth Trying
Once you’ve made the classic version, it’s easy to switch things up depending on what’s in season. Ever thought about using a totally different fruit filling?
- Blueberry Version: Swap the cherry pie filling for blueberry pie filling for a completely different flavor.
- Peach Twist: Use peach pie filling and add a pinch of cinnamon to the crumb mixture.
- Nutty Crunch: Fold chopped almonds or pecans into the crumb topping for extra texture.
- Gluten-Free Option: Substitute a 1:1 gluten-free flour blend for the all-purpose flour.
Serving Suggestions
Serve these bars slightly warm with a scoop of vanilla ice cream melting over the top. A dollop of fresh whipped cream also works beautifully if you want something lighter. A hot cup of coffee pairs nicely with the sweetness of the cherries and butter.
Storing Leftovers
Store the bars in an airtight container at room temperature for up to three days, or in the refrigerator for up to a week. They also freeze well for up to three months once fully cooled and wrapped tightly. Thaw at room temperature or enjoy them slightly chilled straight from the fridge.
Frequently Asked Questions
Can I use fresh cherries instead of cherry pie filling? Yes. Cook fresh pitted cherries down with a bit of sugar and cornstarch until thickened, then use that mixture in place of canned filling.
Can I make these bars gluten-free? Yes, substitute a 1:1 gluten-free flour blend for the all-purpose flour. Double-check that your baking powder is also labeled gluten-free.
How do I prevent the bars from turning out soggy? Let the bars cool completely before slicing, and make sure your cherry filling isn’t overly thin. A thicker filling holds its shape much better once baked.
What’s the best way to slice these bars neatly? Use a sharp knife and wipe it clean between cuts. This keeps the filling from smearing across each slice and gives you clean, attractive squares.
Are these bars freezer-friendly? Yes, they freeze well for up to three months. Make sure they’re completely cooled before wrapping tightly to prevent freezer burn.
Final Thoughts
Buttery Cherry Pie Bars deliver every reason you love cherry pie in an easier, more forgiving format. A crisp buttery base, a bright cherry center, and a crumbly golden top, all sliced into neat squares that won’t collapse the second you touch them. It’s the kind of dessert that disappears fast at any gathering.
Bake a batch this weekend and see how quickly they vanish from the counter. Once you taste that buttery crumb against the tart cherry filling, pie might start feeling like way too much work
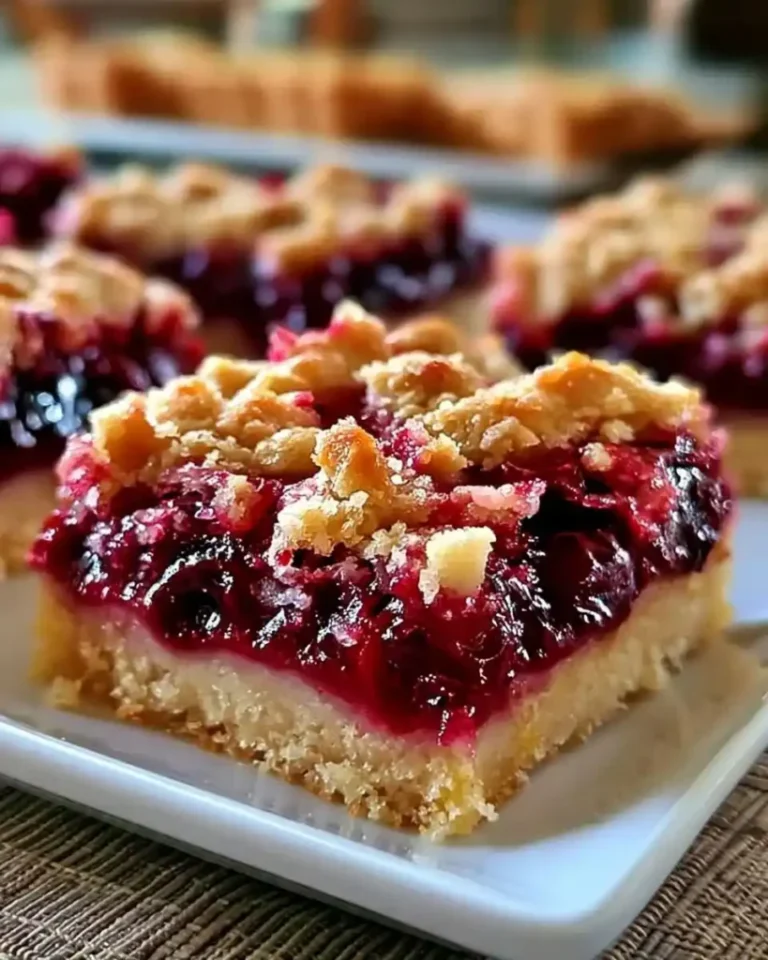
Buttery Cherry Pie Bars
Ingredients
Method
- Preheat your oven to 350°F and grease a 9×13-inch baking dish.
- In a large bowl, whisk together the flour, granulated sugar, baking powder, and salt.
- Cut in the cold, cubed butter until the mixture resembles coarse crumbs.
- If using, stir in the almond extract.
- Press about half of the crumb mixture firmly into the bottom of the prepared baking dish.
- Spread the cherry pie filling evenly over the pressed crust.
- Scatter the remaining crumb mixture over the cherry filling without pressing it down.
- Bake for 30 to 35 minutes until the top is golden brown and the filling bubbles slightly.
- Allow to cool completely in the pan, about an hour, before slicing into twelve bars.