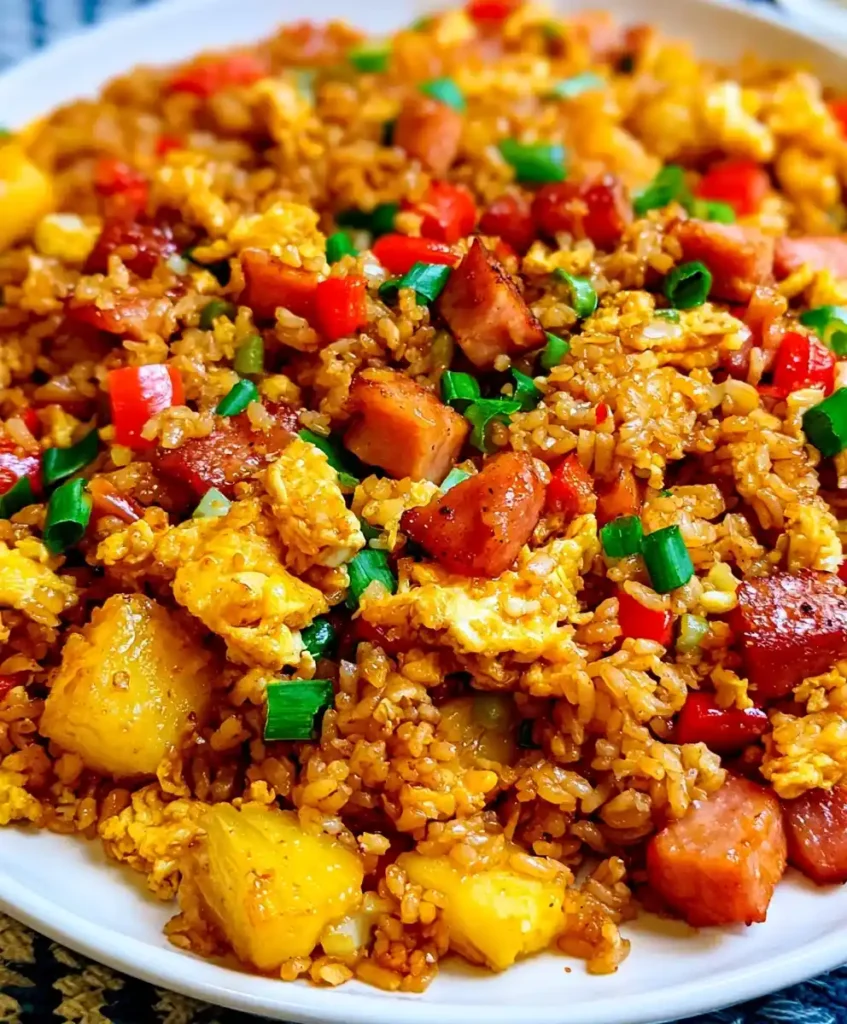
Okay, real talk: leftover rice sitting in your fridge is basically a blank canvas begging for pineapple and ham. That’s the whole magic behind Hawaiian Fried Rice. One skillet, thirty minutes, and suddenly your kitchen smells like a beach vacation you didn’t book.
I started making this on nights when takeout felt lazy but cooking felt exhausting. Turns out Hawaiian Fried Rice splits the difference perfectly. It’s fast, it’s forgiving, and it tastes like you tried way harder than you actually did.
Servings: 4 | Prep time: 10 minutes | Cook time: 25 minutes | Total time: 35 minutes
Why This Hawaiian Fried Rice Works So Well
Ever notice how sweet and salty together just hits different? That’s the entire secret here. Juicy pineapple crashes into savory ham and salty soy sauce, and your taste buds don’t know what to do with themselves.
It’s also a one-pan situation, which means fewer dishes and more time actually eating. Cold rice is non-negotiable, though. Fresh rice turns mushy the second it hits a hot pan, and nobody wants soggy fried rice.
What You’ll Need for Hawaiian Fried Rice
Nothing fancy here, just honest ingredients that pull their weight. IMO, half the charm of this dish is how simple the shopping list actually is.
- Cold, cooked white rice – 4 cups (day-old is best)
- Eggs – 2 large
- Diced ham – 1 cup
- Pineapple chunks – 1 cup (fresh or canned, drained)
- Red bell pepper – 1, diced
- Green onions – 4, sliced, white and green parts separated
- Garlic – 2 cloves, minced
- Vegetable oil – 2 tablespoons
- Low sodium soy sauce – 3 tablespoons
- Sesame seed oil – 1 teaspoon
- Hot sauce – 1 teaspoon (optional, adjust to taste)
Swap the ham for chicken or shrimp if that’s more your speed. This recipe genuinely doesn’t judge substitutions.
How to Make Hawaiian Fried Rice, Step by Step
Here’s where I slow things down and walk you through every stage. None of this is complicated, but a little detail goes a long way toward getting it right the first time.
Step 1: Whisk Together Your Flavor Sauce
Grab a small bowl before you touch the stove. Combine the soy sauce, sesame seed oil, and hot sauce, then whisk until it looks smooth and glossy. Set this bowl aside near the stove so it’s ready the second you need it.
This little sauce is doing more work than it looks like. It seasons the entire dish in one pour instead of you sprinkling things randomly and hoping for the best.
Step 2: Get Your Bell Pepper Nice and Crisp
Warm the vegetable oil in a large skillet over medium-high heat. Once it shimmers, add the diced red bell pepper and let it sizzle. Stir occasionally for five to seven minutes, until the edges soften but the center still has snap.
Have you ever pulled veggies too early and ended up with a sad, watery pan? Patience here pays off. That slight crunch matters once everything else gets mixed in.
Step 3: Brown the Ham and Build the Aromatics
Push the peppers to one side, then add your diced ham along with the white parts of the green onions. Let the ham sit undisturbed for a minute so it actually browns instead of just steaming. Stir occasionally for three to five minutes total.
Toss in the minced garlic during the last minute of cooking. Garlic burns fast, so keep stirring and pull it the moment your kitchen smells incredible. Trust your nose here, not the clock.
Step 4: Add the Rice and Let It Toast
Dump in your cold rice and break up any clumps with your spatula. Spread it into an even layer across the pan and resist stirring for a minute or two. This lets the bottom layer pick up light color and a slightly nutty flavor.
Then stir everything together and keep tossing for about eight minutes. You’re aiming for rice that’s fully heated through and lightly crisped in spots, not steamed into mush.
Step 5: Scramble the Eggs Right in the Pan
Clear a space on one side of the skillet and crack your eggs directly into it. Scramble gently with your spatula until just set, about a minute. Then fold the eggs into the rice so every bite gets a little richness.
Skipping this step is a rookie move. Eggs add body and make the whole dish feel more like a real meal instead of a side.
Step 6: Pour in the Sauce and Combine Everything
Drizzle your prepared sauce over the entire pan. Stir thoroughly so every grain of rice gets coated evenly, not just the top layer. Cook for another two minutes, stirring constantly, until everything looks glossy and smells fantastic.
This is the moment it all comes together. IMO, this is honestly the most satisfying part of the whole process.
Step 7: Fold in Pineapple and Finish with Green Onions
Pull the skillet off the heat completely before adding the pineapple. Gently fold in the pineapple chunks and the green parts of your onions. Cooking pineapple too long turns it mushy, so keep this step quick and gentle.
Give everything one final toss, then serve it up while it’s still warm. Watching the steam rise off a fresh pan of Hawaiian Fried Rice never gets old for me 🙂
Tips for the Best Hawaiian Fried Rice
- Use rice that’s been refrigerated overnight for the driest, best texture.
- Prep every ingredient before you turn on the stove, since this cooks fast.
- Swap in peas or carrots for extra color and nutrients.
- A sprinkle of sesame seeds right before serving adds a nice finishing crunch.
- Double the recipe if you’re feeding a crowd; it reheats beautifully.
Easy Variations to Try
- Protein swap: Use grilled chicken, shrimp, or crispy tofu instead of ham.
- Extra veggies: Snap peas, corn, or shredded carrots blend right in.
- Spicy version: Add diced jalapeños alongside your regular hot sauce.
- Vegan option: Replace the ham with chickpeas and scramble tofu instead of eggs.
Which variation sounds best to you? IMO, the shrimp version deserves way more attention than it gets.
FAQs About Hawaiian Fried Rice
Can I use brown rice instead of white rice? Yes, and it adds a nutty flavor plus extra fiber. Just know the texture turns out slightly chewier than white rice.
Can I make Hawaiian Fried Rice ahead of time? Definitely. Store it in the fridge and reheat in a skillet with a splash of soy sauce to bring back moisture.
What if I don’t like pineapple? Swap it for diced mango, or just leave it out entirely for a more savory, classic fried rice.
Is this recipe gluten-free? It can be. Just use a gluten-free soy sauce or tamari, and the rest of the ingredients stay naturally gluten-free.
Can I turn this into a vegetarian dish? Absolutely. Skip the ham and load up on extra vegetables or a plant-based protein like tofu or edamame.
Why does my fried rice turn out mushy? Fresh, warm rice is almost always the culprit. Cold, day-old rice holds its shape far better in a hot pan.
Final Thoughts
Hawaiian Fried Rice earns its spot in regular dinner rotation for good reason. It’s quick, endlessly customizable, and somehow feels a little festive even on a random Tuesday. Once you nail the basic method, you’ll start improvising with whatever’s hiding in your fridge.
So grab that container of leftover rice before it goes to waste. Your future self, sitting down to a warm, sweet-and-savory bowl of this stuff, will thank you.
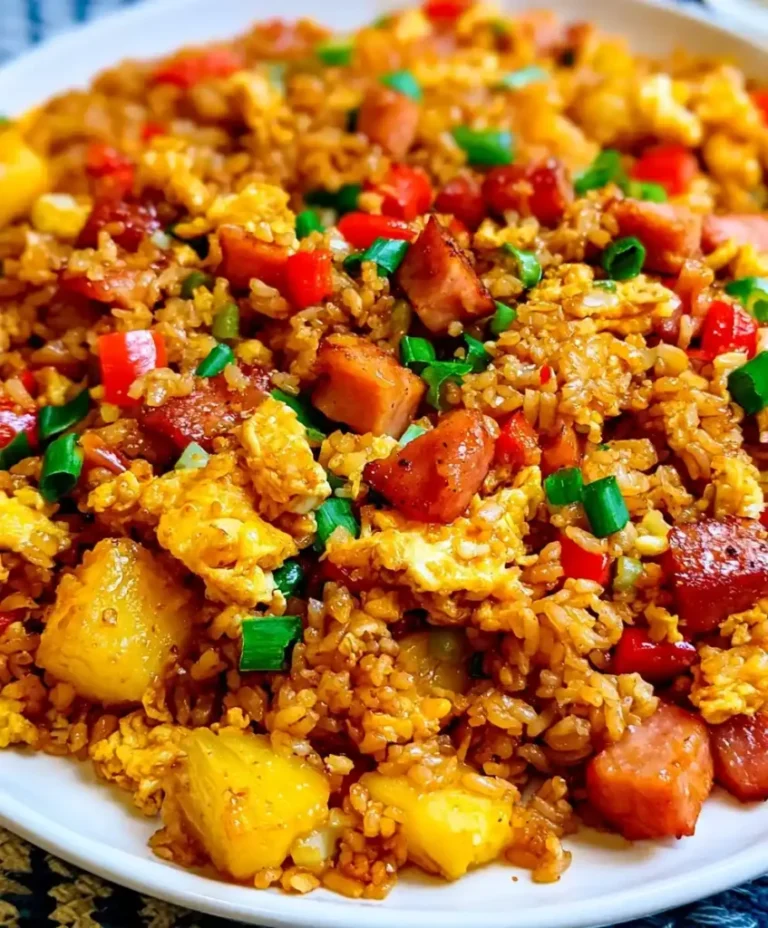
Hawaiian Fried Rice
Ingredients
Method
- Whisk together the soy sauce, sesame seed oil, and hot sauce in a small bowl and set aside.
- Warm the vegetable oil in a large skillet over medium-high heat.
- Add the diced red bell pepper and sauté for 5-7 minutes until softened.
- Push the peppers to one side, then add the diced ham and the white parts of the green onions. Cook undisturbed for 1 minute.
- Stir occasionally for 3-5 minutes until the ham is browned; add minced garlic in the last minute.
- Add the cold rice, break up any clumps, and let it toast without stirring for 1-2 minutes.
- Stir everything together and cook for about 8 minutes until heated through and lightly crisped.
- Clear a space in the pan, crack the eggs into the empty space, and scramble until just set, then fold into the rice.
- Drizzle the prepared sauce over the rice and toss everything together for another 2 minutes.
- Remove from heat and gently fold in the pineapple and green parts of the onions. Serve warm.



