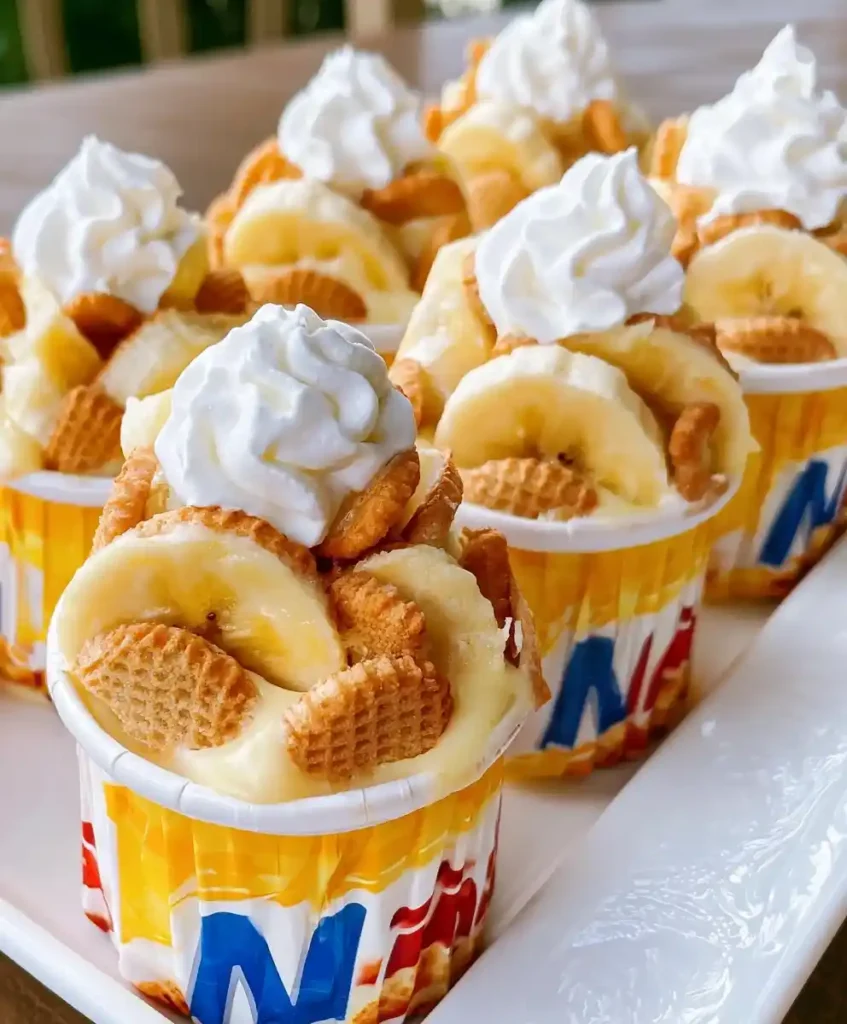
Picture this: a snack-sized bag, a plastic spoon, and a mouthful of creamy banana goodness. That’s Walking Banana Pudding, and once you try it, boring bowl desserts start feeling pretty outdated.
Servings: 8 servings Prep Time: 15 minutes Chill Time: 5 minutes Total Time: 20 minutes
I first made this for a backyard party, and I ran out before the burgers were even off the grill. That’s the kind of track record we’re working with here.
What Exactly Is Walking Banana Pudding?
Walking Banana Pudding takes the classic Southern dessert and stuffs it into individual snack bags. You eat it on the move, hence the name. No bowls, no forks, no dishes piling up in your sink.
It’s banana pudding, but portable. Think of it as banana pudding that finally got its driver’s license. IMO, that’s the kind of upgrade every dessert deserves.
Why This Recipe Works So Well
Have you ever noticed how the best party desserts are the ones people can grab and go? That’s exactly why Walking Banana Pudding disappears fast at every gathering I bring it to.
Here’s what makes it a winner:
- No-bake convenience — the whole thing comes together without turning on your oven
- Built-in portion control — each bag is one serving, so nobody’s fighting over the last scoop
- Crowd-pleasing texture — creamy pudding, crunchy wafers, and soft banana in every bite
- Kid-approved fun — eating dessert out of a bag feels like a treat in itself
Ingredients You’ll Need
Here’s your shopping list. Nothing fancy, nothing you can’t find at a regular grocery store.
- 1 box (3.4 oz) instant banana pudding mix
- 2 cups cold whole milk
- 4-5 ripe bananas, sliced
- 1 box (11 oz) mini vanilla wafers, in individual snack bags
- 1 container (8 oz) whipped topping, thawed
That’s it. Five ingredients between you and dessert glory. Feel free to swap the vanilla wafers for mini graham crackers if that’s what your pantry’s got going on.
How to Make Walking Banana Pudding
Let’s walk through this slowly, because rushing a good dessert is basically a crime in my book.
Step 1: Mix the Pudding Base
Grab a medium mixing bowl and pour in your instant banana pudding mix. Add the cold milk right on top of it. Cold milk matters here, since warm milk won’t let the pudding set up properly.
Now whisk everything together for about two full minutes. You want the mixture smooth, with zero lumps hiding at the bottom of the bowl. Keep whisking until your arm complains a little.
Once it’s smooth, set the bowl aside on the counter. Let it rest for five minutes so it can thicken into that classic pudding texture. This waiting period is where the magic quietly happens, so don’t skip it.
Step 2: Get Your Bananas Ready
While the pudding thickens, slice your bananas into coins about a quarter-inch thick. Thinner slices tend to turn mushy fast, so don’t go too skinny. Thicker slices hold their shape better inside the bag.
Choose bananas that are ripe but still firm, with just a few brown speckles on the peel. Overripe bananas turn to mush the second you touch them. Underripe bananas taste starchy and bland, so aim for that sweet middle ground.
Step 3: Prep the Snack Bags
Open each bag of mini vanilla wafers from the top with scissors, cutting straight across. Don’t cut too low, or your filling ends up everywhere except inside the bag. Fold the top edge down once to create a wider opening for scooping.
Line the bags up on your counter or a baking sheet so you’re not juggling them one at a time. This little assembly line trick saves you a surprising amount of time. Trust me, your future self will thank you.
Step 4: Layer Everything Together
Spoon about two to three tablespoons of the pudding directly on top of the wafers in each bag. Add four or five banana slices right into that pudding layer. Top everything off with a generous dollop of whipped topping.
Give the bag a gentle shake if you want the layers to settle a bit. Repeat this process for every bag until your whole batch is assembled. Serve immediately with a small spoon tucked into each one.
Step 5: Serve and Watch Them Vanish
Hand these out right away for the best crunch-to-cream ratio. The longer the wafers sit in the pudding, the softer they get, and nobody wants soggy wafers. Have you ever watched a kid’s face light up over a snack bag dessert? That’s your reward for the fifteen minutes you just spent.
Tips for the Best Walking Banana Pudding
A few things I’ve learned the hard way, so you don’t have to learn them the same way.
- Assemble bags no more than an hour before serving for maximum crunch
- Use whole milk instead of skim for a richer, creamier pudding base
- Keep extra bananas on hand since guests always want more
- Store leftover pudding mixture separately from wafers to avoid sogginess
- Add a few chocolate chips for guests who want a little extra sweetness
Fun Variations to Try
Once you’ve nailed the basic version, switching things up keeps the recipe interesting.
- Chocolate lovers’ version: swap banana pudding for chocolate pudding mix
- Berry twist: layer in sliced strawberries alongside the bananas
- Nutty crunch: sprinkle chopped pecans or peanuts over the whipped topping
- Dairy-free option: use plant-based milk and a coconut whipped topping
- Peanut butter swirl: stir a spoonful of peanut butter into the pudding base
Frequently Asked Questions
Can I make Walking Banana Pudding the night before? You can mix the pudding and slice the bananas ahead of time. Just keep them stored separately and assemble the bags right before serving, so the wafers stay crunchy instead of turning soggy overnight.
What’s the best banana ripeness for this recipe? Look for bananas with yellow peels and a light scattering of brown spots. That stage gives you natural sweetness without the mushy texture that overripe bananas bring to the table.
Can I use homemade whipped cream instead of whipped topping? Absolutely. Whip heavy cream with a touch of sugar until soft peaks form. It adds a fresher, less sweet flavor compared to store-bought whipped topping, and FYI, it holds up nearly as well for short serving windows.
How long does Walking Banana Pudding last in the fridge? The pudding mixture keeps well for about three days when stored in a sealed container. Once assembled with wafers and bananas, though, eat it within a couple hours for the best texture.
Can kids help make this recipe? Definitely. Slicing bananas needs adult supervision, but kids love spooning pudding into bags and adding their own toppings. It turns dessert time into an activity instead of just a chore for the grown-ups.
What if I can’t find mini vanilla wafer snack bags? Buy regular mini vanilla wafers and portion them into small resealable bags yourself. It takes an extra two minutes but works just as well as the pre-packaged version.
Final Thoughts on Walking Banana Pudding
Walking Banana Pudding turns a classic Southern dessert into something you can hand someone without needing a plate. It’s fast, it’s fun, and it disappears at parties faster than almost anything else I bring.
Give it a shot at your next gathering and watch how quickly the bags empty out. Grab your ingredients, round up some snack bags, and start walking your way through dessert.
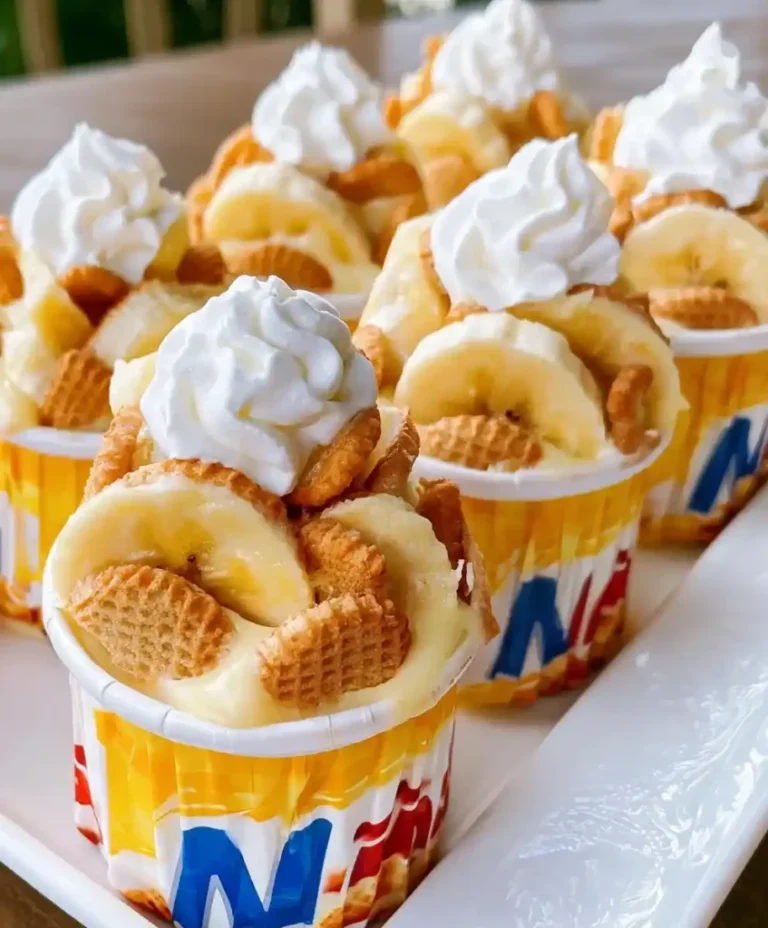
Walking Banana Pudding
Ingredients
Method
- In a medium mixing bowl, combine the instant banana pudding mix and cold milk. Whisk for about 2 minutes until smooth and free of lumps.
- Let the mixture sit for 5 minutes to thicken.
- Slice the bananas into coins about a quarter-inch thick to prevent them from becoming mushy.
- Open the mini vanilla wafer bags carefully to avoid spilling. Consider creating a wider scoop opening.
- Line the bags up for easy assembly.
- Spoon 2-3 tablespoons of pudding into each bag, add 4-5 banana slices, and top with whipped topping.
- Gently shake the bags if desired to settle the layers.
- Serve immediately to maintain the crunchiness of the wafers.




