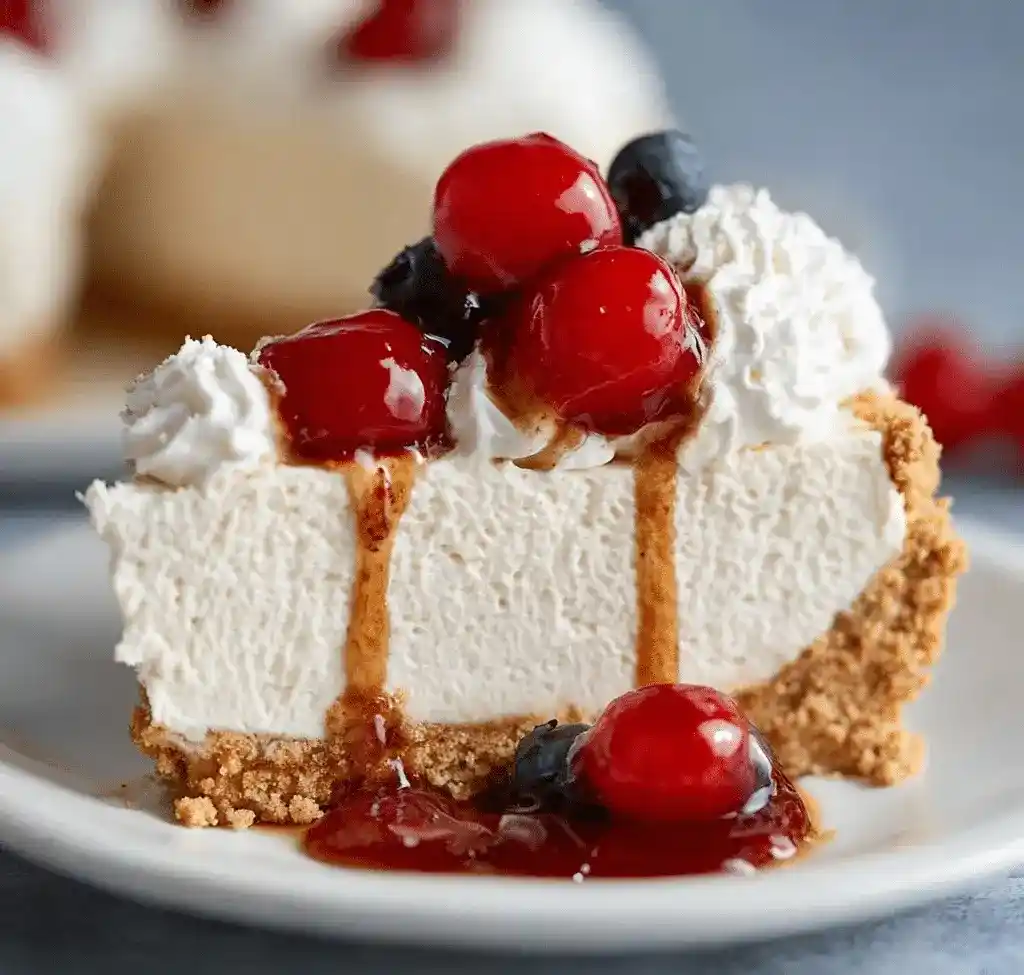
No oven, no water bath, no cracked-top anxiety. Just a smooth, creamy cheesecake that comes together faster than you’d expect.
I started making this version years ago when my oven decided to act up mid-summer. Turns out I liked this method better anyway.
Servings: 8 Prep time: 10 minutes Chill time: 4 hours Total time: 4 hours 10 minutes
Why No-Bake Cheesecake Works So Well
Traditional cheesecake demands patience, precision, and a water bath you’ll probably mess up the first time. This version skips all of that and still delivers a rich, creamy texture.
Have you ever avoided baking cheesecake purely because of the crack-on-top fear? IMO, that fear alone is reason enough to try this no-bake route instead.
The filling sets up firm in the fridge instead of the oven. Less stress, same creamy payoff.
What You’ll Need
Here’s everything going into this cheesecake:
- Cream cheese, at room temperature
- Granulated sugar
- Heavy cream, at room temperature
- Vanilla extract
- Fresh lemon juice (optional)
- A prepared graham cracker crust
Short list, big flavor. That’s basically the whole appeal of this recipe.
A Quick Note on Room Temperature Ingredients
Cold cream cheese clumps up and refuses to smooth out properly. Let it sit out for a solid 30 minutes before you start mixing.
Room temperature heavy cream whips up better too. Skipping this step leads to a lumpy filling, and nobody wants that texture in a cheesecake.
How to Make No-Bake Cheesecake
Let’s break this down step by step, since a little extra detail here goes a long way. None of this is complicated, but a few small details matter.
Step 1: Beat the Cream Cheese Base
Add your softened cream cheese, granulated sugar, vanilla extract, and lemon juice (if using) into the bowl of a stand mixer. Beat on medium speed for 2 to 3 minutes until the mixture turns light and fluffy.
Scrape down the sides of the bowl partway through. This keeps everything blending evenly instead of leaving clumps stuck to the edges.
Step 2: Add the Heavy Cream Slowly
Turn your mixer to medium-high speed and pour in the heavy cream in a slow, steady stream. Adding it too fast can cause splattering and uneven mixing, so take your time here.
Keep beating for about 3 more minutes. The mixture should thicken up noticeably and turn into something that looks almost like soft whipped cream.
Step 3: Check Your Texture
Stop the mixer and take a look at the consistency. It should hold soft peaks and feel thick enough to spread without running.
If it still looks thin, beat it a little longer. Just don’t overdo it, since overbeating can cause the mixture to turn grainy instead of smooth.
Step 4: Fill the Crust
Grab your prepared graham cracker crust and spoon the cheesecake filling directly into it. Use a spatula to spread it evenly, pushing gently into the edges so there are no gaps.
Smooth the top with the back of your spatula for a clean, bakery-style finish. This part takes maybe two minutes, tops.
Step 5: Chill Until Firm
Place your cheesecake in the refrigerator and let it chill for at least 4 hours. If you have the patience, leaving it overnight gives you an even firmer, cleaner slice.
This waiting period is the hardest part of the entire recipe. Trust the process here, even if it feels like torture watching it through the fridge door.
Step 6: Add Your Toppings
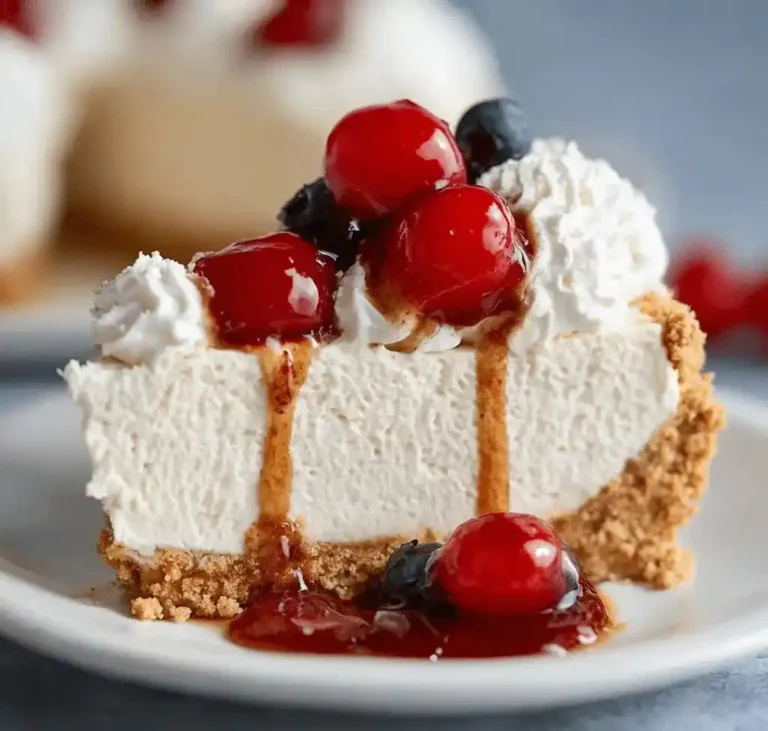
Right before serving, top your cheesecake with whatever sounds good to you. Fresh berries, a chocolate drizzle, or a dollop of whipped cream all work beautifully here.
Adding toppings too early can make them soggy or bleed into the filling. Wait until serving time for the best presentation.
Step 7: Slice and Serve
Use a sharp knife dipped in warm water for clean, neat slices. Wipe the blade between cuts to keep every piece looking picture-perfect.
Have you ever served a dessert that looked this good with barely any effort? That’s the beauty of a no-bake cheesecake.
Serving Suggestions Worth Trying
This cheesecake plays well with a variety of toppings and pairings. A few favorites worth mentioning:
- Fresh berries or sliced stone fruit for a fruity finish
- A warm chocolate or caramel drizzle for extra indulgence
- Crushed graham crackers or toasted nuts for crunch
- A hot cup of coffee alongside for balance
Bring this to a dinner party and watch it disappear fast. FYI, you might want to make a backup slice for yourself before it’s all gone.
Storing and Reheating Leftovers
Refrigerator storage keeps this cheesecake fresh for 3 to 4 days in an airtight container. Keep it chilled at all times, since the texture depends on staying cold.
Freezer storage works well for individual slices wrapped tightly in plastic wrap and foil, lasting up to a month. Thaw slices overnight in the refrigerator before serving for the best texture.
Skip leaving it out at room temperature for too long. The filling softens fast and loses that clean, sliceable structure :/
Fun Variations to Try
Once you’ve nailed the base recipe, feel free to get creative. A few variations worth trying:
- Fruit swirl version with a blended raspberry, strawberry, or mango puree swirled through the filling
- Chocolate lover’s version with melted chocolate chips or cocoa powder folded into the mixture
- Citrus zest version with lemon, orange, or lime zest mixed into the base
- Nutty crunch version with chopped almonds, pecans, or walnuts added to the crust
Why stick with plain when there’s so much room to experiment? Pick a variation based on whatever’s in your fridge.
Frequently Asked Questions
Can I use low-fat cream cheese for this recipe? Yes, low-fat cream cheese works, though it may slightly change the texture and richness of the final cheesecake.
Can I substitute whipped topping for heavy cream? Whipped topping can work as a substitute, but expect a slightly different texture and flavor compared to fresh heavy cream.
How long does the cheesecake need to set in the fridge? Plan for at least 4 hours of chill time, though overnight gives you a firmer, cleaner slice.
Can I make this cheesecake ahead of time? Absolutely. This recipe holds up well in the fridge, making it a great make-ahead dessert for parties or gatherings.
Can I freeze this no-bake cheesecake? Yes, wrap slices tightly in plastic wrap and foil, then freeze for up to a month. Thaw overnight in the fridge before serving.
Final Thoughts
No-Bake Cheesecake proves that you don’t need an oven to make something creamy, rich, and genuinely impressive. Simple ingredients and a little patience get you a dessert that tastes far fancier than the effort required.
Give this recipe a try the next time you want dessert without the fuss. Your fridge is about to become your new favorite kitchen appliance
No-Bake Cheesecake
Ingredients
Method
- Beat the softened cream cheese, granulated sugar, vanilla extract, and lemon juice (if using) in a stand mixer on medium speed for 2 to 3 minutes until light and fluffy.
- Gradually pour in the heavy cream while mixing on medium-high speed. Beat for about 3 minutes until the mixture thickens and resembles soft whipped cream.
- Check the texture; it should hold soft peaks. If it's still thin, beat a little longer without overdoing it.
- Spoon the cheesecake filling into the prepared graham cracker crust, smoothing the top with a spatula.
- Refrigerate the cheesecake for at least 4 hours or overnight for a firmer texture.
- Add your favorite toppings just before serving, such as fresh berries or chocolate drizzle.
- Slice with a warm, sharp knife, wiping the blade between cuts for clean slices.
Notes
No-Bake Cheesecake
Ingredients
Method
- Beat the softened cream cheese, granulated sugar, vanilla extract, and lemon juice (if using) in a stand mixer on medium speed for 2 to 3 minutes until light and fluffy.
- Gradually pour in the heavy cream while mixing on medium-high speed. Beat for about 3 minutes until the mixture thickens and resembles soft whipped cream.
- Check the texture; it should hold soft peaks. If it's still thin, beat a little longer without overdoing it.
- Spoon the cheesecake filling into the prepared graham cracker crust, smoothing the top with a spatula.
- Refrigerate the cheesecake for at least 4 hours or overnight for a firmer texture.
- Add your favorite toppings just before serving, such as fresh berries or chocolate drizzle.
- Slice with a warm, sharp knife, wiping the blade between cuts for clean slices.




