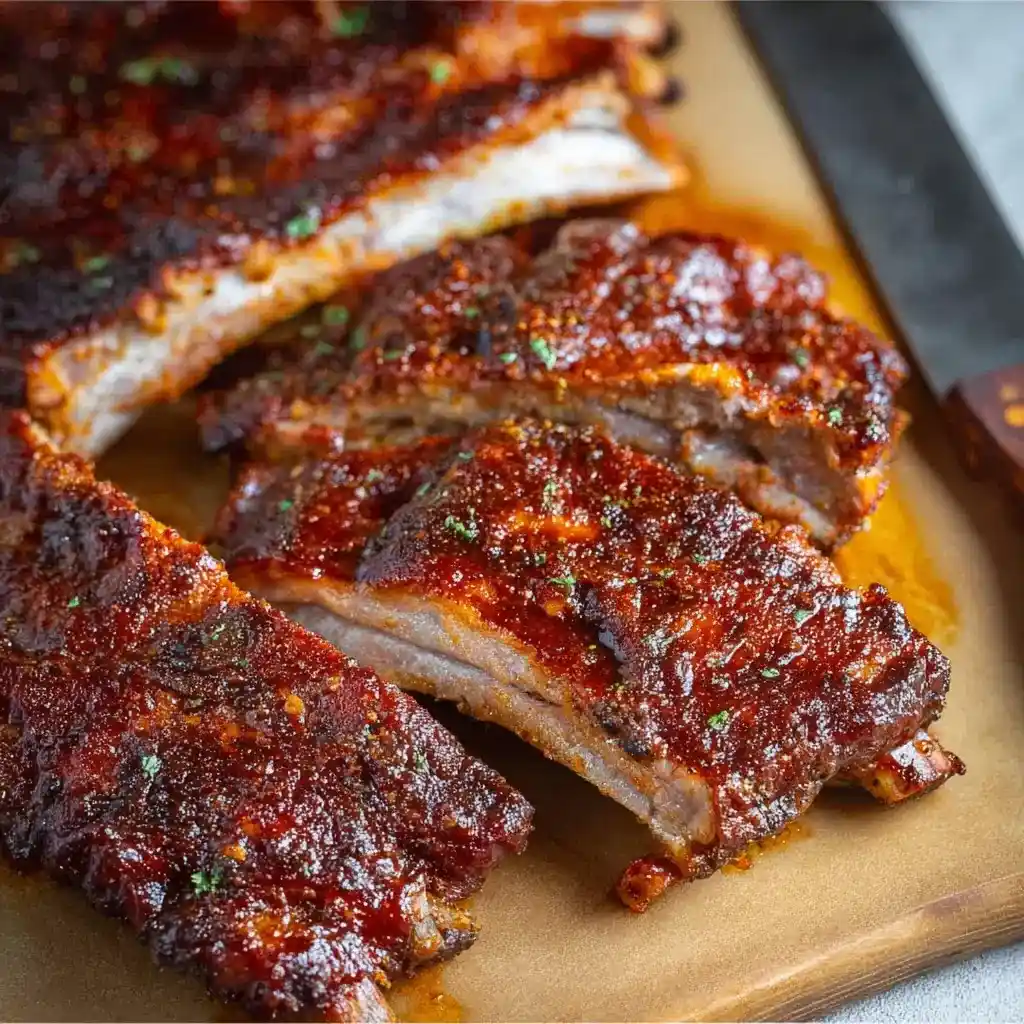
Craving smoky, tender ribs but don’t own a smoker? This Oven Baked Ribs recipe delivers that same melt-in-your-mouth texture using nothing but your oven and a little patience.
I used to think great ribs required outdoor equipment and hours of babysitting a fire. Turns out my oven does the job just fine, and IMO, the cleanup is way easier too.
Servings: 4 to 6 | Prep Time: 15 minutes | Cook Time: 2 hours 30 minutes
Why Low and Slow Oven Baking Works
Have you ever wondered why some ribs turn out tough while others practically fall off the bone? The answer comes down to temperature and time, not fancy equipment or secret techniques.
Baking ribs low and slow breaks down tough connective tissue gradually instead of shocking the meat with high heat. That slow breakdown is exactly what turns chewy ribs into tender, juicy ones.
I’ve tried rushing this process with higher oven temps before. It never works out the same, so trust the low and slow method here.
What You’ll Need
Here’s everything broken into sections, with quantities spelled out so there’s no second-guessing at the grocery store.
For the Ribs
- 3 pounds baby back ribs, about 2 slabs
- 2 yellow onions, sliced
- 4 cloves garlic, sliced
For the Spice Rub
- 1 tablespoon paprika
- 1 tablespoon brown sugar
- ¾ teaspoon garlic powder
- ¾ teaspoon onion powder
- ½ teaspoon black pepper
- ½ teaspoon lemon pepper seasoning
- ½ teaspoon salt, or to taste
For the BBQ Sauce
- ½ cup barbecue sauce
- ½ cup chili sauce, or additional BBQ sauce
- ¼ cup ketchup
That’s three simple components, and none of them require a special trip anywhere.
How to Make Oven Baked Ribs
Let’s break this down step by step so nothing gets rushed. Good ribs reward patience, and skipping steps here shows up in the final texture.
Step 1: Prep the Oven and Rub
Preheat your oven to 275°F and line a large rimmed baking sheet with aluminum foil. This low temperature is doing the real work, so don’t be tempted to crank it up for speed.
While the oven heats, mix all the spice rub ingredients together in a small bowl. Set that bowl aside; you’ll need it in just a minute.
Step 2: Prep the Ribs Themselves
Flip the ribs over and remove the white membrane from the back if it’s still attached. Skipping this step traps flavor out and leaves you with a slightly rubbery texture nobody wants.
Pat the ribs dry with paper towels and check for any leftover bone fragments. Cut the slabs into four to six rib portions so they fit neatly on your baking sheet.
Step 3: Season Generously
Rub the seasoning mixture evenly over both sides of the ribs, pressing it in slightly as you go. Don’t hold back here; the rub is doing most of the flavor heavy lifting before any sauce even touches the meat.
Place the seasoned ribs meaty side down on your prepared baking sheet. Scatter the sliced onions and garlic directly over the top for extra aromatic flavor.
Step 4: Cover and Bake Low and Slow
Cover the ribs tightly with another sheet of foil, sealing the edges well so steam stays trapped inside. This sealed environment is what keeps the meat moist through the long bake.
Bake for 2 hours at 275°F. Have you ever smelled something so good you had to resist opening the oven early? Resist that urge here; peeking lets heat and moisture escape.
Step 5: Check for Tenderness
After the 2 hours are up, carefully open one corner of the foil and test the ribs for tenderness. The meat should feel soft and pull slightly away from the bone already.
If it’s not quite there yet, reseal the foil and bake for another 20 to 30 minutes. Every oven runs a little differently, so trust the texture over the clock.
Step 6: Sauce and Finish Under the Broiler
While the ribs finish, mix your BBQ sauce, chili sauce, and ketchup together in a bowl. Remove the ribs from the oven and discard the cooked onions, garlic, and any accumulated juices.
Brush the ribs lightly with olive oil, then coat them generously with your BBQ sauce mixture. Grill or broil over medium-high heat for 5 to 10 minutes until the sauce turns sticky and caramelized.
Tips for the Best Results
A few small details make a real difference between good ribs and genuinely great ones. Here’s what I’ve picked up from making this recipe more times than I’d like to admit:
- Remove the membrane every time; it’s the single biggest factor in tender ribs.
- Seal the foil tightly so no steam escapes during the long bake.
- Watch instead of timing exactly since oven temperatures vary more than you’d think.
- Broil in short bursts to avoid burning the sugary sauce before it caramelizes.
None of these steps take extra time. They just make sure your effort actually pays off.
Serving and Storage Tips
These ribs pair beautifully with coleslaw, baked beans, cornbread, mac and cheese, or roasted potatoes. Honestly, almost any classic Southern side works here without much thought required.
Want to prep ahead? Bake the ribs fully, refrigerate them, then sauce and broil right before serving. This makes hosting way less stressful on the actual day.
Store leftovers in an airtight container in the fridge for up to four days. For longer storage, freeze the cooked ribs without sauce for up to three months.
Reheat leftovers covered in the oven at 300°F until warmed through. This method keeps the meat from drying out compared to a quick microwave zap.
Fun Variations to Try
Once you’ve nailed the classic version, experimenting gets addictive fast. Here are a few directions worth trying next time:
- Honey BBQ Ribs: stir honey into the sauce for extra sweetness.
- Spicy BBQ Ribs: add cayenne pepper or hot sauce to the rub.
- Garlic Butter Ribs: brush with melted garlic butter before broiling.
- Asian-Style Ribs: swap in hoisin sauce, soy sauce, and fresh ginger.
- Dry Rub Ribs: skip the sauce entirely and broil for a crispy, seasoned finish.
Each variation keeps the same reliable baking method while completely shifting the flavor.
Frequently Asked Questions
Do I really have to remove the membrane? Yes, removing it helps the ribs become tender and lets the seasoning actually absorb into the meat.
Can I use spare ribs instead of baby back ribs? Absolutely, though spare ribs may need slightly longer in the oven to reach the same tenderness.
Why bake ribs at such a low temperature? Low heat slowly breaks down tough connective tissue, which is exactly what makes ribs tender instead of chewy.
Can I skip the grill and just use my broiler? Yes, broiling works perfectly and gives you that same sticky, caramelized finish without firing up an outdoor grill.
How do I know when the ribs are actually done? The meat should pull away from the bone easily, and it definitely shouldn’t feel tough or resistant.
Can I prep these ribs ahead of time? Yes, bake them fully in advance, then add the sauce and broil right before you’re ready to serve.
Can I double this recipe for a bigger crowd? Sure, just use multiple baking sheets so the ribs still have room to cook evenly.
Wrapping This Up
Oven Baked Ribs prove that you don’t need a smoker, a grill, or years of barbecue experience to get tender, flavorful results. Low heat, a good rub, and a sticky glaze at the end handle all the heavy lifting.
Give this method a try for your next family dinner or game day spread. Just make sure you’ve got extra napkins ready, because these ribs get seriously messy in the best possible way.
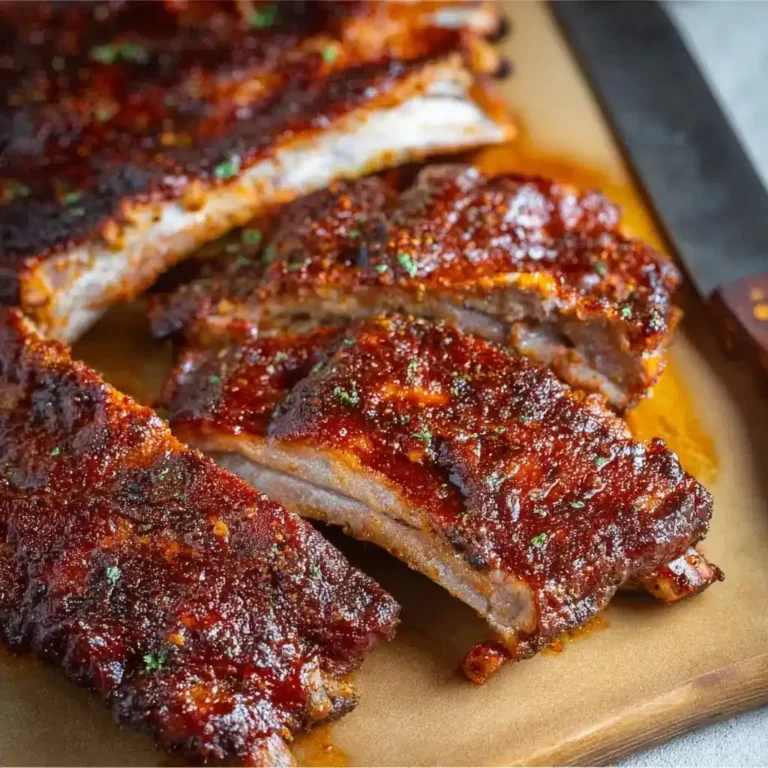
Oven Baked Ribs
Ingredients
Method
- Preheat your oven to 275°F and line a large rimmed baking sheet with aluminum foil.
- Mix all the spice rub ingredients together in a small bowl and set aside.
- Remove the white membrane from the back of the ribs if necessary.
- Pat the ribs dry with paper towels, cut the slabs into four to six rib portions.
- Rub the seasoning mixture evenly over both sides of the ribs.
- Place the seasoned ribs meaty side down on the baking sheet, and scatter the sliced onions and garlic on top.
- Cover the ribs tightly with foil and bake for 2 hours.
- Check for tenderness after 2 hours and continue baking, covered, for an additional 20-30 minutes if needed.
- Mix the BBQ sauce, chili sauce, and ketchup together.
- Remove the ribs from the oven, brush with olive oil, and coat with the BBQ mixture.
- Broil or grill for 5 to 10 minutes until the sauce is sticky and caramelized.




