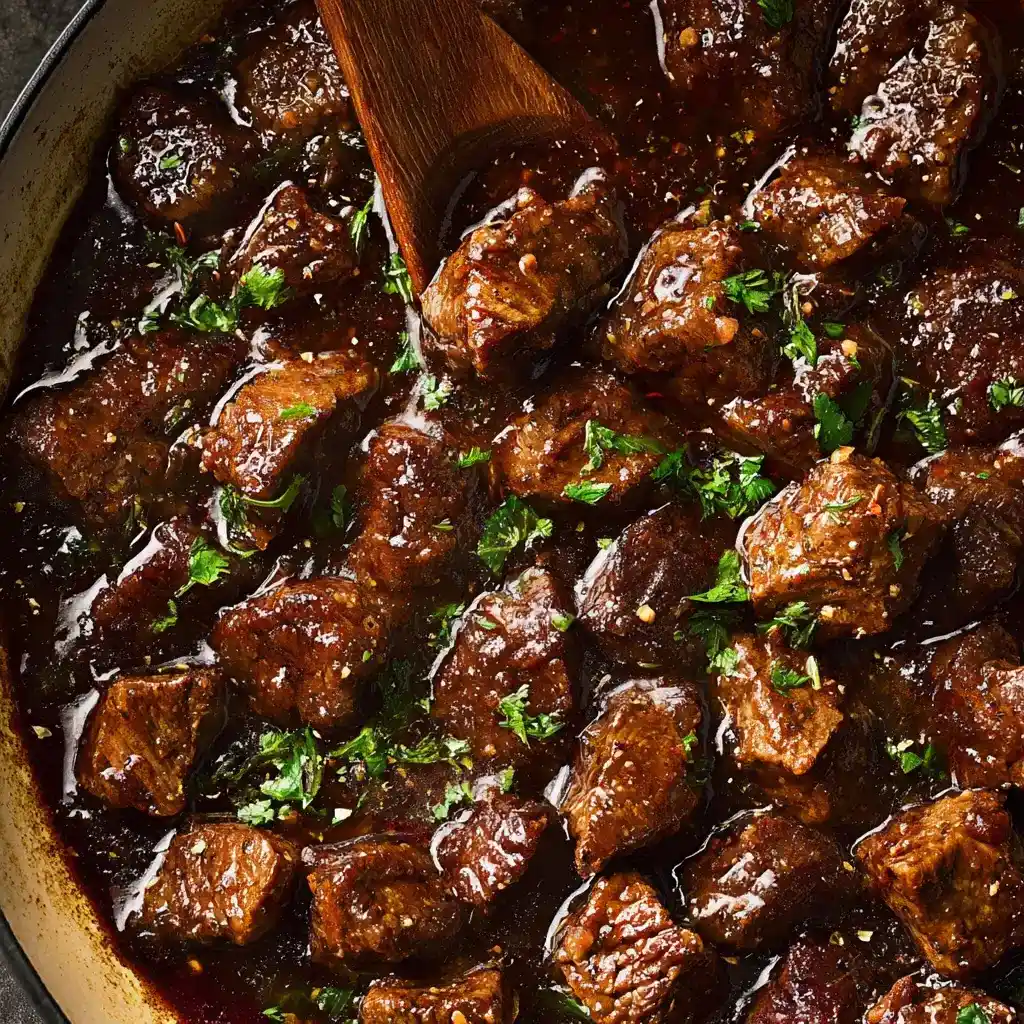
Let’s talk about the kind of dinner that makes your whole house smell incredible for hours. These Beef Tips simmer low and slow until the beef falls apart and the gravy turns rich and savory. I make this on busy weeks precisely because it does most of the work itself.
Servings: 6 Prep time: 15 minutes Cook time: 1½ to 2 hours Total time: About 2 hours 15 minutes
I grew up thinking “fancy comfort food” was a contradiction. Beef Tips changed my mind. It’s humble ingredients, a Dutch oven, and patience—yet the result tastes like something a restaurant would charge you way too much for.
Why Beef Tips Deserve a Spot in Your Regular Rotation
Have you ever noticed how some recipes taste better the less you fuss over them? Beef Tips is exactly that kind of dish. The beef chuck roast slowly breaks down into tender, juicy bites while the gravy thickens into something you’ll want to spoon over everything.
This isn’t a complicated technique dressed up with fancy plating. It’s straightforward braising, and IMO, that’s exactly why it works. The Worcestershire sauce and condensed onion soup do a lot of heavy lifting for flavor without demanding a long ingredient list.
Ingredients You’ll Need
Nothing here requires a special trip to a gourmet grocery store.
For the Beef Tips
- Beef chuck roast, cubed or stew meat
- Salt
- Black pepper
- Olive oil
- Yellow onion, chopped
- Beef broth
- Condensed French onion soup (or condensed onion soup)
- Worcestershire sauce
- Bay leaf
- Fresh parsley, for garnish (optional)
To Thicken the Gravy
- Cornstarch
- Water
That’s the whole list. Basic pantry staples, one cut of beef, and a couple of cans that do serious flavor work.
How to Make Beef Tips, Step by Step
Let’s break this down slowly, because braising rewards patience way more than speed.
Step 1: Trim and Season the Beef
Start by trimming excess fat off your beef chuck roast, since too much fat can make the gravy greasy later. Toss the trimmed beef with salt and black pepper, making sure every piece gets seasoned evenly. This small step builds flavor from the very first bite.
Step 2: Brown the Beef in Batches
Heat a tablespoon of olive oil in a Dutch oven over medium-high heat. Add the beef in small batches—crowding the pot steams the meat instead of browning it, and nobody wants gray, sad-looking beef. Transfer each browned batch to a bowl and set it aside.
Step 3: Sauté the Onion
Reduce the heat to medium and add the remaining olive oil to the same pot. Toss in the chopped onion and sauté for 5 to 7 minutes, until it softens and turns slightly golden. This step pulls all those browned beef bits up from the bottom of the pot, which means extra flavor in your gravy.
Step 4: Build the Braising Liquid
Return the browned beef to the pot along with any juices that collected in the bowl. Pour in the beef broth and condensed onion soup, then stir in the Worcestershire sauce. Drop in the bay leaf for a subtle depth of flavor that develops as everything simmers.
Step 5: Simmer Until Tender
Bring the mixture to a boil, then cover the pot and reduce the heat to a gentle simmer. Let it cook for 1½ to 2 hours, checking occasionally to make sure it’s simmering and not boiling too hard. You’ll know it’s ready when the beef turns fork-tender and practically falls apart.
Step 6: Thicken the Gravy
Mix the cornstarch with cold water in a small bowl until fully dissolved, forming a smooth slurry. Slowly stir this mixture into the simmering beef, stirring constantly so it doesn’t clump. Keep stirring for a minute or two until the gravy noticeably thickens around the beef.
Step 7: Final Seasoning and Serving
Taste the gravy and adjust the seasoning with additional salt and pepper if needed. Remove the bay leaf before serving—nobody wants to accidentally bite into that. Serve the beef tips hot over mashed potatoes, rice, or egg noodles, and garnish with fresh parsley if you’re feeling fancy.
Serving and Storage Tips
- Serve over mashed potatoes, rice, or egg noodles for a satisfying, complete meal.
- Pair with roasted vegetables or a simple green salad to round out the plate.
- Store leftovers in an airtight container in the refrigerator for up to 3–4 days.
- Freeze in a freezer-safe container for up to 2 months, and thaw overnight before reheating.
Fun Variations to Try
Once you’ve nailed the classic version, switching things up keeps this recipe interesting for months.
- Mushroom Beef Tips: Add sliced mushrooms while sautéing the onions for earthy depth.
- Red Wine Beef Tips: Replace half the beef broth with red wine for richer flavor.
- Creamy Beef Tips: Stir in heavy cream at the end for a silky, creamy gravy.
- Spicy Beef Tips: Add cayenne pepper or crushed red pepper flakes for heat.
- Slow Cooker Beef Tips: Layer everything in a slow cooker and cook on low for 6–8 hours.
Have you ever swapped Worcestershire for soy sauce and added ginger? It turns this whole dish into an entirely different flavor experience worth trying at least once.
Frequently Asked Questions
What cut of beef is best for Beef Tips? Beef chuck roast or stew meat works best because both cuts turn tender after slow simmering.
Can I make Beef Tips in a slow cooker? Yes—cook everything on low for 6 to 8 hours until the beef is fully tender.
How do I thicken the gravy? A cornstarch and water slurry works great, though flour can serve as a substitute too.
Can I use fresh onions instead of canned soup? Absolutely. Add extra beef broth and season with salt, pepper, and a bit of onion powder.
Can I add vegetables to this dish? Yes Carrots, mushrooms, or peas all work well added during the simmering stage.
Final Thoughts
Beef Tips prove that comfort food doesn’t need to be complicated to feel special. Tender beef, savory gravy, and a handful of pantry staples come together into a dish that tastes like it took way more effort than it actually did. Make a batch this week, and don’t be shocked when everyone asks for seconds.
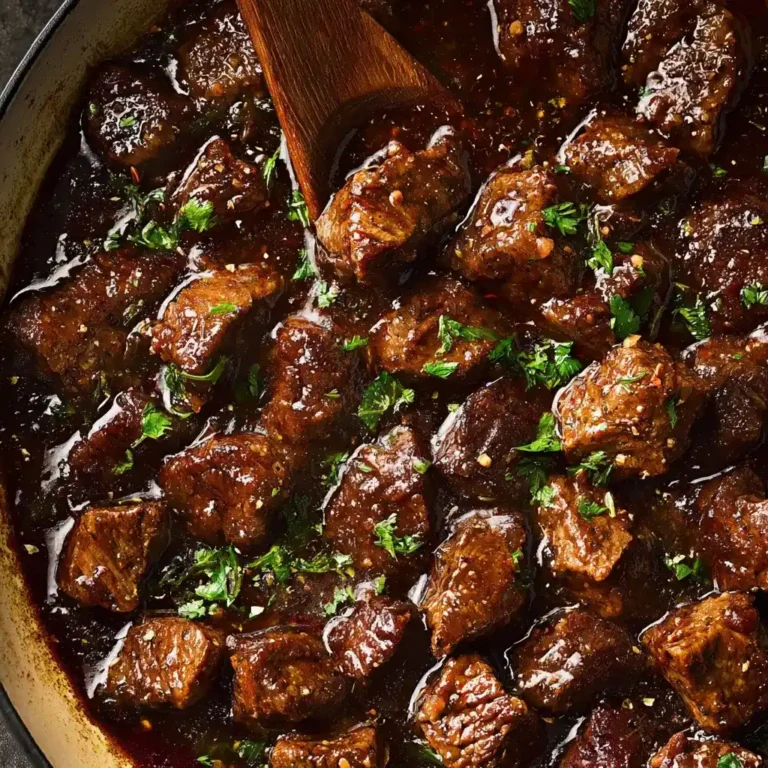
Beef Tips
Ingredients
Method
- Trim the excess fat off the beef chuck roast, then season with salt and black pepper.
- Heat olive oil in a Dutch oven over medium-high heat and brown the beef in batches, transferring it to a bowl once browned.
- In the same pot, add remaining olive oil and sauté the chopped onion for 5 to 7 minutes until softened and golden.
- Return the browned beef and any collected juices to the pot.
- Pour in the beef broth and condensed onion soup, stir in Worcestershire sauce, and add the bay leaf.
- Bring to a boil, cover, then reduce heat to a gentle simmer, cooking for 1½ to 2 hours until the beef is fork-tender.
- In a small bowl, mix cornstarch with water to make a slurry, then stir this into the simmering beef until thickened.
- Adjust seasoning of the gravy with extra salt and pepper if needed, remove the bay leaf, and serve over mashed potatoes, rice, or egg noodles.




