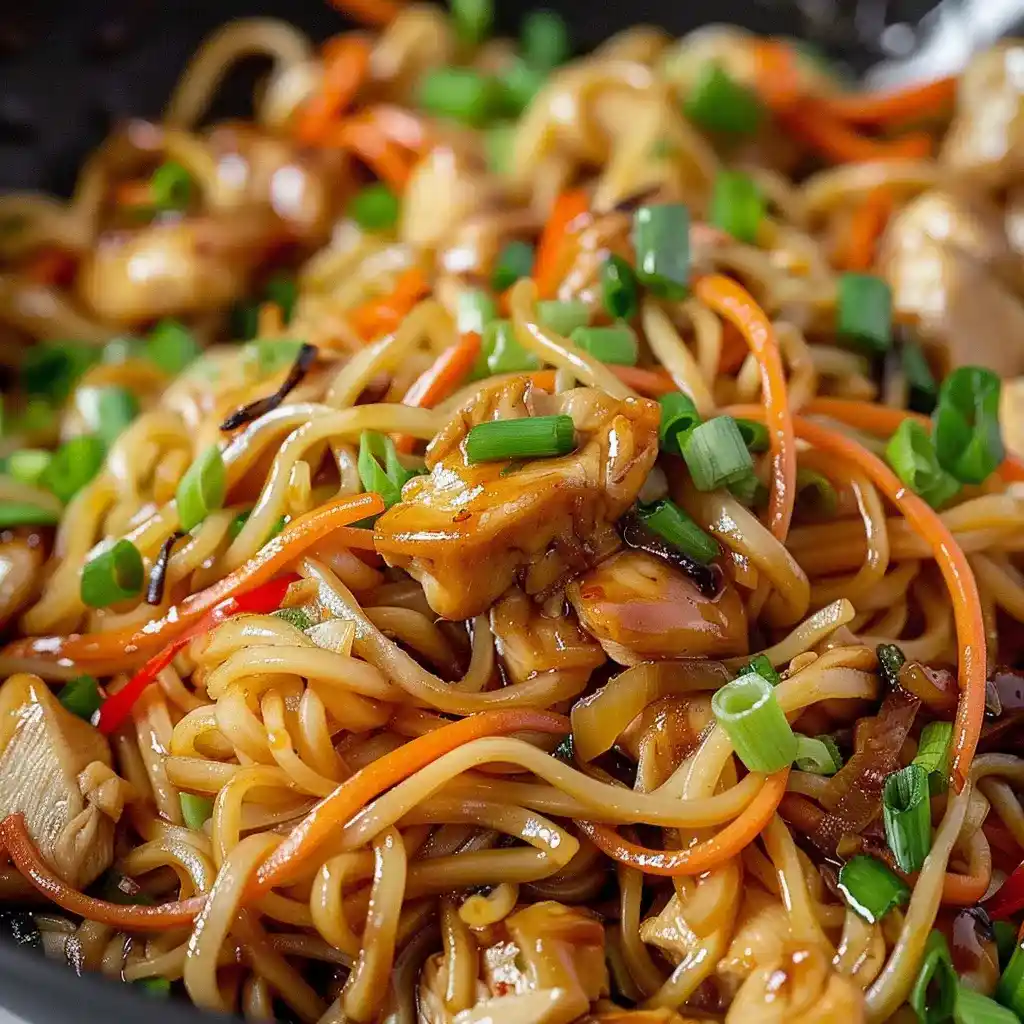
Tired of waiting 40 minutes for delivery when you could have dinner on the table in half that time? This Chicken Lo Mein is the recipe that finally got me to stop ordering takeout on busy weeknights. It’s fast, it’s flavorful, and it genuinely tastes like something from your favorite spot.
Prep time: 5 minutes | Cook time: 15 minutes | Total time: 20 minutes | Servings: 4
Why This Chicken Lo Mein Works So Well
I used to think restaurant-style noodles required some secret technique I’d never crack at home. Turns out the real trick is just building layers of flavor quickly, in the right order. The garlic, ginger, and soy sauce combo does a ton of heavy lifting here.
Have you ever made a stir-fry that tasted flat no matter how much sauce you added? That usually means the vegetables never got a proper sear. This recipe fixes that by cooking everything in stages instead of dumping it all in at once.
IMO the sauce is what makes or breaks a lo mein, and this one nails the balance between salty and slightly sweet. Nobody needs to know it took you 20 minutes total 🙂 Your secret is safe here.
What You’ll Need: Ingredients List
Nothing here requires a special grocery trip. Most of it lives in a well-stocked kitchen already.
For the Chicken
- 1 tablespoon canola oil
- 1 pound chicken breasts, cut into thin strips
- 3 cloves garlic, minced
- 2 tablespoons ginger, grated
- 2 tablespoons low sodium soy sauce
For the Vegetables
- 8 ounces mushrooms, thinly sliced (baby bellas or shiitake)
- 1 small onion, finely chopped
- 1 ½ cups Napa cabbage, finely shredded
- 1 cup matchstick carrots
Now For the Sauce
- ¼ cup low sodium chicken broth
- 1 teaspoon cornstarch
- 1 tablespoon sesame oil
- ¼ cup low sodium soy sauce
- 1 teaspoon light brown sugar
Now For the Noodles
- 12 ounces pasta, cooked according to package directions
Quick note: regular spaghetti or linguine works perfectly fine here if you don’t have proper lo mein noodles on hand. Nobody’s checking your noodle credentials.
How to Make Chicken Lo Mein
Let’s slow this down and go through each stage carefully, since the order you cook things in genuinely changes the final texture.
Step 1: Sear the Chicken First
Heat the canola oil in a large skillet over high heat until it shimmers slightly. Add the chicken strips along with the minced garlic, grated ginger, and soy sauce all at once. Cook for 4 to 5 minutes, stirring occasionally, until the chicken browns nicely and cooks through completely.
Step 2: Remove the Chicken from the Pan
Once your chicken is fully cooked, transfer it to a plate or bowl and set it aside. Leave any remaining liquid or oil behind in the pan, since that leftover flavor becomes the base for your vegetables. Don’t rinse the pan between steps, all that browned flavor matters.
Step 3: Sauté the Mushrooms and Onion
Add your sliced mushrooms and chopped onion straight into the same hot pan. Cook for 3 to 4 minutes, stirring occasionally, until the onions turn soft and the mushrooms start browning at the edges. This step builds a savory, umami-rich base for everything else.
Step 4: Add the Cabbage and Carrots
Once your onions and mushrooms look properly softened, add the shredded Napa cabbage and matchstick carrots into the pan. Cook for about 3 more minutes, stirring occasionally so everything cooks evenly. You’re looking for the cabbage to wilt slightly while the carrots stay pleasantly crisp.
Step 5: Whisk Together the Sauce
While your vegetables finish cooking, whisk together the chicken broth, cornstarch, sesame oil, soy sauce, and brown sugar in a small bowl. Whisk thoroughly until the cornstarch fully dissolves with no lumps remaining. This little step prevents a grainy or clumpy sauce later on.
Step 6: Thicken the Sauce in the Pan
Pour your whisked sauce mixture directly over the vegetable medley in the skillet. Bring everything to a boil and let it bubble for about 1 minute, stirring constantly. This brief boil is what activates the cornstarch and thickens the sauce into that glossy, clingy texture you want.
Step 7: Bring the Chicken Back In
Return your cooked chicken to the pan along with all the vegetables and thickened sauce. Stir everything together until the chicken is fully coated and heated back through. This step only takes a minute or two, since the chicken is already cooked.
Step 8: Toss in the Cooked Noodles
Add your already-cooked pasta directly into the pan with the chicken and vegetable mixture. Toss everything together thoroughly using tongs, making sure the sauce coats every noodle evenly. Keep tossing until nothing looks dry or unevenly coated.
Step 9: Garnish and Serve Immediately
Once everything looks glossy and well combined, garnish your lo mein with sliced green onions. Serve it hot right away for the best texture, since noodles lose their appeal fast once they sit around. This dish genuinely tastes best straight out of the pan.
Tips for the Best Chicken Lo Mein Every Time
A few small habits genuinely make a noticeable difference in the final dish.
- Cook in stages, not all at once. Searing the chicken first, then the vegetables, builds layers of real flavor.
- Don’t skip whisking the sauce separately. This prevents a lumpy, grainy texture once it hits the pan.
- Keep the carrots slightly crisp. Overcooking them turns the whole dish mushy instead of texturally interesting.
- Toss the noodles thoroughly. Uneven sauce distribution means some bites taste bland while others taste overly salty.
- Serve immediately. Lo mein loses its best texture fast once it sits, so eat it fresh.
Storage and Reheating
Leftovers hold up reasonably well, which makes this a solid meal-prep option too.
- Refrigerate in an airtight container for up to 3 to 4 days
- Freeze in freezer-safe containers for up to 2 to 3 months, labeled with the date
- Reheat in the microwave for 2 to 3 minutes, stirring halfway through
- Reheat on the stovetop over medium heat, adding a splash of water or broth if the sauce has thickened
FYI, reheating gently on the stovetop tends to give better texture than the microwave. Just avoid overcooking during reheating, since it turns the noodles mushy fast.
Fun Variations to Try
Once you’ve made the classic version, there’s plenty of room to switch things up.
- Vegetable Lo Mein – skip the chicken and add bell peppers, snap peas, or tofu
- Shrimp Lo Mein – swap chicken for shrimp, cooking until pink and opaque
- Beef Lo Mein – use thinly sliced flank steak or sirloin instead of chicken
- Spicy Lo Mein – add sriracha or chili garlic sauce to the sauce mixture
- Peanut Lo Mein – stir peanut butter into the sauce for a creamy, nutty twist
- Garlic Lo Mein – increase the garlic to 5 or 6 cloves for a bolder punch
- Low-Carb Lo Mein – swap pasta for spiralized zucchini or shirataki noodles
- Coconut Lo Mein – add coconut milk to the sauce for a subtle, creamy sweetness
Have you ever added peanut butter to a savory sauce and wondered why you hadn’t done it years earlier? That’s basically the peanut lo mein experience. Same base recipe, completely different personality.
Frequently Asked Questions
Can I use instant noodles instead of pasta? Yes, cook them according to the package directions and swap them in for the pasta.
Can I make Chicken Lo Mein ahead of time? Yes, store it in the refrigerator for up to 3 to 4 days and reheat thoroughly before serving.
Can I freeze Chicken Lo Mein? Yes, freeze it in freezer-safe containers for up to 2 to 3 months.
How can I make this dish spicier? Add sriracha, chili garlic sauce, or crushed red pepper flakes to the sauce mixture.
Can I use gluten-free soy sauce? Yes, gluten-free soy sauce or tamari works as a direct substitute in this recipe.
What can I substitute for Napa cabbage? Regular green cabbage or bok choy both work well as substitutes.
How do I keep the noodles from sticking together? Toss them with a bit of oil after cooking, or coat them thoroughly with sauce right away.
Final Thoughts
This Chicken Lo Mein proves that a few smart cooking stages beat any complicated technique. The seared chicken, the layered vegetables, and that glossy, savory sauce all come together for a reason. Once you make this at home, delivery lo mein might start feeling like a genuine downgrade.
Give this recipe a shot on your next busy weeknight, and don’t be shocked when it becomes your new go-to instead of ordering out. If you try one of the variations, I’d genuinely love to hear which one wins over your kitchen.
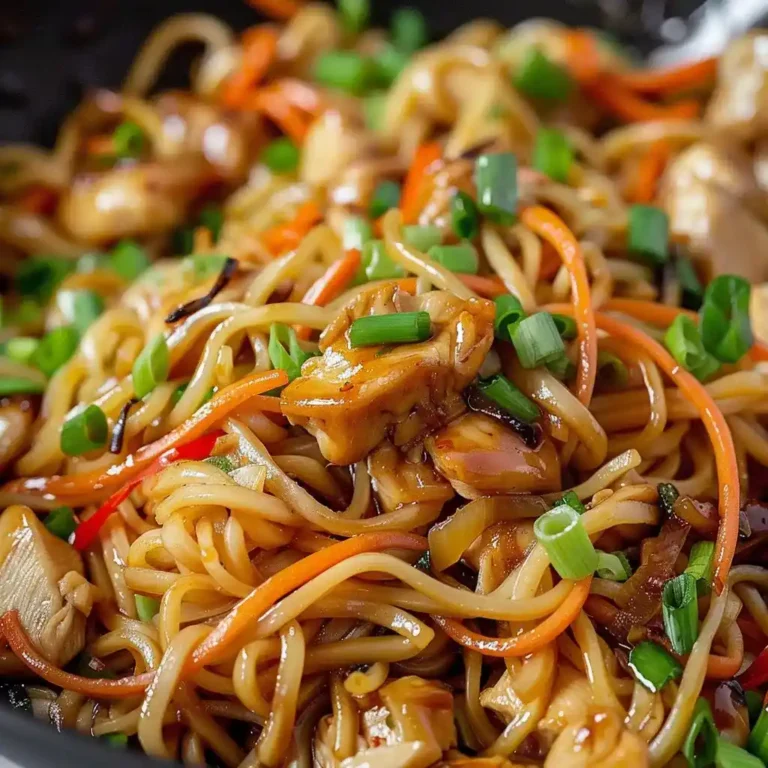
Chicken Lo Mein
Ingredients
Method
- Heat the canola oil in a large skillet over high heat until it shimmers slightly. Add chicken strips, minced garlic, grated ginger, and soy sauce. Cook for 4 to 5 minutes, stirring occasionally, until chicken is browned and cooked through.
- Transfer cooked chicken to a plate and set aside, leaving any remaining liquid or oil in the pan.
- Add sliced mushrooms and chopped onion to the same hot pan. Cook for 3 to 4 minutes, stirring occasionally, until onions are soft and mushrooms start browning.
- Add shredded Napa cabbage and matchstick carrots. Cook for about 3 more minutes, stirring occasionally, until cabbage wilts slightly and carrots remain crisp.
- In a small bowl, whisk together chicken broth, cornstarch, sesame oil, soy sauce, and brown sugar until smooth.
- Pour the sauce over the vegetable medley in the skillet. Bring to a boil and let bubble for about 1 minute, stirring constantly.
- Return the cooked chicken to the pan and stir until everything is coated and heated through (1-2 minutes).
- Add cooked pasta and toss everything together using tongs until the noodles are evenly coated.
- Garnish with sliced green onions and serve immediately.




