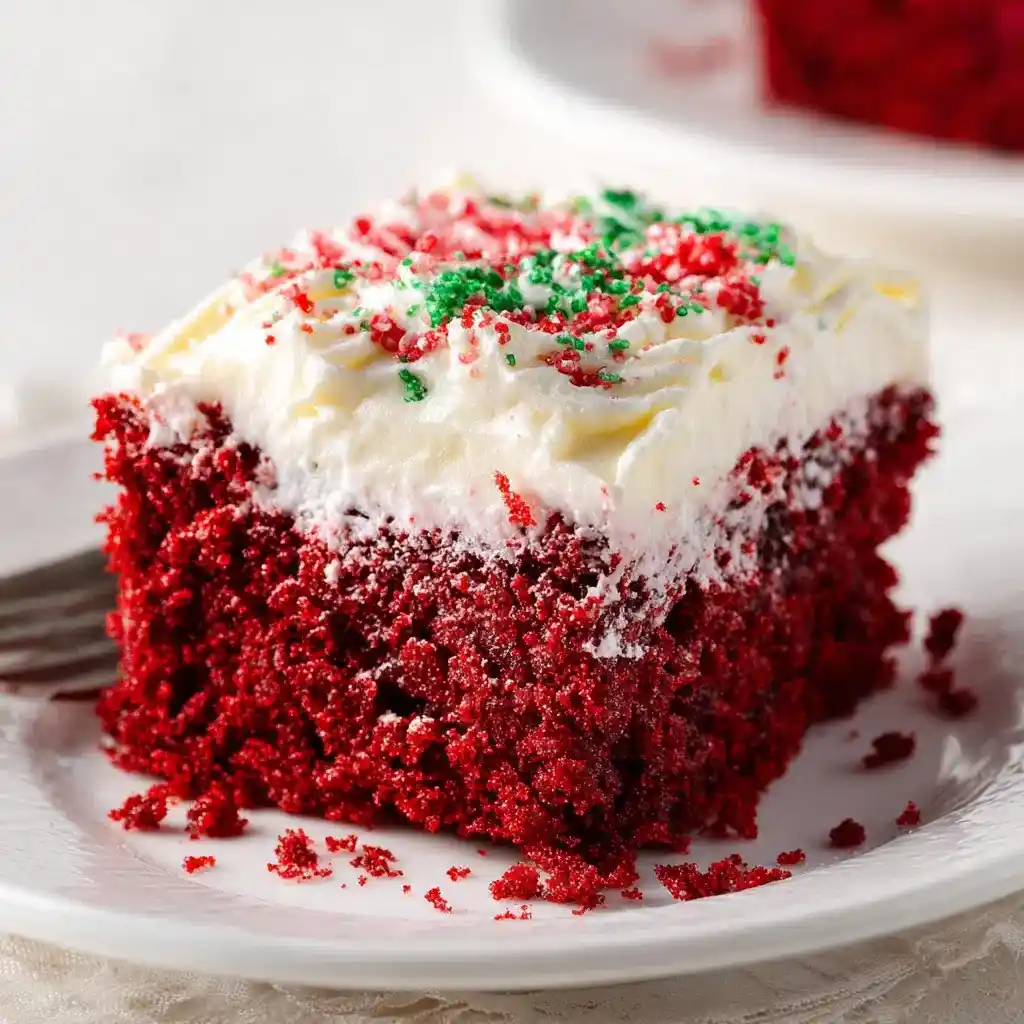
Let’s be honest, holiday baking can feel like a full-time job. This Red Velvet Christmas Poke Cake flips that script with minimal effort and maximum “wow” factor.
I made this cake for the first time three Christmases ago, and it’s now a non-negotiable on my dessert table. Once you see that red-and-white swirl, you’ll get why.
Servings: 12 slices Prep time: 20 minutes Cook time: 30 minutes Chill time: 1 hour Total time: about 1 hour 50 minutes
Why This Red Velvet Christmas Poke Cake Steals the Show
Ever notice how some desserts just look like Christmas? That’s this cake in a nutshell.
The vibrant red cake, snowy white filling, and cream cheese frosting practically scream holiday party. Have you ever needed a dessert that tastes complicated but takes zero advanced skills? This is it.
What Goes Into This Cake
I love recipes that don’t send me hunting through three different grocery stores. This one keeps things simple, and most of it comes together with pantry staples plus a few holiday extras.
You’ll need:
- Red velvet cake mix
- Water
- Vegetable oil
- Eggs
- Sweetened condensed milk
- White chocolate chips
- Cream cheese frosting
- Christmas sprinkles
- White chocolate curls
Exact measurements sit at the bottom of this article, ready for you when you’re actually in the kitchen instead of just window shopping.
A Note on Ingredients
Boxed cake mix isn’t cheating, IMO. It guarantees a moist, consistent base every single time, which matters way more than homemade bragging rights when you’re feeding a crowd.
Sweetened condensed milk and melted white chocolate create that rich, gooey filling. This combo is what separates a poke cake from a plain old sheet cake.
How to Make Red Velvet Christmas Poke Cake
Grab your apron, because I’m walking you through every single step. No skipping, no guessing, just a clear path to a show-stopping dessert.
Step 1: Bake the Red Velvet Cake
Preheat your oven according to the cake mix box instructions. Combine the cake mix with water, vegetable oil, and eggs in a large bowl, then whisk until the batter turns smooth and lump-free.
Pour the batter into a greased 9×13 inch pan. Bake according to the package directions, then let the cake cool completely on a wire rack before moving to the next step.
Cooling matters here more than you’d think. A warm cake will melt your filling into a soggy mess instead of soaking in evenly, and nobody wants mushy cake.
Step 2: Melt the White Chocolate
Place your white chocolate chips into a microwave-safe bowl. Heat in 15-second bursts, stirring thoroughly between each round, until the chocolate turns fully smooth and glossy.
Rushing this step usually ends in scorched chocolate. Slow and steady wins here, so resist cranking the microwave to full power just to save two minutes.
Step 3: Combine the Filling
Pour the melted white chocolate into a bowl with the sweetened condensed milk. Stir until the mixture turns silky and completely uniform in color and texture.
This filling is basically liquid gold. Have you ever wanted to just eat the filling straight from the bowl? I won’t judge you if you sneak a spoonful.
Step 4: Poke Holes in the Cake
Once your cake has fully cooled, grab the handle of a wooden spoon. Poke holes evenly across the entire surface of the cake, spacing them about an inch apart.
Push almost to the bottom of the pan without breaking through. Deeper holes mean more filling soaks into every bite, which is exactly the goal here.
Step 5: Pour the Filling Over the Cake
Slowly pour the white chocolate mixture over the top of the poked cake. Use a spatula to gently press the mixture into each hole so it soaks all the way down.
Take your time with this part. Pouring too fast leaves puddles on top instead of filling that actually penetrates the cake, and that’s a rookie mistake.
Step 6: Chill to Set
Transfer the cake to the refrigerator and let it chill for at least 30 minutes. This resting period lets the filling firm up and fully absorb into the cake layers.
I know waiting is the worst part of baking. But this step is what makes poke cakes so unbelievably moist, so don’t skip it just because you’re impatient.
Step 7: Frost the Cake
Once chilled, spread the cream cheese frosting evenly across the top of the cake. Use an offset spatula or the back of a spoon for smooth, even coverage.
Cream cheese frosting balances the sweetness of the filling perfectly. A tangy frosting against that rich, sugary filling creates the kind of contrast that keeps people reaching for seconds.
Step 8: Chill Again Before Serving
Pop the frosted cake back into the refrigerator until you’re ready to serve. This second chill helps the frosting set and makes slicing significantly cleaner.
Step 9: Garnish and Serve
Right before serving, sprinkle Christmas sprinkles and white chocolate curls across the top. This final touch turns a good cake into a genuinely festive centerpiece.
Slice with a sharp knife, wiping the blade clean between cuts. Clean slices make a real difference when you’re plating this for guests.
Serving and Storage Tips
This cake tastes best cold, straight from the fridge, so don’t rush to serve it warm. Here’s how to keep leftovers in good shape:
- Refrigerator: Store covered tightly for up to 4 days
- Make-ahead: Tastes even better the next day once fully chilled
- Freezer: Skip it, since the frosting and filling can separate once thawed
FYI, this cake is basically built for make-ahead entertaining. Bake it a day before your party and let the fridge do the rest of the work for you.
Fun Variations to Try
Once you’ve nailed the classic version, feel free to get creative. I’ve tried a handful of these myself, and they all bring something different to the table.
- Peppermint twist: Add peppermint extract to the filling and top with crushed candy canes
- Chocolate lover’s version: Swap in chocolate cake mix for a classic poke cake
- Berry contrast: Layer raspberry pie filling between the filling and frosting
- Crunch factor: Sprinkle crushed Oreos over the frosting before serving
Why stick to one version when the base recipe is this flexible? Swap, layer, and garnish however fits your holiday table.
Common Mistakes to Avoid
I’ve messed up plenty of poke cakes over the years, so let me save you the trouble. A few missteps show up more often than others.
Pouring the filling too quickly tops the list. It pools on the surface instead of soaking through, leaving you with dry bites in some spots and soggy ones in others.
Skipping the chill time is another classic error. Frosting a warm cake turns into a melty, sliding mess that ruins the presentation you worked so hard to build.
Frequently Asked Questions
Can I make this cake ahead of time? Yes, it’s actually best made a day ahead so the filling has time to fully soak in.
Do I have to use boxed cake mix? No, homemade red velvet cake batter works just as well if you prefer that route.
Can I use milk chocolate instead of white chocolate? You can, but the cake loses that classic red-and-white holiday appearance.
How deep should the holes be? Poke almost to the bottom of the pan without breaking all the way through.
Can I freeze this cake? Freezing isn’t recommended once the filling and frosting have been added.
Why is my cake turning out soggy? Pouring the filling too quickly or using too much can oversaturate the cake.
Is this cake good for kids? Absolutely, it’s a sweet, colorful, kid-friendly holiday favorite.
Wrapping It Up
This Red Velvet Christmas Poke Cake delivers everything a holiday dessert should: bold color, rich flavor, and a filling so good you’ll want to eat it with a spoon. It’s simple enough for a first-time baker yet impressive enough to anchor your entire dessert table.
So grab that box of cake mix and give this one a shot this season 🙂 Once your guests taste that first creamy, chocolate-soaked bite, you’ll understand exactly why this cake earns a permanent spot on my holiday menu every year.
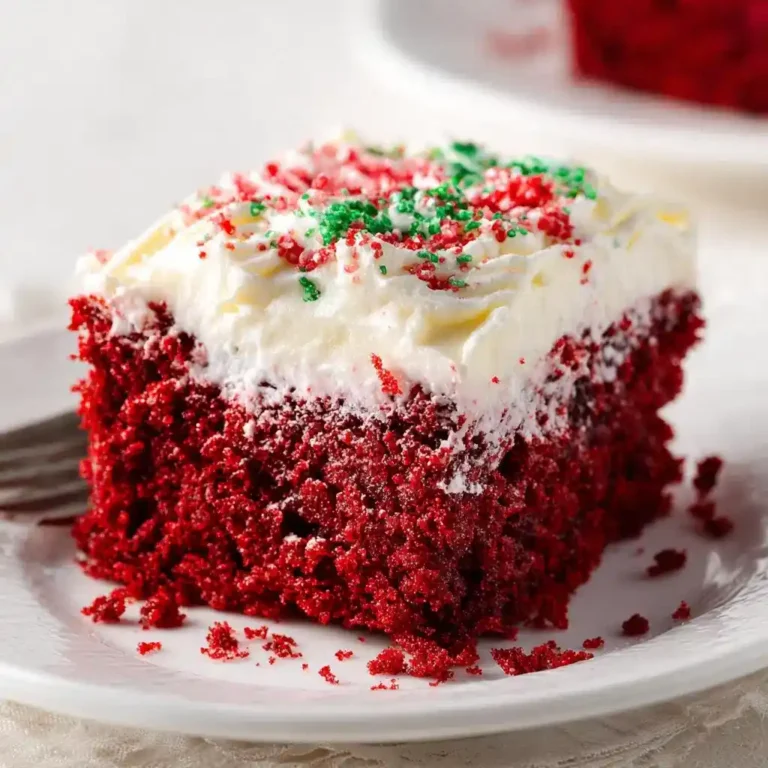
Red Velvet Christmas Poke Cake
Ingredients
Method
- Preheat your oven according to the cake mix box instructions.
- Combine the cake mix, water, vegetable oil, and eggs in a large bowl, whisking until smooth.
- Pour the batter into a greased 9x13 inch pan and bake as directed on the box. Let the cake cool completely.
- Melt the white chocolate chips in a microwave-safe bowl in 15-second bursts, stirring until smooth.
- Mix the melted white chocolate with the sweetened condensed milk until fully combined.
- Once the cake is completely cooled, poke holes in the cake using a wooden spoon handle, spacing them about an inch apart.
- Pour the filling over the cake, pressing it into the holes gently with a spatula.
- Chill the cake in the refrigerator for at least 30 minutes.
- Spread the cream cheese frosting evenly over the top of the chilled cake.
- Return the frosted cake to the refrigerator until ready to serve.
- Just before serving, garnish with Christmas sprinkles and white chocolate curls.




