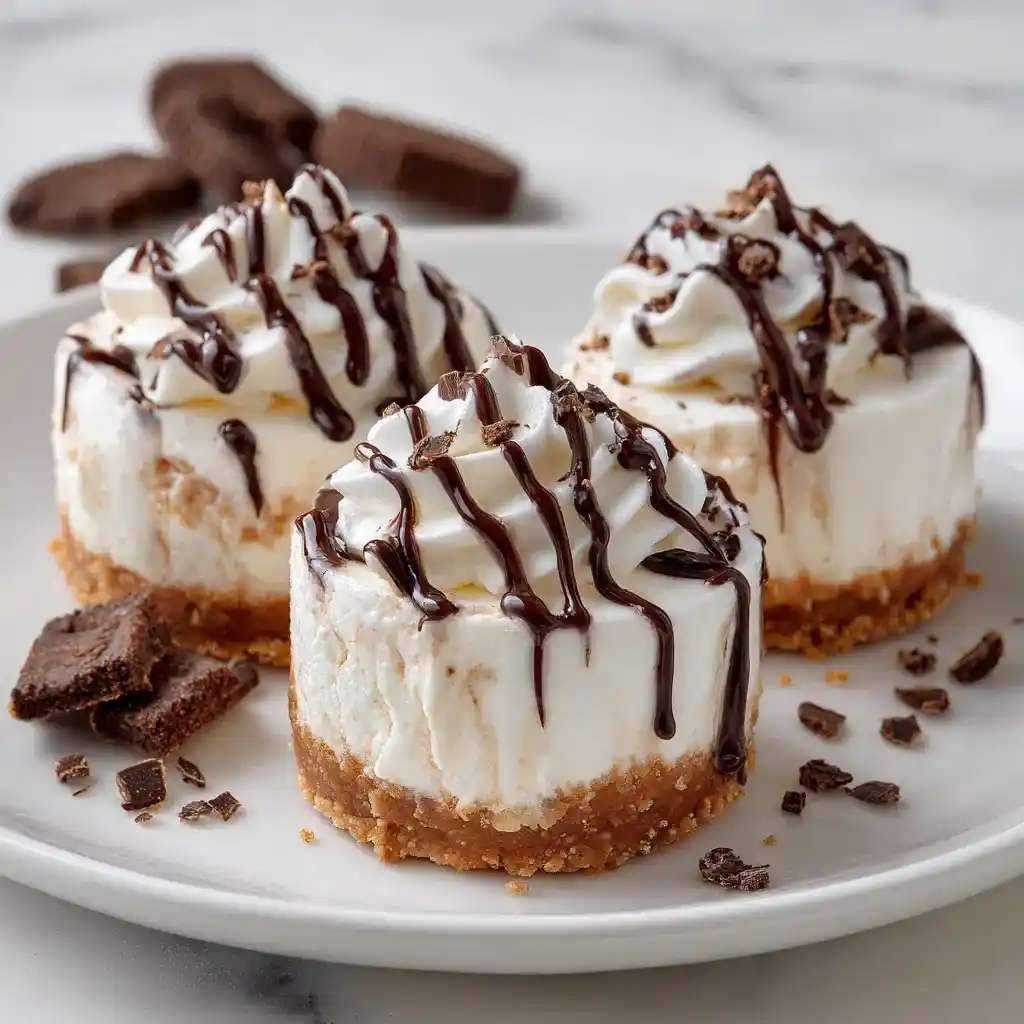
Can’t decide between cookies and cheesecake for your next get-together? These Cheesecake Cookie Cups solve that problem completely. I’ve brought these to parties more times than I can count, and they vanish faster than almost anything else on the dessert table.
Prep time: 20 minutes (plus chilling) | Cook time: 10 minutes | Chill time: 30 minutes | Servings: 12 cups
Why These Cheesecake Cookie Cups Work So Well
I used to think combining two desserts into one just meant compromising on both. This recipe proved me wrong completely. The soft, chewy cookie base holds up perfectly under a fluffy, no-bake cheesecake filling, and neither one steals the spotlight from the other.
Have you ever eaten a mini dessert that looked cute but tasted like an afterthought? That’s not what’s happening here. Real chocolate chip cookie dough forms the base, and the filling is genuinely creamy, not some thin, watery cheesecake substitute.
IMO the chocolate drizzle on top is what pushes these from “nice bite-sized treat” to “why did I only make one batch” territory. Nobody needs to know how little active effort actually goes into these 🙂 That’s between us.
What You’ll Need: Ingredients List
Nothing here requires a special trip to a specialty baking store.
- 16.5 ounces chocolate chip cookie dough (pre-made or homemade)
- 8 ounces cream cheese, softened to room temperature
- 1 cup heavy cream
- ½ cup granulated white sugar
- 1 teaspoon vanilla extract
- ¼ cup chocolate chips
Quick note: store-bought cookie dough works perfectly fine here, and honestly saves you a real chunk of time. Nobody’s judging your dough sourcing choices.
How to Make Cheesecake Cookie Cups
Let’s slow this down step by step, since a rushed whipped cream stage is the easiest way to end up with a runny filling.
Step 1: Prep Your Pan
Preheat your oven to 350°F while you gather your ingredients. Line a standard cupcake pan with paper liners, making sure each cup is ready to hold a portion of cookie dough. This small prep step keeps cleanup easy and helps each cup release cleanly later.
Step 2: Portion the Cookie Dough
Slice your cookie dough into 12 equal portions, each about half an inch thick. Press each portion into the bottom of a lined cupcake cup, spreading it out slightly to cover the base evenly. Even portions here matter, since uneven cookie bases bake at different rates.
Step 3: Bake the Cookie Cups
Slide your pan into the preheated oven and bake for 8 to 10 minutes, until the edges turn golden. Keep an eye on them toward the end, since cookie dough can go from perfect to overdone pretty quickly. Remove the pan from the oven and let the cookie cups cool completely.
Step 4: Beat the Cream Cheese
While your cookie cups cool, beat the softened cream cheese in a mixing bowl until it turns light and completely smooth. Scrape down the sides as needed to catch any stubborn lumps. This smooth base is what your whipped cream will fold into in the next step.
Step 5: Whip the Heavy Cream
In a separate bowl, whip the cold heavy cream on high speed until it turns fluffy and holds soft peaks, which usually takes 4 to 5 minutes. Using cold cream genuinely speeds up this process and helps it hold its shape. Watch closely toward the end so it doesn’t overwhip into a grainy texture.
Step 6: Fold Everything Together
Gently fold the cream cheese, sugar, and vanilla extract into your whipped cream using a spatula. Work in slow, careful strokes rather than vigorous stirring to keep all that airy volume intact. Overmixing at this stage deflates the filling and leaves you with a denser, heavier texture.
Step 7: Fill the Cooled Cookie Cups
Once your cookie cups have cooled completely, scoop or pipe the cheesecake filling evenly into each one. Piping gives you a neater, more polished look, but a spoon works just fine if you’re not fussed about presentation. Fill each cup generously, since this filling is genuinely the star of the show.
Step 8: Chill to Set
Place your filled cookie cups in the refrigerator for at least 30 minutes to let the filling firm up properly. This chilling step matters, since a soft filling won’t hold its shape once you add the chocolate drizzle. Resist the urge to rush this part.
Step 9: Melt the Chocolate
While your cookie cups chill, melt the chocolate chips in the microwave in 30-second intervals, stirring between each one. This gradual approach prevents the chocolate from seizing up or burning. Stop as soon as it’s fully smooth and glossy.
Step 10: Drizzle and Chill Again
Drizzle the melted chocolate over each cheesecake cookie cup in whatever pattern you like. Return them to the refrigerator until you’re ready to serve, letting the chocolate set fully. This final chill keeps everything looking clean and neatly finished.
Tips for the Best Cheesecake Cookie Cups Every Time
A few small habits genuinely separate a great batch from an average one.
- Use cold heavy cream. It whips up faster and holds its structure much better than room-temperature cream.
- Fold, don’t stir, the cream cheese mixture in. Stirring deflates the whipped cream you worked to build up.
- Don’t overbake the cookie base. A slightly underbaked center firms up nicely once chilled in the fridge.
- Chill long enough before serving. Thirty minutes gives the filling time to set into a stable, sliceable texture.
- Melt chocolate slowly. Short microwave intervals prevent scorching or a grainy, seized texture.
Storage and Reheating
These little desserts hold up nicely, which makes them a solid make-ahead option for parties.
- Serve chilled for the best flavor and creamy texture
- Keep in an airtight container in the refrigerator for up to 3 days
- Freeze for up to 1 month, thawing in the fridge before serving
- Top with fresh fruit, sprinkles, or nuts right before serving for extra presentation
FYI, these genuinely travel well if you keep them chilled during transport. That makes them a solid pick for potlucks or parties away from home.
Fun Variations to Try
Once you’ve made the classic version, there’s plenty of room to switch things up.
- Strawberry Cheesecake Cups – top with fresh strawberry slices and a drizzle of strawberry sauce
- Oreo Cheesecake Cups – crush Oreos into the cookie base or sprinkle them on top
- Peanut Butter Chocolate Cups – mix peanut butter into the filling and top with chocolate drizzle
- Salted Caramel Cups – drizzle salted caramel sauce over the top before serving
- Raspberry White Chocolate Cups – use raspberry sauce and a white chocolate drizzle
- Mint Chocolate Cups – add peppermint extract and top with crushed peppermint candies
- Mocha Chocolate Cups – mix espresso powder into the filling and drizzle with chocolate
- Lemon Cheesecake Cups – add lemon zest and a touch of lemon juice to the filling
Have you ever swapped one topping for another and ended up liking the new version even more? That’s basically the salted caramel experience here. Same base recipe, completely different personality.
Frequently Asked Questions
Can I use store-bought cookie dough? Yes, store-bought cookie dough works perfectly and genuinely saves you time.
Do the cookie cups need to be fully baked? Bake until golden, though a slightly underbaked center firms up nicely once chilled.
Can I make these ahead of time? Yes, assemble them a day in advance and store in the refrigerator until ready to serve.
Can I freeze these cookie cups? Yes, freeze them for up to 1 month and thaw in the fridge before serving.
Can I use low-fat cream cheese instead of regular? Yes, though the filling may turn out slightly less creamy and fluffy.
Can I substitute the chocolate drizzle for something else? Yes, caramel, white chocolate, or any favorite sauce works as a substitute.
How do I prevent the whipped cream from deflating? Fold the cream cheese mixture in gently, and avoid overmixing at any stage.
Final Thoughts
These Cheesecake Cookie Cups prove that combining two favorite desserts doesn’t mean compromising on either one. The chewy cookie base, fluffy no-bake filling, and that chocolate drizzle on top all come together for a reason. Once you make these, plain cookies or plain cheesecake might start feeling like you’re settling.
Give this recipe a try for your next gathering, and don’t be shocked when the tray empties before you even get a second one for yourself. If you try one of the variations, I’d genuinely love to hear which one becomes your new favorite.
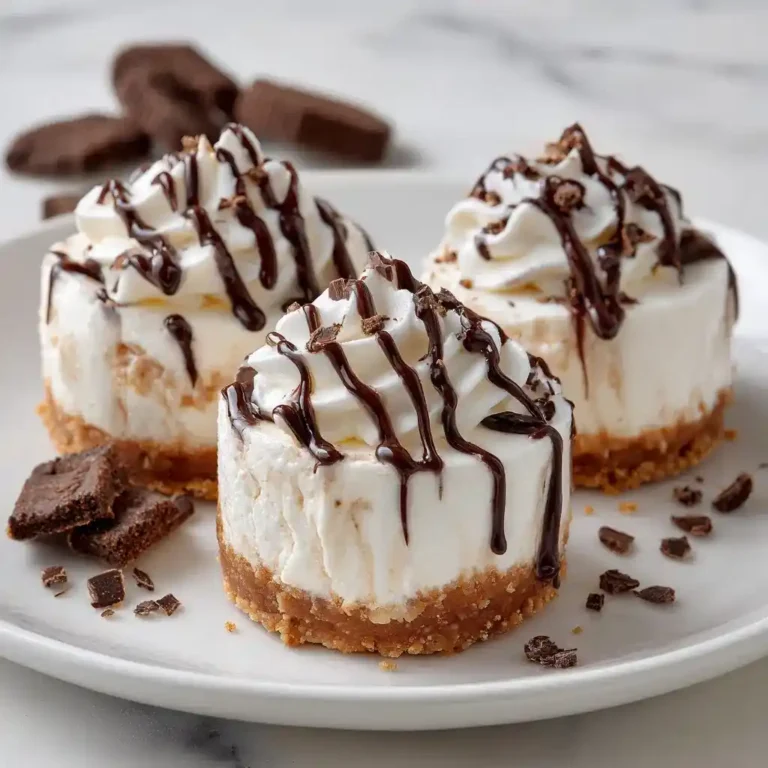
Cheesecake Cookie Cups
Ingredients
Method
- Preheat your oven to 350°F while you gather your ingredients.
- Line a standard cupcake pan with paper liners.
- Slice your cookie dough into 12 equal portions, about half an inch thick.
- Press each portion into the bottom of a lined cupcake cup.
- Slide your pan into the preheated oven and bake for 8 to 10 minutes, until the edges turn golden.
- Remove the pan from the oven and let the cookie cups cool completely.
- Beat the softened cream cheese in a mixing bowl until light and smooth.
- In a separate bowl, whip the cold heavy cream on high speed until fluffy and holding soft peaks.
- Gently fold the cream cheese, sugar, and vanilla extract into your whipped cream.
- Scoop or pipe the cheesecake filling evenly into each cookie cup.
- Chill in the refrigerator for at least 30 minutes to let the filling firm up.
- Melt the chocolate chips in the microwave in 30-second intervals until fully smooth.
- Drizzle the melted chocolate over each cheesecake cookie cup and return them to the refrigerator until ready to serve.




