
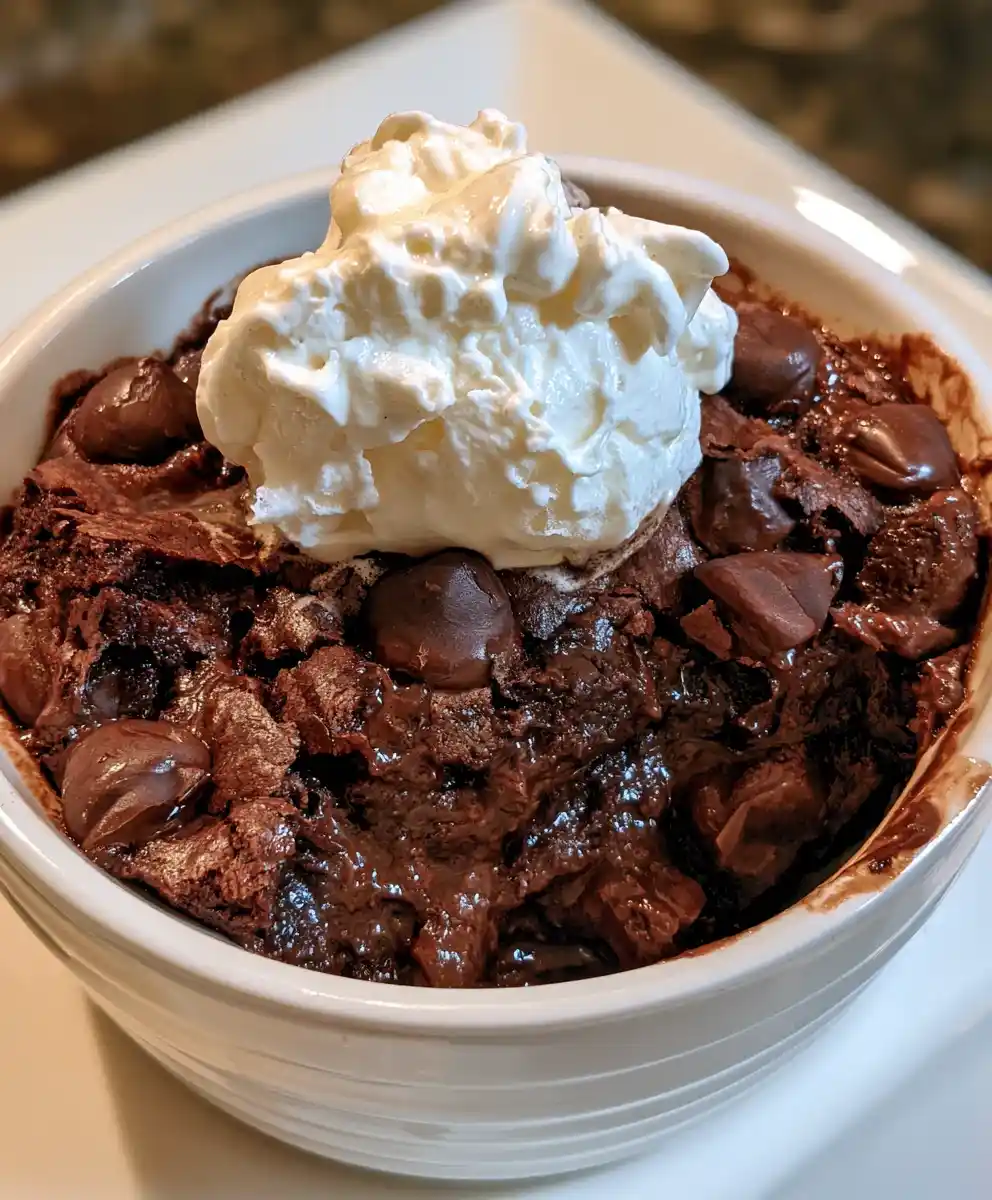
Servings: 1 to 2 | Prep Time: 5 minutes | Cook Time: 1 minute | Total Time: 6 minutes
Picture this: a chocolate craving hits at 10 p.m., and you have zero interest in turning on the oven. This Microwave Brownie recipe exists for exactly that moment. It’s fudgy, fast, and dangerously easy to make on repeat.
Why This Microwave Brownie Recipe Is Basically Magic
Let’s be real, most desserts demand patience you don’t have on a random Tuesday night. This one skips all that. You get a warm, gooey center, melty chocolate pockets, and zero cleanup drama in about six minutes total.
Have you ever wondered why microwave desserts get a bad reputation when done right they’re incredible? People assume “microwave” means bad texture, but this recipe proves that theory wrong every single time. FYI, one bowl and one spoon is all you really need here.
I discovered this recipe during a particularly rough week of late-night deadlines, and it saved me more times than I want to admit. My roommate now requests it so often I’ve started keeping cocoa powder stocked purely for emergencies. Once you try it, you’ll get why 🙂
Ingredients for Microwave Brownie
These are all pantry staples, so there’s a good chance you already have everything on hand. Measure them out before starting since the mixing goes fast.
- Granulated sugar – 2 tablespoons
- Unsweetened natural cocoa powder – 2 tablespoons
- Water – 2 tablespoons
- Canola or vegetable oil – 2 tablespoons
- Light brown sugar – 1 tablespoon
- Vanilla extract – ¼ teaspoon
- Salt – 1 small pinch
- All-purpose flour – 3 tablespoons
- Semi-sweet chocolate chips – 1 tablespoon, plus extra for topping
That’s the entire ingredient list. No eggs, no butter to soften, no waiting around for anything to come to room temperature.
Equipment You’ll Need
- Small microwave-safe bowl or mug
- Whisk or fork
- Measuring spoons
- Spoon for eating, obviously
How to Make Microwave Brownie From Scratch
This whole process takes just a few minutes, but a little care in each step makes a noticeable difference in texture. Let’s walk through exactly how to nail it.
Step 1: Whisk the Wet Ingredients Together
Grab your microwave-safe bowl and add the granulated sugar, cocoa powder, water, oil, brown sugar, vanilla extract, and salt. Whisk everything together vigorously until the mixture turns smooth and glossy. Make sure no lumps of cocoa powder remain hiding at the bottom of the bowl. This base needs to be fully combined before moving forward, so give it a solid thirty seconds of whisking.
Step 2: Fold In the Flour Gently
Sprinkle the all-purpose flour directly into your chocolate mixture. Using a spoon or spatula, fold it in slowly instead of stirring aggressively. Overmixing at this stage develops the gluten too much, which leads to a tougher, less fudgy texture. Stop folding the moment you no longer see streaks of dry flour.
This gentle approach matters more than people expect from such a small recipe. Rushing this step is the number one reason microwave brownies turn out rubbery instead of soft. Treat the batter carefully, and the payoff shows up in every bite.
Step 3: Stir In the Chocolate Chips
Fold your chocolate chips into the batter until they’re evenly distributed throughout. These little pockets of chocolate melt into gooey pools once the batter hits the microwave’s heat. Feel free to sneak a few chips straight from the bag while you’re at it; I won’t judge. Save a few extra chips to press into the top of the batter for a prettier finish.
Step 4: Microwave in Short Bursts
Place your bowl into the microwave and cook on high power for about 45 seconds first. Pause and check the texture carefully, since every microwave heats slightly differently. If the center still looks too wet or gooey for your taste, add another 10 to 15 seconds. Keep a close eye during this stage; overcooking dries the brownie out fast.
Step 5: Let It Rest Briefly
Once your timer goes off, let the brownie sit in the microwave or on the counter for about one minute. This short rest allows the residual heat to finish setting the center without overbaking it. Skipping this step often leaves the middle undercooked and overly liquid. Patience here pays off with that perfect fudgy consistency.
Step 6: Top It and Dig In
Carefully remove your bowl since it will be genuinely hot right out of the microwave. Add a scoop of vanilla ice cream or a dollop of whipped topping if you’re feeling extra indulgent. Grab a spoon and dig in while everything’s still warm and the chocolate chips are melty. That first bite of molten chocolate is honestly the whole reason this recipe exists.
Tips for Success
- Always use a microwave-safe bowl to avoid any unfortunate kitchen mishaps.
- Watch the cooking time closely since microwaves vary significantly in power.
- Add a pinch of espresso powder to deepen the chocolate flavor.
- Stir in chopped nuts if you love a little crunch in your brownie.
- Eat it immediately; this dessert loses its magic once it cools completely.
Variations Worth Trying
- Nutty Version – Fold in chopped walnuts or pecans for added crunch.
- Mint Chocolate Twist – Add a few drops of peppermint extract to the batter.
- Peanut Butter Swirl – Drop a spoonful of peanut butter on top before microwaving.
- Gluten-Free Option – Swap the all-purpose flour for almond flour or a gluten-free blend.
- Vegan Adaptation – Use coconut oil instead of canola oil for a plant-based version.
Serving Suggestions
- Top with a scoop of vanilla ice cream for the ultimate hot-and-cold combo.
- Drizzle chocolate or caramel sauce over the top for a gourmet touch.
- Add fresh berries on the side for a bright, tangy contrast.
- Pair with coffee or a cold glass of milk depending on your mood.
- Dust with powdered sugar right before serving for a nice presentation.
Frequently Asked Questions
Can I use a different type of cocoa powder? Yes, Dutch-processed cocoa works fine and gives a slightly different flavor. IMO, unsweetened natural cocoa still delivers the best results for this specific recipe.
How do I know when my brownie is done? Start checking around the 45-second mark. The center should look mostly set; if it’s still too gooey, microwave in short 10 to 15-second bursts.
Can I double this Microwave Brownie recipe? It’s best to stick with a single batch at a time. Doubling changes the cooking time and dish size, which can throw off that fudgy texture.
Is this recipe gluten-free friendly? It can be. Simply swap the all-purpose flour for a gluten-free blend or almond flour without losing much flavor at all.
What’s the best way to serve a microwave brownie? Topping it with ice cream or whipped cream creates a warm-and-cold contrast that’s hard to beat. Eating it fresh out of the microwave is non-negotiable, though.
Why did my brownie turn out rubbery instead of fudgy? This usually happens from overmixing the batter or microwaving it too long. Fold gently and check the texture early to avoid this issue.
Final Thoughts on This Microwave Brownie Recipe
This Microwave Brownie recipe proves that great desserts don’t need an oven, a mixer, or thirty minutes of your evening. It’s warm, fudgy, and ready faster than most delivery apps could even confirm your order. Whether it’s a solo treat after a long day or a quick fix for surprise guests, this one delivers every time. Make it once, and don’t be shocked when it becomes your go-to chocolate fix.
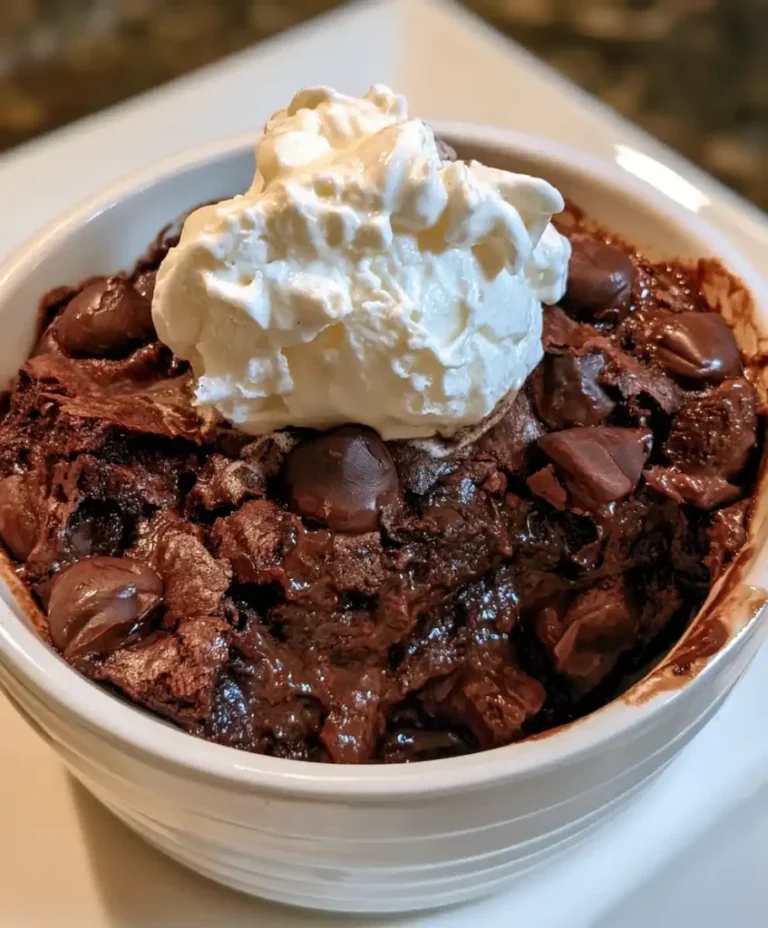
Microwave Brownie
Ingredients
Method
- Whisk the wet ingredients together: granulated sugar, cocoa powder, water, oil, brown sugar, vanilla extract, and salt in a microwave-safe bowl until smooth.
- Gently fold in the all-purpose flour until no streaks of dry flour remain.
- Stir in the chocolate chips until evenly distributed, reserving some for topping.
- Microwave the batter on high power for about 45 seconds. Check the texture and add an additional 10 to 15 seconds if needed.
- Let the brownie rest for 1 minute to set the center.
- Top with extra chocolate chips or a scoop of ice cream if desired.
- Enjoy the brownie while warm.
Notes
Microwave Brownie
Ingredients
Method
- Whisk the wet ingredients together: granulated sugar, cocoa powder, water, oil, brown sugar, vanilla extract, and salt in a microwave-safe bowl until smooth.
- Gently fold in the all-purpose flour until no streaks of dry flour remain.
- Stir in the chocolate chips until evenly distributed, reserving some for topping.
- Microwave the batter on high power for about 45 seconds. Check the texture and add an additional 10 to 15 seconds if needed.
- Let the brownie rest for 1 minute to set the center.
- Top with extra chocolate chips or a scoop of ice cream if desired.
- Enjoy the brownie while warm.