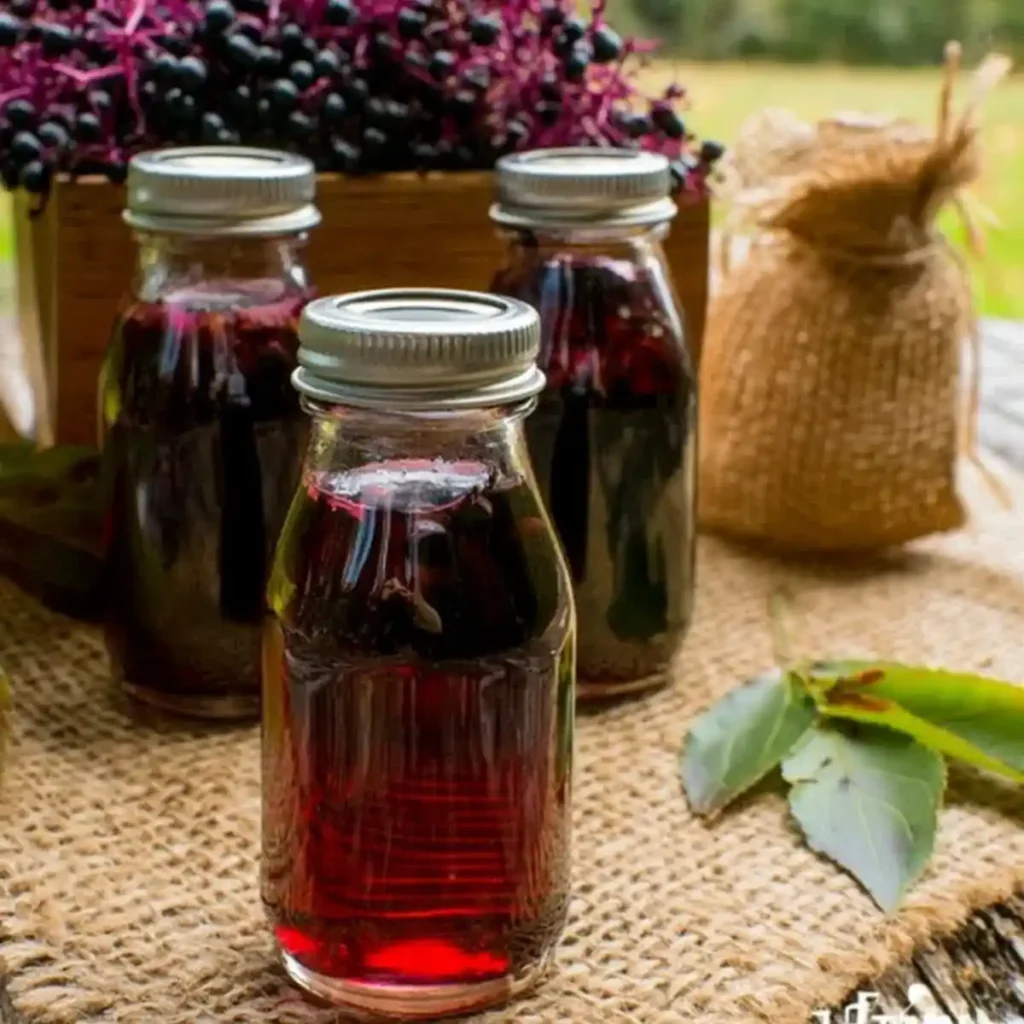
Your kitchen shelf probably holds a spice jar or two you never touch. Here’s a better use for them. I turn dried elderberries, cinnamon, cloves, ginger, and orange peel into a deep purple tincture that smells like a cozy cabin.
I started making this elderberry tincture with herbs after I got tired of paying boutique prices for tiny bottles. Now I keep a jar steeping in my pantry all season. Honestly, watching it darken day by day beats most TV.
Why This Elderberry Tincture With Herbs Works
Have you ever wondered why herbalists love alcohol for extractions? Alcohol pulls flavor, color, and plant compounds out of herbs far better than plain water does. It also preserves the finished extract for a long time.
Elderberries bring the rich berry flavor and the gorgeous color. The warming herbs bring the aroma and depth. Together, they create a balanced herbal extract that tastes better than you’d expect from something that sits in a jar for weeks.
IMO, the herb blend makes the difference. Plain elderberry tincture tastes fine, but the cinnamon and orange peel turn it into something I actually enjoy making.
Recipe Snapshot: Time and Servings
Before you grab a jar, here’s what you’re signing up for. The hands-on work stays short. The waiting takes patience, and I won’t pretend otherwise.
- Active prep time: about 15 minutes
- Infusion time: 4 to 6 weeks
- Straining and bottling time: about 15 minutes
- Yield: about 1½ cups of finished tincture
- Servings: roughly 24 tablespoon-size portions
Treat that serving count as a guide for how far one batch stretches. Talk to a healthcare professional before you use any herbal extract regularly. That matters even more if you take medications, are pregnant, or avoid alcohol.
Ingredients and Quantities
Here’s exactly what you need. I list the amounts so you can measure everything before you start.
- 1 cup dried elderberries
- 2 cups vodka or other high-proof alcohol
- 2 cinnamon sticks
- 1 teaspoon whole cloves
- 1 tablespoon fresh ginger root, or 1 teaspoon dried ginger
- 1 tablespoon dried orange peel
- Raw honey or maple syrup, optional, to taste
Each ingredient has a job. The elderberries give color and body, and the vodka extracts and preserves. Cinnamon adds warmth, cloves add spicy depth, ginger adds a gentle kick, and orange peel adds brightness.
Quick Ingredient Notes
Buy dried elderberries from a trusted source. Quality varies a lot, and cheap, dusty berries make a dull tincture. I check that the berries look plump and smell fruity, not musty.
For the alcohol, choose a clean, neutral vodka at a standard 80 proof or higher. You don’t need the fancy bottle. Your elderberries will not care about the label, and your wallet will thank you.
Equipment You Need
You don’t need a fancy setup. A few basic items cover everything. Gather them first so you don’t hunt through drawers with sticky fingers.
- A clean glass jar with a tight lid, pint size or larger
- Measuring cups and spoons
- A fine mesh strainer or cheesecloth
- A funnel
- A clean glass bottle for the finished tincture
- A label and marker
Wash your jar and bottle with hot soapy water, then let them dry completely. Moisture and stray bits of food invite trouble. Clean glass keeps your tincture pure and stable.
How to Make Elderberry Tincture With Herbs
This part takes the least time and the most care. Follow these steps in order, and you’ll end up with a great jar. I explain each one so you know why you’re doing it.
Step 1: Prepare Your Ingredients
Set out every ingredient on the counter and measure each one. Check that your berries and herbs look clean and smell fresh. Toss anything that looks off or smells strange.
If you use fresh ginger, slice it thinly or chop it into small pieces. More surface area means better extraction. If you use dried ginger, just measure it out.
Step 2: Fill the Jar
Add the elderberries to your clean glass jar first. Then add the cinnamon sticks, cloves, ginger, and orange peel. Break the cinnamon sticks in half if they don’t fit comfortably.
Take a moment to smell the jar at this stage. It smells like a holiday candle already. That’s your first sign that you’re on the right track.
Step 3: Pour in the Alcohol
Pour the vodka slowly over the herbs until it completely covers everything. Leave a little space at the top of the jar. That headspace gives you room to shake the jar later.
Check for floating bits poking above the surface. Press them down with a clean spoon. Anything that sits above the liquid can spoil, so keep it all submerged.
Step 4: Seal, Shake, and Label
Screw the lid on tightly and give the jar a gentle shake. You want the berries and herbs to mix with the alcohol evenly. Watch the liquid start to tint right away.
Write the date and a quick note about the recipe on a label, then stick it on the jar. Trust me, you will forget the start date. Future you will appreciate the label
Step 5: Let It Infuse
Store the jar in a cool, dark place for 4 to 6 weeks. A pantry or a cupboard away from the stove works well. Direct sunlight and heat break down the good stuff, so keep the jar tucked away.
Shake the jar every few days. I set a reminder on my phone, because otherwise I forget completely. Each shake helps the alcohol keep working on the berries and herbs.
Why wait so long? Because the longer infusion time lets the herbs release more flavor and herbal qualities. A rushed tincture tastes thin and weak. Patience pays off here, even if it feels annoying.
Step 6: Strain the Tincture
After 4 to 6 weeks, open the jar and take a sniff. The aroma should smell rich, spicy, and fruity. The liquid should look deep purple, almost black.
Set a fine mesh strainer or cheesecloth over a bowl, then pour the contents through. Press the berries and herbs gently to squeeze out the remaining liquid. Don’t wring too hard, or you’ll push through gritty sediment.
Step 7: Bottle and Sweeten
Use a funnel to pour the strained liquid into a clean glass bottle. Taste a tiny drop first. The flavor runs strong, spicy, and a little tart.
If that’s too intense for you, stir in a spoonful of raw honey or maple syrup. Add it slowly and taste as you go. A little sweetness softens the herbal bite without hiding it.
Step 8: Store the Finished Tincture
Seal the bottle and keep it in a cool, dark spot. Label it with the date you bottled it. Your elderberry tincture with herbs now sits ready to use.
Tips for the Best Results
I’ve botched a few batches over the years, so you get my hard-earned lessons. These small habits make a real difference. Skip them, and you’ll probably repeat my mistakes.
- Use quality dried elderberries for better flavor and color.
- Keep everything submerged under the alcohol.
- Store the jar away from sunlight and heat to protect freshness.
- Shake regularly so the infusion stays even.
- Always use clean glass for jars and bottles.
FYI, glass beats plastic for tinctures every time. Alcohol can react with some plastics, and glass keeps the flavor clean. Metal lids can rust, so I place a piece of parchment paper under the lid.
Ways to Customize Your Tincture
Once you master the base recipe, you can play around. This elderberry tincture with herbs welcomes small tweaks. I change it up depending on my mood and what sits in the cupboard.
Try adding rose hips for a tangy, floral note. Add hibiscus for extra tartness and a brighter red tint. Both pair nicely with elderberries and the spice blend.
Keep changes small the first time. Add one new herb per batch so you can tell what it does. If you throw in five new things at once, you’ll never figure out which one ruined it.
How to Use Your Tincture
People use herbal tinctures in lots of ways. Some stir a small amount into warm tea. Others mix it into a mocktail base or a drizzle over desserts.
I like it in hot tea with a little honey on a cold evening. The cinnamon and orange peel make it feel like a treat. Start with a small amount and see how you like the taste.
How to Store Your Tincture
Proper storage keeps your tincture tasting fresh. Keep the bottle in a cool, dark location and seal it tightly after every use. Dark amber or blue glass bottles protect it even better.
Alcohol preserves herbal extracts well, so a properly stored tincture lasts a long time. Still, check it before each use. If the smell, color, or look seems off, throw it out and make a fresh batch.
Frequently Asked Questions
How long does elderberry tincture take to make?
Plan on 4 to 6 weeks of infusion time. The active work takes only about 30 minutes in total, split between setup and straining. The rest of the time, the jar does the work for you.
Can I use fresh elderberries instead of dried?
This recipe calls for dried elderberries, and I recommend sticking with them. Raw elderberries need proper preparation, and the plants contain compounds that can upset your stomach. Dried berries from a trusted source keep things simple and reliable.
What alcohol works best for tincture?
Vodka works great because its neutral flavor lets the berries and herbs shine. Any high-proof alcohol also works. Higher proof extracts more and preserves better.
Can I make an alcohol-free version?
You can try glycerite-style methods or a syrup instead, but that becomes a different recipe. Alcohol does the extracting and preserving in this one. Without it, the shelf life drops sharply.
How long does homemade elderberry tincture last?
Stored in a cool, dark spot in a sealed glass bottle, it keeps for a long time thanks to the alcohol. I still check smell and appearance before I use it. When in doubt, make a new batch.
Can I make the tincture without sweetener?
Absolutely. Honey or maple syrup is optional. It simply softens the strong herbal taste, so skip it if you like bold flavors.
Final Thoughts
You now have everything you need to make elderberry tincture with herbs at home. Gather the ingredients, fill a jar, and let time do the work. The reward is a spicy, fruity extract you made yourself.
Remember the key points: use clean glass, keep everything submerged, store the jar in the dark, and wait the full 4 to 6 weeks. Then strain, sweeten if you like, and bottle it. So, why not start a jar tonight? Your future self will thank you, and your pantry will finally earn its keep.
Elderberry Tincture
Ingredients
Method
- Set out every ingredient on the counter and measure each one. Ensure berries and herbs are clean and fresh.
- If using fresh ginger, slice it thinly; if using dried ginger, measure it out.
- Add the elderberries to your clean glass jar first, followed by the cinnamon sticks, cloves, ginger, and orange peel.
- Pour the vodka over the herbs until everything is covered, leaving headspace at the top.
- Seal the jar tightly, shake gently, and label with the start date.
- Store in a cool, dark place for 4 to 6 weeks, shaking every few days.
- After 4 to 6 weeks, strain the tincture through a fine mesh strainer or cheesecloth into a bowl.
- Use a funnel to transfer the strained liquid into a clean glass bottle.
- Taste and sweeten with raw honey or maple syrup if desired.
- Seal the bottle and store in a cool, dark location, labeling it with the date it was bottled.




