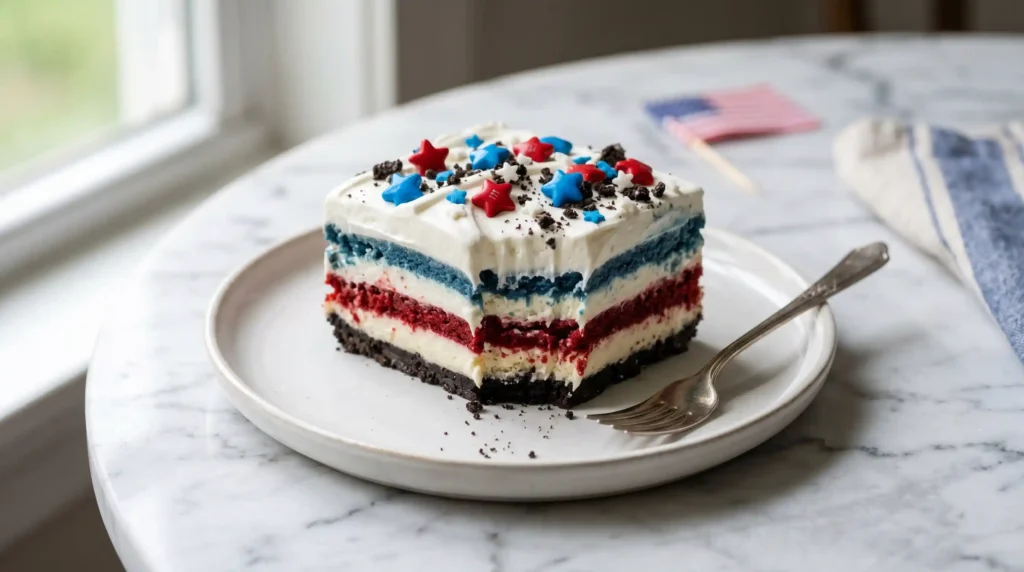
Servings: 12–15 squares | Prep Time: 20 minutes | Chill Time: 4 hours (overnight preferred) | Total Time: 4 hours 20 minutes
This Dessert Is Going to Own Your Fourth of July Table
You know that one person at every cookout who shows up with something that makes everyone stop mid-conversation? This Patriotic Oreo Lasagna makes you that person. No baking, no stress, and somehow it looks like you spent all day on it.
I first made this for a Fourth of July gathering and watched it disappear in under ten minutes. Fifteen people, one 9×13 dish, zero leftovers. That’s basically a five-star review right there.
What Exactly Is a Patriotic Oreo Lasagna?
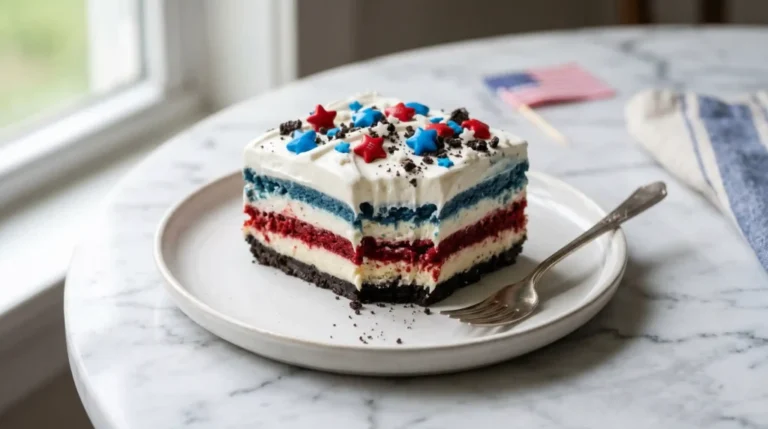
It’s a no-bake layered dessert built like a lasagna — but instead of pasta and sauce, you get crushed Oreos, creamy white chocolate pudding, fluffy Cool Whip, and a pop of red and blue candy on top.
The result is a stunning, festive dessert that screams summer celebration without requiring you to turn on your oven. It’s creamy, crunchy, sweet, and visually bold. IMO, it’s one of the easiest crowd-pleasers you’ll ever make.
Ingredients for Patriotic Oreo Lasagna
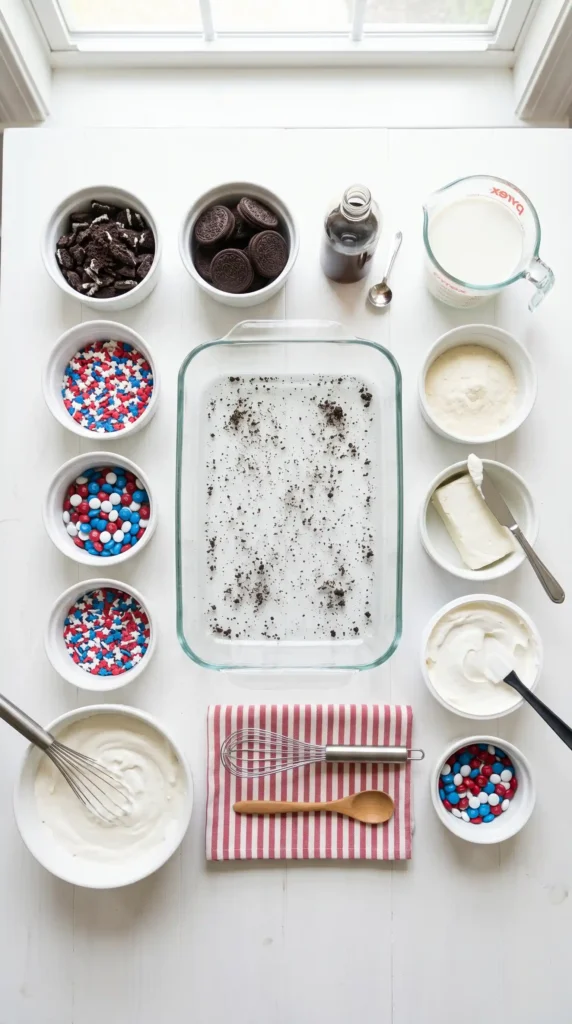
Here’s everything you need. Simple stuff, all easy to find.
For the Layers
- 36 Oreo cookies, divided (about 3 cups crushed)
- 2 boxes (3.3 oz each) white chocolate instant pudding mix
- 3 cups cold milk
- 1 cup white chocolate chips
- 8 oz Cool Whip, thawed (plus extra for garnish)
- 1/2 cup red candies (red M&Ms or similar)
- 1/2 cup blue candies (blue M&Ms or similar)
- 2–3 tbsp patriotic sprinkles
Equipment
- 9×13 baking dish
- Large mixing bowl
- Whisk
- Zip-lock bag and rolling pin (for crushing Oreos)
- Spatula
How to Make Patriotic Oreo Lasagna
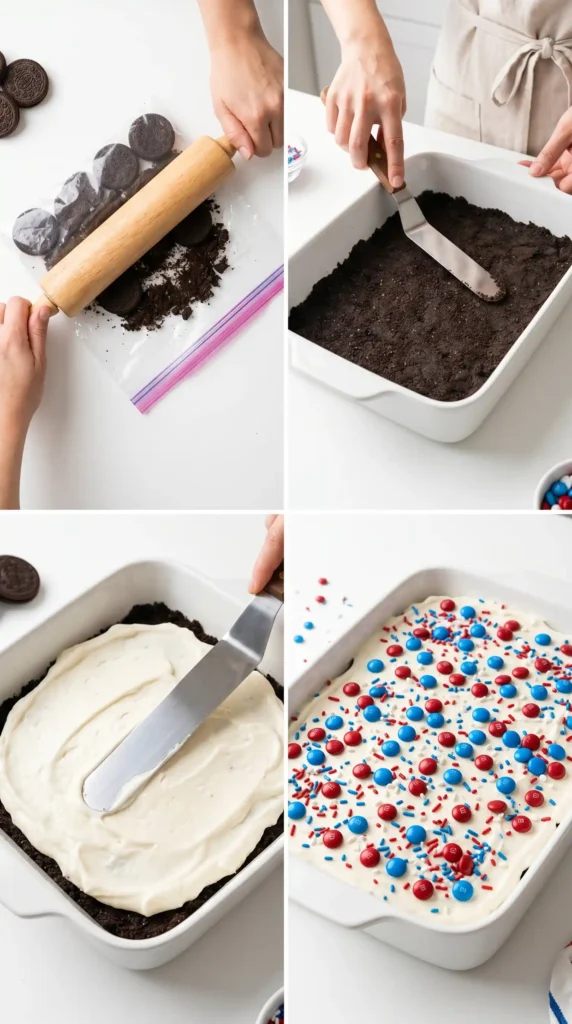
Let’s walk through this step by step. It’s easier than you think, and the results are absolutely worth it.
Step 1: Crush Your Oreos
Start by placing about 24 of your Oreo cookies into a large zip-lock bag. Seal it tightly — trust me, you don’t want cookie dust flying across your kitchen.
Grab a rolling pin and start crushing. Roll back and forth with firm, even pressure. You want mostly fine crumbs, but a few slightly larger pieces are totally fine. Those little chunks add texture and make the base feel more rustic and interesting.
Once you’re happy with the crumbs, open the bag and pour them into your 9×13 baking dish. Use a spatula or the flat bottom of a glass to press the crumbs down into a firm, even layer.
Make sure you press all the way to the corners and edges. A solid, even base holds the whole dessert together when you go to slice it later. This layer is your foundation — treat it with respect.
Set the dish aside and move on to the filling.
Step 2: Mix the Pudding
Pour both boxes of white chocolate instant pudding mix into a large mixing bowl. Add 3 cups of cold milk all at once.
Whisk vigorously for about 2 minutes. You’ll feel the mixture start to thicken as you go. Keep whisking until it’s completely smooth with no dry powder left at the bottom of the bowl.
Let it sit for about 2 minutes after whisking. The pudding will continue to set and thicken slightly during that rest time. You want it firm enough to hold its shape in layers but still spreadable.
Step 3: Build the Creamy Filling
Now you take that pudding up a level. Add 1 cup of white chocolate chips directly into the pudding mixture. Fold them in gently with a spatula until they’re evenly distributed throughout.
Next, add your 8 oz of thawed Cool Whip. This is important — it must be fully thawed, not frozen or even slightly icy. Cold Cool Whip won’t fold in smoothly and will leave chunks in your filling.
Fold the Cool Whip into the pudding using slow, sweeping motions. Don’t stir aggressively or you’ll knock the air out of the Cool Whip. That airy, fluffy quality is exactly what makes this filling so good.
Keep folding until everything is fully combined and you have a thick, creamy, cloud-like mixture. It should look uniform — no white streaks of Cool Whip, no visible pudding clumps.
Step 4: Layer Everything Together
Here’s where it gets fun. Spoon half of the creamy filling over your Oreo base. Use a spatula to spread it evenly all the way to the edges. Take your time — an uneven layer makes slicing messy later.
Now take your remaining 12 Oreo cookies and crush them just like before. Sprinkle these crumbs evenly over the first cream layer. Press them down very gently, just enough to nestle them into the filling without pushing through it.
Scatter your red and blue candies across this Oreo layer. Be generous and spread them evenly so every serving gets a bit of that patriotic color pop. Red M&Ms on one half, blue on the other — or mix them up randomly. Either way looks great.
Spread the remaining creamy filling over everything as your final layer. Use the spatula to get it as smooth and even as possible. This top layer is what people see first, so make it look good.
Step 5: Decorate the Top
Once your top layer is smooth, it’s time to make it look festive. Add a generous scatter of patriotic sprinkles across the entire surface.
If you want to go the extra mile, pipe or dollop small rosettes of extra Cool Whip across the top. Then place a few red and blue candies on each dollop. FYI, a star-tip piping bag makes this look genuinely impressive with almost zero effort.
This step is purely visual, but presentation matters — especially when you’re setting this out at a party table. A great-looking dessert gets people excited before they even taste it.
Step 6: Chill Before Serving
Cover the dish tightly with plastic wrap and refrigerate for at least 4 hours. Overnight is even better.
The chilling time lets the layers firm up and meld together. The Oreo crumbles soften slightly into the filling, the pudding sets completely, and everything becomes cohesive enough to slice cleanly.
If you cut it too early, the layers slide apart and you end up with a delicious but messy pile. Give it the time it needs. A properly chilled Patriotic Oreo Lasagna slices into beautiful, distinct squares that hold their shape on the plate.
Tips for the Best Results
A few things that make a real difference:
- Thaw the Cool Whip fully. Cold Cool Whip ruins the filling texture.
- Crush Oreos in batches if your bag feels too full to roll properly.
- Press the base layer down firmly — a loose crumb base falls apart when serving.
- Chill overnight whenever possible. The flavor and texture improve significantly.
- Use a sharp knife wiped clean between cuts for neat, clean squares.
How to Serve and Store
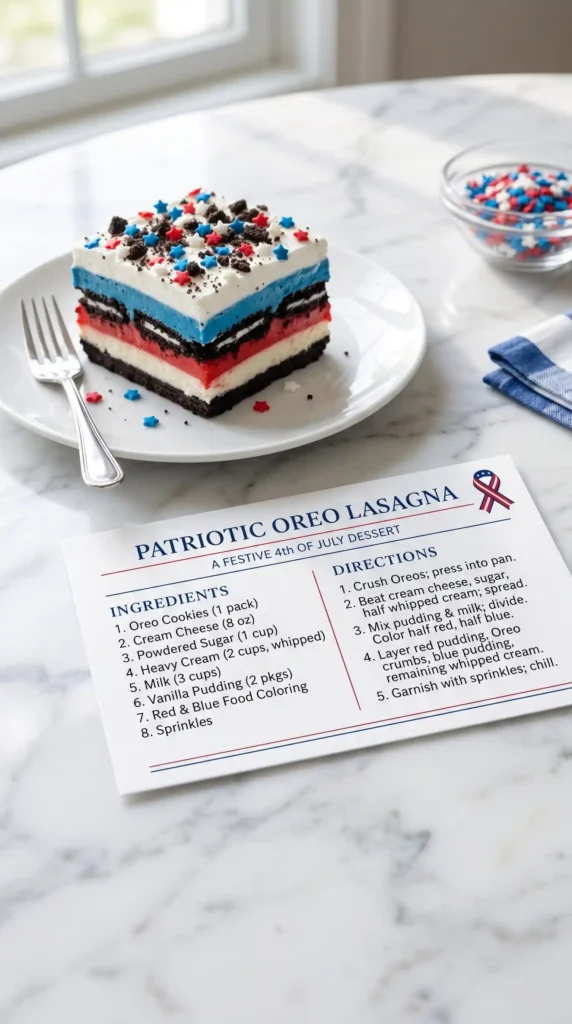
Slice into 12–15 squares and serve directly from the chilled dish. Each piece looks best with a small dollop of whipped topping and a few extra sprinkles right before serving.
Store leftovers covered in the refrigerator for up to 3 days. The texture holds well and the flavors actually deepen overnight. Don’t freeze it — the creamy layers turn icy and grainy when thawed.
Variations Worth Trying
Want to mix things up? Here are a few ideas:
- Chocolate base version: Use chocolate pudding instead of white chocolate for a richer, darker flavor.
- Fresh fruit layer: Add a layer of sliced strawberries and blueberries for natural sweetness and color.
- Gluten-free swap: Use gluten-free Oreo-style cookies — they work just as well in this recipe.
- Nutty version: Sprinkle chopped pecans or walnuts between layers for crunch and depth.
- Lighter version: Sub in sugar-free pudding and light Cool Whip to cut calories without losing flavor.
Frequently Asked Questions
Can I make Patriotic Oreo Lasagna ahead of time?
Yes, and you actually should. Make it the night before your event and let it chill overnight. The layers firm up beautifully and the flavors meld together. Day-of prep works too, but overnight chilling gives noticeably better texture and cleaner slices.
Can I use vanilla pudding instead of white chocolate pudding?
Absolutely. Vanilla pudding works as a direct substitute and tastes great with the Oreos. The flavor is slightly less rich but still delicious. You can also try cheesecake-flavored instant pudding for an even creamier, tangier result.
How long does this dessert need to chill?
At minimum, 4 hours in the refrigerator. Overnight is the sweet spot. The longer it chills, the more the layers set and the easier it is to cut into clean squares. Don’t rush this step — it genuinely matters.
Can I freeze Patriotic Oreo Lasagna?
Not recommended. The Cool Whip and pudding layers don’t freeze well. They turn icy and lose their creamy texture when thawed. This dessert is best made fresh and eaten within 3 days from the fridge.
What kind of red and blue candies work best?
M&Ms are the easiest and most widely available option. Red and blue Skittles also work well. If you want something more subtle, use red and blue sprinkles or even fresh strawberries and blueberries as your color elements.
Why This Recipe Works Every Single Time
Have you ever noticed that the recipes people request again and again are never the complicated ones? Patriotic Oreo Lasagna works because it checks every box without demanding much from you.
No oven. No special skills. Minimal cleanup. Maximum visual impact. The flavors are familiar and comforting — Oreos, cream, vanilla — but the presentation feels festive and intentional.
It travels well to cookouts, slices neatly for potlucks, and satisfies both kids and adults equally. :/ (That last part is actually the hardest thing to pull off with any dessert, if you think about it.)
Final Thoughts
Patriotic Oreo Lasagna is exactly the kind of recipe your recipe collection needs more of. It’s fast, forgiving, festive, and genuinely delicious.
Whether you’re making it for the Fourth of July, Memorial Day, or just a random summer weekend — it earns its place on the table every time.
Go grab those Oreos, get the Cool Whip thawing, and make something everyone will talk about. Just maybe make two pans. You’ll thank yourself later.
Patriotic Oreo Lasagna
Ingredients
Method
- Step 1: Crush Your Oreos - Place about 24 Oreo cookies in a zip-lock bag and crush them with a rolling pin until mostly fine crumbs. Pour into a 9x13 baking dish and press down into a firm layer.
- Step 2: Mix the Pudding - In a large mixing bowl, whisk 2 boxes of white chocolate pudding mix with 3 cups of cold milk until smooth and slightly thickened, about 2 minutes.
- Step 3: Build the Creamy Filling - Gently fold in 1 cup of white chocolate chips and then 8 oz of thawed Cool Whip until fully combined and smooth.
- Step 4: Layer Everything Together - Spread half of the creamy filling over the Oreo base, then sprinkle with crushed Oreos, followed by red and blue candies. Finish with the remaining creamy filling layer.
- Step 5: Decorate the Top - Sprinkle patriotic sprinkles over the top layer. Optionally, pipe or dollop extra Cool Whip and add candies on top for decoration.
- Step 6: Chill Before Serving - Cover with plastic wrap and refrigerate for at least 4 hours, preferably overnight, to let the layers set.



