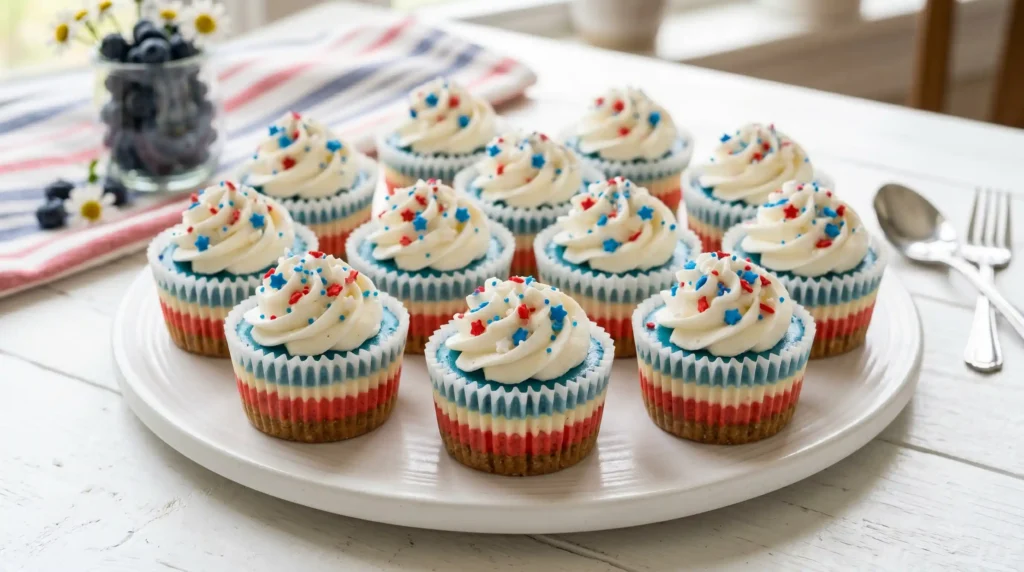
Some desserts look impressive and taste average. Red White And Blue Mini Cheesecakes are the rare exception — they look stunning on a platter and taste even better than they look. I brought these to a 4th of July cookout last summer, and they were gone before the burgers finished grilling. Not exaggerating.
Servings: 12 mini cheesecakes | Prep Time: 25 minutes | Bake Time: 18–20 minutes | Chill Time: 2+ hours | Total Time: ~3 hours
Why These Mini Cheesecakes Are Worth Making
Have you ever brought a dessert to a party and had people ask for the recipe on the spot? That’s exactly what happens with Red White And Blue Mini Cheesecakes every single time. The layered colors alone stop people in their tracks before they even take a bite.
Beyond the visuals, these are genuinely delicious. The vanilla wafer crust gives a buttery, sweet crunch. The cream cheese filling is rich and smooth without being heavy. And that whipped cream topping pulls the whole thing together. IMO, this is the most complete party dessert in one tidy little cup.
Ingredients You’ll Need

Everything here is easy to find at any grocery store.
For the crust:
- 1 cup (134g) vanilla wafer cookie crumbs
- 2 tablespoons (26g) sugar
- 4 tablespoons (56g) butter, melted
For the cheesecake filling:
- 12 ounces (339g) cream cheese, room temperature
- 1/2 cup (104g) sugar
- 3 tablespoons (24g) all-purpose flour
- 1/2 cup (115g) sour cream
- 1 1/2 teaspoons vanilla extract
- 2 large eggs
- Blue gel icing color
- Red gel icing color
Now For the whipped cream topping:
- 1/2 cup (120ml) heavy whipping cream, cold
- 5 tablespoons (36g) powdered sugar
- 1/2 teaspoon vanilla extract
- Sprinkles for decorating
Room temperature cream cheese is not optional — cold cream cheese creates lumps that no amount of mixing will fix.
How to Make Red White And Blue Mini Cheesecakes
Step 1: Preheat the Oven and Prep Your Pan
Start by preheating your oven to 325 degrees Fahrenheit (162°C). While it heats up, line a standard 12-cup cupcake pan with cupcake liners. Paper liners work fine, but foil liners hold their shape more cleanly and make the finished cheesecakes look especially tidy when served.
Don’t skip the liners. Mini cheesecakes without liners are nearly impossible to remove cleanly from the pan. The liners also make serving and transporting far easier — just peel and place on a platter. Set the pan aside while you build the crust.
Step 2: Make the Vanilla Wafer Crust
In a medium bowl, combine the vanilla wafer cookie crumbs, sugar, and melted butter. Stir everything together until the crumbs look evenly moistened and start clumping together when you press them between your fingers. That’s exactly the texture you’re after.
Divide the crust mixture evenly among the twelve cupcake liners — about one heaping tablespoon per cup. Use the back of a small spoon or the bottom of a shot glass to press the crumbs down firmly into a flat, compact layer. A loose crust crumbles when you peel the liner. A pressed crust holds perfectly. Set the pan aside while you make the filling.
Step 3: Mix the Cream Cheese Filling
Reduce the oven temperature to 300 degrees Fahrenheit (148°C) before you start the filling. Lower heat means the cheesecakes bake gently and stay smooth without cracking. Grab your electric mixer and a large mixing bowl.
Add the room temperature cream cheese, sugar, and flour. Mix on low speed — not medium, not high, low. Low speed incorporates the ingredients without whipping in excess air, which is the primary cause of cracked cheesecakes. Scrape down the sides of the bowl with a spatula halfway through to make sure no cream cheese hides along the edges.
Step 4: Add Sour Cream, Vanilla, and Eggs
Once the cream cheese, sugar, and flour look smooth and fully combined, add the sour cream and vanilla extract. Mix on low speed again until everything comes together. The sour cream adds a subtle tang and makes the filling noticeably creamier and richer than cream cheese alone.
Now add the eggs one at a time, mixing briefly on low after each addition. Do not overmix once the eggs go in. Overmixing after adding eggs incorporates air that causes the filling to puff up during baking and then sink and crack as it cools. Mix just until each egg disappears into the batter, then stop and move on.
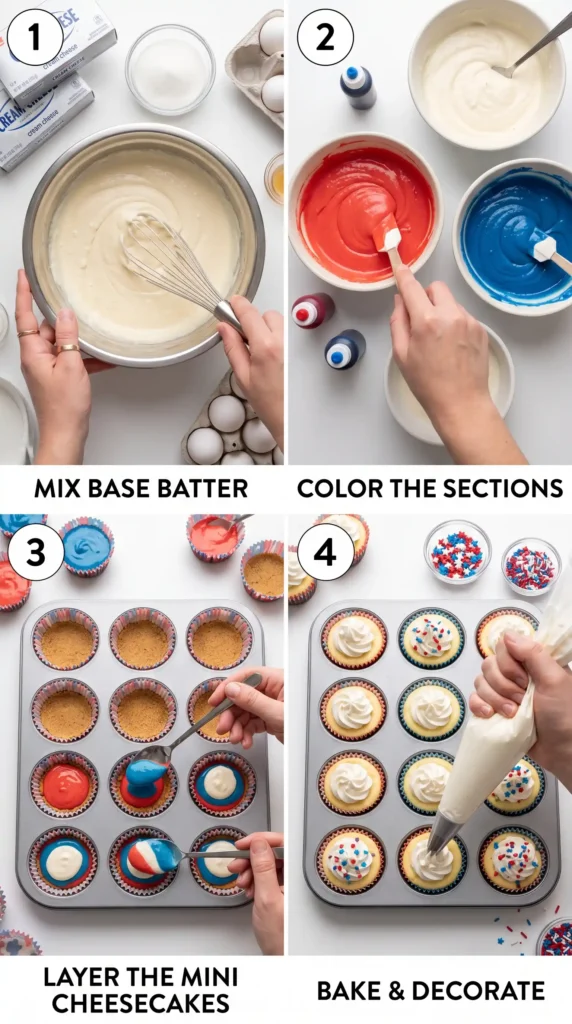
Step 5: Divide and Color the Batter
Here’s where the fun starts. Divide the finished batter as evenly as possible into three separate bowls. Leave the first bowl plain — that’s your white layer. Add red gel icing color to the second bowl and blue gel icing color to the third bowl. 🙂
Stir each colored bowl until the color looks fully uniform with no streaks remaining. Gel icing color is strongly recommended over liquid food coloring — gel gives you vivid, saturated colors without thinning the batter. Start with a small amount of gel and add more until you reach the brightness you want. The more vibrant the colors, the more dramatic the final layered look.
Step 6: Layer the Batter in the Cups
Now add the batter to your prepared cupcake pan in layers. Start with one tablespoon of white batter in each cup, spreading it gently over the crust. Follow with one tablespoon of red batter, dropping it in the center of each cup and letting it spread naturally. Finish with one tablespoon of blue batter on top.
Resist the urge to swirl or poke the layers. The goal is clean, distinct stripes — not a marbled effect. The batter is thick enough to stay mostly separated as you layer. Fill each cup close to the top but leave just a small gap, since the cheesecakes will puff slightly during baking.
Step 7: Bake and Cool Slowly
Slide the cupcake pan into the oven and bake at 300°F for 18 to 20 minutes. The edges should look set and firm while the centers still carry a very slight jiggle when you gently shake the pan. That jiggle is correct — it firms up during cooling.
When the timer goes off, turn off the oven but leave the door completely closed for ten additional minutes. After that, crack the oven door open just slightly and let the cheesecakes sit for another fifteen to twenty minutes. This slow, gradual cooling prevents the dramatic temperature drop that causes cracks. FYI, this step matters more than most people realize — it’s the difference between a smooth surface and a cracked one. :/
Step 8: Refrigerate Until Fully Chilled
After the slow oven cool, transfer the pan to a wire rack and let the cheesecakes reach room temperature completely. Then cover the pan loosely with plastic wrap and refrigerate for at least two hours before serving. Overnight chilling is even better.
Chilling fully sets the filling and sharpens the flavor. A cheesecake pulled from the fridge after only an hour is still soft and a bit bland. Give it proper time and the texture becomes dense, creamy, and perfectly sliceable. Don’t rush this part.
Step 9: Make the Whipped Cream Topping
Right before serving, make the whipped cream. Pour the cold heavy whipping cream into a large mixing bowl. Add the powdered sugar and vanilla extract. Using an electric mixer on high speed, whip until stiff peaks form — meaning the cream holds a firm, defined peak when you lift the beaters.
Cold cream is essential here. Warm cream won’t whip properly and will stay loose and runny no matter how long you beat it. If your kitchen is warm, chill the bowl in the freezer for five minutes before whipping. Transfer the whipped cream to a piping bag with a star tip for clean, professional-looking rosettes on each cheesecake.
Step 10: Decorate and Serve
Pipe a generous swirl of whipped cream onto each chilled mini cheesecake. Add a pinch of festive sprinkles on top of each one. Serve directly from the fridge — these are best cold, and the whipped cream holds its shape much longer at refrigerator temperature.
Arrange them on a white platter and watch them disappear. Two per person sounds reasonable until your guests discover how good they are.
Tips That Make a Real Difference
- Room temperature cream cheese is non-negotiable. Pull it from the fridge at least an hour before baking.
- Low mixer speed throughout the filling process keeps the texture smooth and crack-free.
- Slow oven cooling prevents cracks better than any other technique.
- Gel color over liquid for brighter, more vivid layers without altering batter consistency.
- Press the crust firmly into the liner — a compact crust holds cleanly when you peel the liner.
- Chill overnight for the best flavor and texture.
Variations Worth Trying
Red White And Blue Mini Cheesecakes are incredibly adaptable:
- Graham cracker crust: Swap vanilla wafer crumbs for graham cracker crumbs for a more classic cheesecake base.
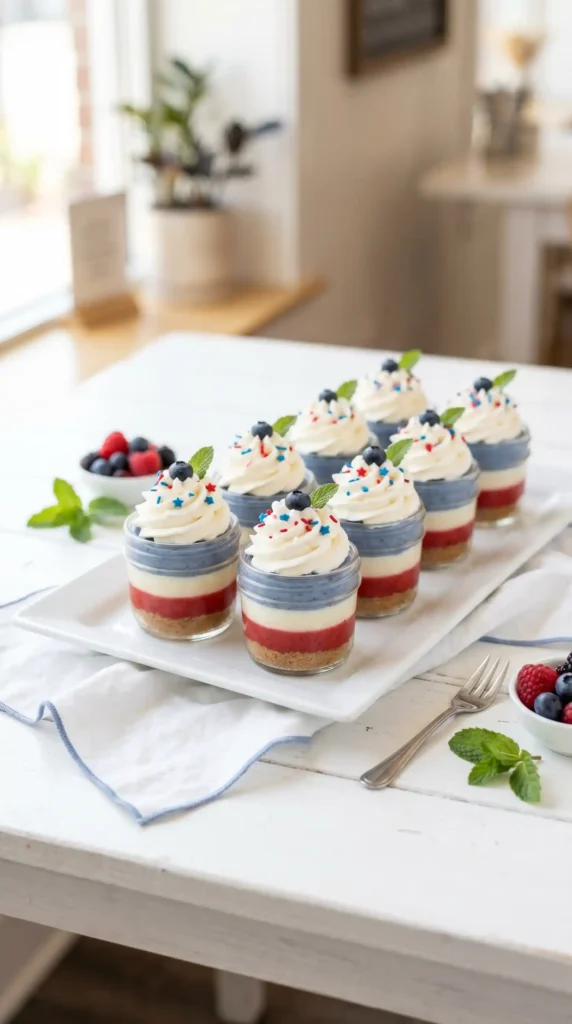
- Fresh berry topping: Add a fresh strawberry or a few blueberries alongside the whipped cream for extra color and flavor.
- Lemon twist: Add one teaspoon of lemon zest to the filling for a bright, citrusy note.
- Gluten-free version: Use gluten-free vanilla wafers or almond flour for the crust.
- Oreo crust: Crushed Oreos in place of vanilla wafers gives you a chocolate base that pairs surprisingly well with the fruity colors.
How to Store Them
Store finished mini cheesecakes in an airtight container in the refrigerator for up to four days. Add the whipped cream and sprinkles right before serving rather than storing them pre-decorated — the whipped cream softens and loses its shape after about eight hours in the fridge.
You can also freeze the plain baked cheesecakes (without topping) for up to one month. Thaw overnight in the refrigerator, then decorate fresh before serving.
Frequently Asked Questions
Q1: Can I make Red White And Blue Mini Cheesecakes a day ahead? Yes, and they actually taste better the next day. Bake and chill them overnight without the whipped cream topping. Add the whipped cream and sprinkles right before serving for the freshest presentation.
Q2: How do I prevent cracks in my mini cheesecakes? Three things: mix on low speed, don’t overmix after adding eggs, and cool slowly in the oven with the door cracked. Following all three consistently gives you smooth, crack-free cheesecakes.
Q3: Can I use regular food coloring instead of gel? You can, but the colors will be noticeably less vibrant. Liquid food coloring also thins the batter slightly. Gel icing color gives you deeper, more saturated color without affecting the batter texture.
Q4: What if I don’t have a piping bag for the whipped cream? A zip-top bag with a small corner snipped off works well. You can also just spoon the whipped cream on top — it looks rustic but still tastes identical.
Q5: Can I make these in a mini muffin pan for even smaller bites? Yes! Use a mini muffin pan with mini liners and reduce the bake time to 12–14 minutes. Check for set edges and a slight center jiggle at the 12-minute mark. Everything else stays the same.
Final Thoughts
Red White And Blue Mini Cheesecakes hit every mark — they look incredible, they taste rich and creamy, and they’re genuinely not difficult to make. The slow cooling step takes patience, but the result is a flawless, smooth cheesecake that looks like it came from a bakery.
Make these for your next gathering and see how fast they vanish. The only downside? Everyone will expect you to bring them to every party from here on out. Consider yourself warned.

Red White And Blue Mini Cheesecakes
Ingredients
Method
- Preheat your oven to 325°F (162°C) and line a standard 12-cup cupcake pan with cupcake liners.
- Combine vanilla wafer crumbs, sugar, and melted butter in a medium bowl until moistened.
- Divide evenly among the 12 cupcake liners and press into flat, compact layers.
- Reduce the oven temperature to 300°F (148°C) and mix cream cheese, sugar, and flour on low speed.
- Add sour cream and vanilla extract and mix until combined.
- Add the eggs one at a time, mixing briefly after each addition.
- Divide the batter into three bowls, coloring one red and one blue with gel icing.
- Layer one tablespoon of each color batter in each cup, avoiding mixing.
- Bake at 300°F for 18 to 20 minutes. The centers should jiggle slightly.
- Turn off the oven and let the cheesecakes cool slowly.
- Refrigerate the mini cheesecakes for at least two hours, preferably overnight.
- Whip the cold heavy cream with powdered sugar and vanilla until stiff peaks form.
- Pipe whipped cream onto each cheesecake and add sprinkles before serving.


