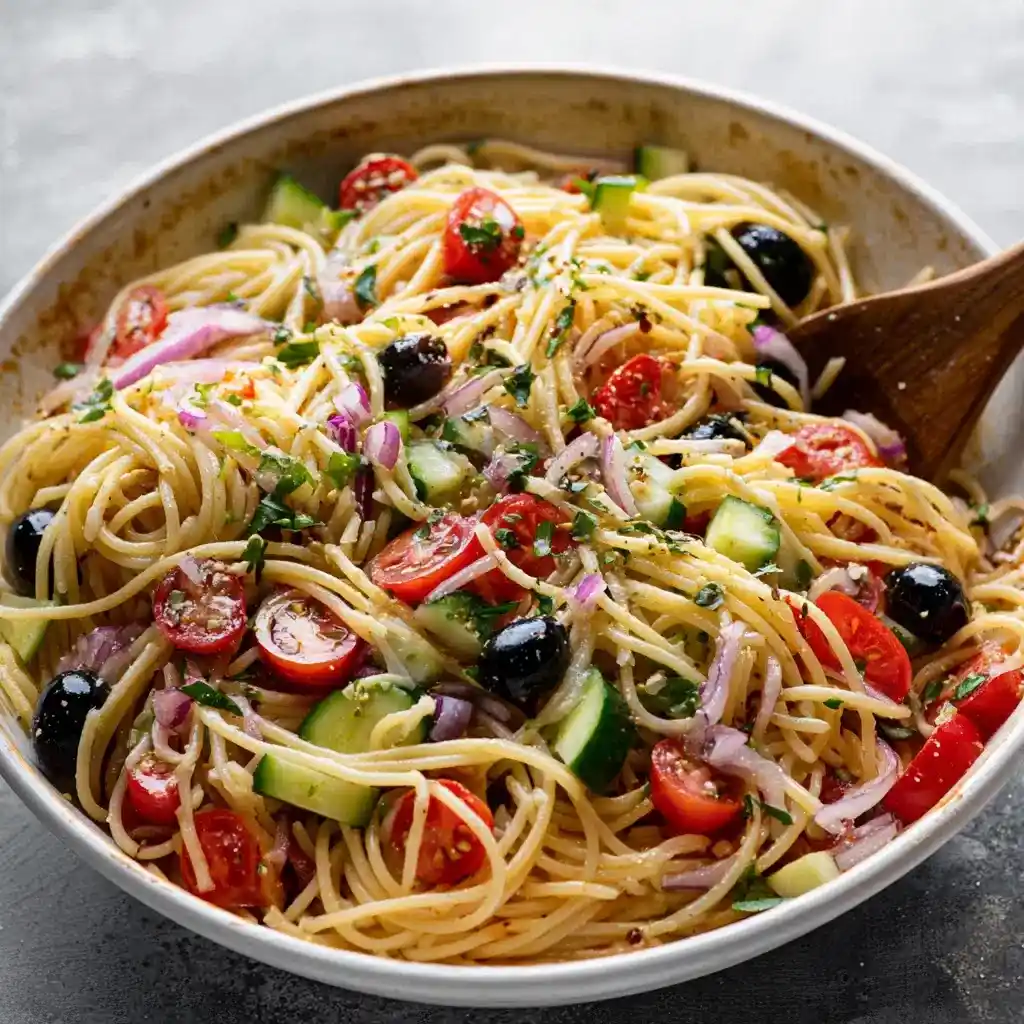
Potluck pasta salads have a reputation problem. Half of them taste like mayonnaise soup, and the other half feel like an afterthought. California spaghetti salad breaks that pattern completely, and I’ve been bringing it to gatherings for years now.
Servings: about 8 to 10 | Prep time: 20 minutes | Chill time: at least 3 hours, or overnight | Total time: roughly 3 hours 20 minutes
Why This California Spaghetti Salad Works So Well
This dish combines broken spaghetti with crisp vegetables and a zesty, seasoned Italian dressing. Every bite delivers crunch from fresh cucumbers and peppers alongside tangy black olives and a savory Parmesan kick. Have you ever had a pasta salad that actually tasted vibrant instead of just filling space on a buffet table?
That’s exactly the gap this recipe fills. The dressing here isn’t just bottled Italian straight from the fridge; it gets doctored up with sesame seeds, paprika, and celery seed for extra depth. IMO, that small twist is what separates a forgettable side dish from one people actively request again.
I make a batch of this whenever I need something colorful and refreshing for a summer gathering. It travels well, holds up in the fridge, and honestly tastes better the longer it sits. That’s basically the dream combo for potluck season.
What You’ll Need for California Spaghetti Salad
This recipe splits into two easy parts: the pasta salad base and the seasoned dressing. Here’s exactly what you need, with quantities included so your batch turns out perfectly balanced.
For the Pasta Salad
- 1 pound thin spaghetti, broken into 1-inch pieces
- 1 pint cherry tomatoes, halved
- 1 cucumber, diced
- 1 red bell pepper, diced
- 1/2 red onion, diced
- 1 can black olives, drained and sliced
For the Dressing
- 1 bottle (16 ounces) Italian salad dressing
- 1/4 cup Parmesan cheese, grated
- 1 tablespoon sesame seeds
- 1 teaspoon paprika
- 1/2 teaspoon celery seed
- 1/4 teaspoon garlic powder
That’s twelve ingredients total, and most of them require no special shopping trip. FYI, breaking your spaghetti into 1-inch pieces before cooking makes this salad way easier to eat with a fork instead of wrestling with long noodle strands.
How to Make California Spaghetti Salad, Step by Step
This recipe comes together quickly, though the chilling time requires a bit of planning ahead. Let’s walk through each stage so your salad turns out perfectly flavorful and evenly dressed.
Cooking the Spaghetti
Break your spaghetti into roughly 1-inch pieces before adding it to a pot of boiling water. Cook according to the package directions, usually around 8 to 10 minutes, until the pasta reaches a tender texture. Drain it thoroughly once it’s finished cooking.
Rinse the drained pasta under cold water immediately after draining. This step stops the cooking process and cools the noodles down quickly, which prevents them from turning mushy once mixed with the dressing. Have you ever added dressing to warm pasta? It gets absorbed unevenly and turns everything a little greasy.
Prepping Your Vegetables
While your pasta cooks, halve your cherry tomatoes and set them aside in a large mixing bowl. Dice your cucumber and red bell pepper into bite-sized pieces, aiming for consistent sizing throughout. Dice your red onion finely as well, since a little goes a long way in terms of sharp flavor.
Drain and slice your black olives, then add them to the same bowl as your other prepped vegetables. Give everything a gentle toss to distribute the colors and textures evenly. This colorful base is really what makes California spaghetti salad so visually appealing on a buffet table.
Whisking the Seasoned Dressing
In a separate bowl, combine your Italian dressing, grated Parmesan cheese, sesame seeds, paprika, celery seed, and garlic powder. Whisk everything together until fully blended, making sure the Parmesan doesn’t clump at the bottom of the bowl. This step takes about two minutes but adds significant depth of flavor.
This isn’t just bottled dressing poured straight over noodles. The extra seasonings here genuinely transform a basic Italian dressing into something that tastes custom-made for this specific salad. Skipping these additions leaves the whole dish tasting noticeably flatter.
Combining Pasta, Vegetables, and Dressing
Add your cooled, drained spaghetti into the bowl with your prepped vegetables. Pour your whisked dressing over everything, then toss thoroughly using tongs or two large spoons. Make sure every strand of pasta and every vegetable piece gets evenly coated in that seasoned dressing.
Take your time with this tossing step since uneven coating leaves some bites bland while others taste overly dressed. A minute or two of thorough mixing pays off in consistent flavor throughout the entire bowl. Scrape down the sides to catch any dressing pooling at the bottom.
Chilling for Maximum Flavor
Cover your bowl tightly and refrigerate the salad for at least 3 hours, though overnight produces even better results. This resting period allows the pasta to fully absorb the dressing and lets all those flavors meld together properly. Skipping this step leaves the salad tasting disjointed rather than cohesive.
I know waiting feels like the hardest part of this whole process, especially once everything smells this good. Trust the process here, though. A properly chilled batch tastes noticeably better than one served immediately after mixing.
Serving Your Salad
Once your salad has chilled thoroughly, give it one more good toss before serving, since the dressing tends to settle at the bottom of the bowl. Serve it straight from the refrigerator for the best chilled, refreshing texture. A sprinkle of fresh basil or parsley on top adds a nice finishing touch.
Tips for the Best Results
I’ve made this salad enough times to know exactly where small details make a real difference. These tips will help your batch turn out perfectly balanced every time.
- Rinse the pasta with cold water immediately after draining. This prevents mushy noodles and stops the cooking process quickly.
- Dice vegetables into consistent sizes. Uneven pieces create an unbalanced bite in every forkful.
- Don’t skip the chilling time. A few hours in the fridge dramatically improves the overall flavor.
- Toss again right before serving. Dressing settles at the bottom, so a final mix redistributes flavor evenly.
Serving Suggestions Worth Trying
This salad pairs wonderfully with grilled meats at a summer barbecue, since its acidity cuts through richer, smokier flavors. Serve it alongside sandwiches or burgers for a refreshing contrast at a casual lunch. It also works as a standalone light meal on a hot day.
Add sliced grilled chicken or cooked shrimp directly into the salad for a more filling, protein-packed version. Fresh basil, parsley, or even a handful of slivered almonds on top adds extra texture and freshness. Any of these additions turns a simple side dish into something a little more substantial.
Storing Your Leftover Salad
Store leftover California spaghetti salad in an airtight container in the refrigerator for up to 3 to 4 days. Give it a good toss before serving again, since the dressing naturally settles over time. This salad genuinely tastes better on day two once the flavors have had extra time to meld.
Freezing isn’t recommended for this dish, since the dressing tends to separate and turn watery once thawed. This salad is best made fresh and enjoyed within a few days of preparing it. Making a smaller batch works out fine if you’re worried about leftovers going to waste.
Fun Variations on California Spaghetti Salad
Once you’ve nailed the basic recipe, this dish becomes an easy base for all sorts of creative twists. Here are a few of my favorite variations worth trying.
- Grilled chicken addition: Add sliced grilled chicken for a heartier, protein-packed version.
- Mediterranean twist: Mix in sun-dried tomatoes, artichoke hearts, and crumbled feta cheese.
- Spicy kick: Add diced jalapeños or a splash of hot sauce for extra heat.
- Low-carb swap: Replace the spaghetti with zucchini noodles for a lighter version.
Frequently Asked Questions About California Spaghetti Salad
Can I use whole wheat spaghetti instead of regular pasta?
Yes, whole wheat or gluten-free spaghetti both work perfectly here. The texture stays similar, and the salad tastes just as flavorful either way.
How long can I store this salad in the fridge?
Up to 3 to 4 days in an airtight container works well. Just toss it again before serving since the dressing settles over time.
Can I make this salad without olives?
Absolutely. You can simply omit the olives or substitute roasted red peppers for a similar briny, tangy flavor instead.
Can I use homemade Italian dressing instead of bottled?
Yes, homemade Italian dressing works wonderfully here and often enhances the overall flavor even further. Just make sure it’s well seasoned before mixing it in.
Can I add meat to make this a full meal?
Yes, grilled chicken, cooked shrimp, or crumbled bacon all make excellent additions. Any of these turns the side dish into a satisfying main course.
Does this salad freeze well?
It’s not recommended, since dressed pasta salads tend to turn watery once thawed. This dish is best made fresh and enjoyed within a few days.
Wrapping This Up
California spaghetti salad proves that a potluck side dish can genuinely steal the spotlight instead of just filling space on the table. Twelve ingredients, a little chilling patience, and a bowl of fresh vegetables gets you a salad people actually ask for the recipe. Isn’t that exactly what a great potluck dish should accomplish?
Grab your spaghetti and a colorful mix of vegetables, and make this your next go-to summer side. Just prepare for the recipe requests, because they’re coming
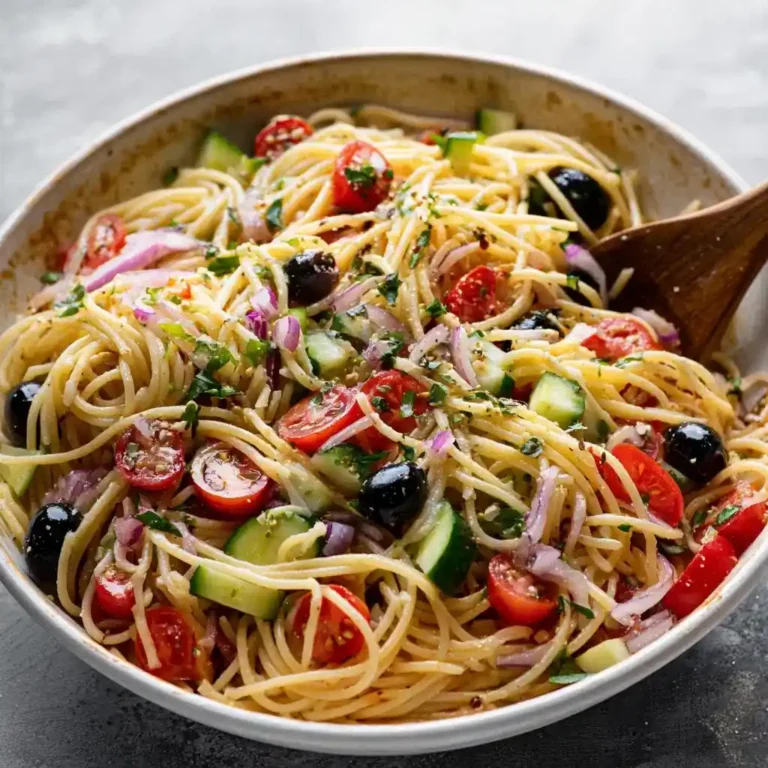
California Spaghetti Salad
Ingredients
Method
- Break spaghetti into 1-inch pieces and cook in boiling water according to package directions (8-10 minutes) until tender.
- Drain the pasta thoroughly and rinse it under cold water to stop further cooking.
- Halve cherry tomatoes and set aside in a large mixing bowl.
- Dice cucumber, red bell pepper, and red onion, then add them to the bowl.
- Drain and slice black olives, then add them to the bowl with other vegetables and toss gently.
- In a separate bowl, combine Italian dressing, Parmesan cheese, sesame seeds, paprika, celery seed, and garlic powder.
- Whisk until fully blended, ensuring no clumps of cheese.
- Add cooled, drained spaghetti to the vegetables in the bowl.
- Pour the whisked dressing over the salad and toss thoroughly to ensure even coating.
- Cover the bowl tightly and refrigerate for at least 3 hours, or overnight for best flavor.
- Toss the salad again before serving to redistribute dressing that may have settled.
- Serve chilled, optionally topped with fresh basil or parsley.




