Prep Time: 15 minutes | Toast Time: 5-7 minutes | Chill Time: 1 hour | Total Time: About 1 hour 25 minutes | Servings: Makes roughly 20 pieces
Let’s Talk About the Snack That Ruins All Other Snacks
Some treats are fine. Some treats make you forget every other dessert exists. Salted Caramel Pretzel Bark falls firmly into the second category, and honestly, it’s a little unfair to the rest of your recipe box.
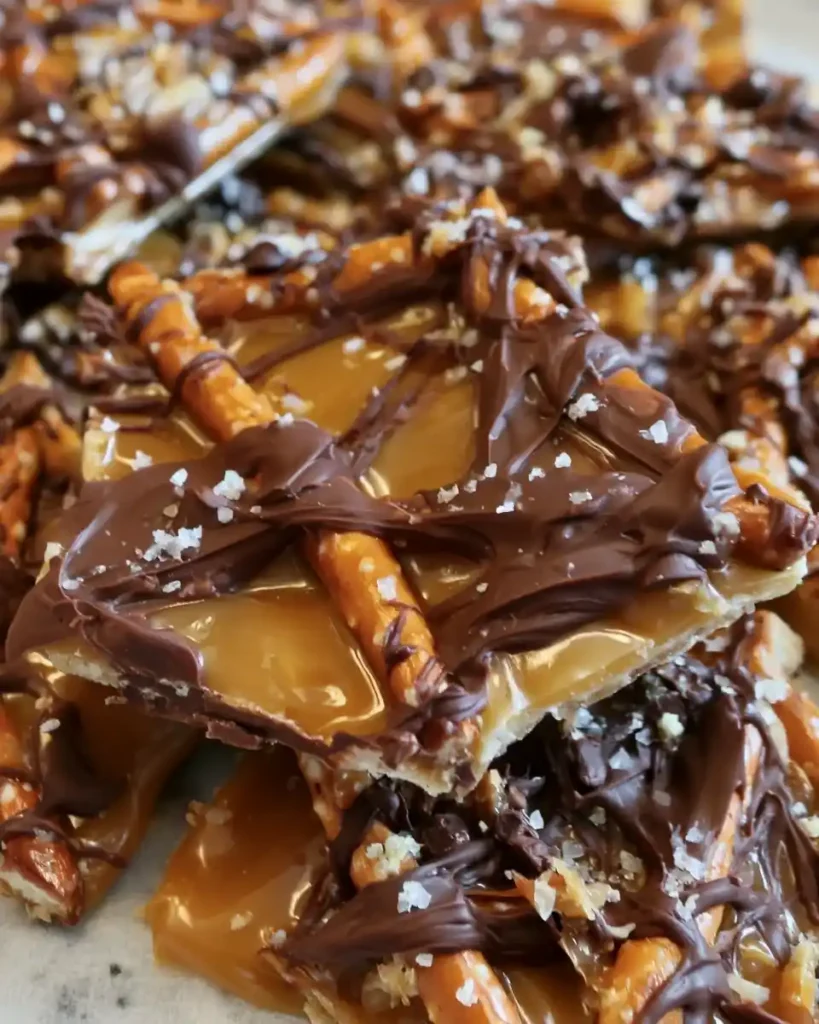
Have you ever made something so easy that you almost feel guilty for the praise it gets? That’s this bark. Crunchy pretzels, gooey caramel, silky chocolate, and a hit of salt that ties it all together.
I started making this for lazy weekend afternoons, and now it shows up at every holiday, every potluck, every “I need a snack right now” moment. It’s that good, and it barely asks anything of you.
Why This Salted Caramel Pretzel Bark Deserves a Spot in Your Rotation
The sweet-and-salty combo isn’t just trendy, it actually works on a real flavor level. Salt sharpens sweetness instead of fighting it, which is exactly why this bark feels so addictive. One bite and you immediately understand the hype.
It also comes together with minimal effort and zero fancy equipment. No candy thermometer, no piping bags, no stress. You get bakery-level results from a handful of pantry staples, which is honestly the best kind of recipe.
This bark travels well too. Toss it in a tin, hand it to a friend, and watch them ask for the recipe within five minutes. IMO, that’s the real test of any good treat.
What You’ll Need: Ingredients
Here’s the full ingredient list with exact quantities, so there’s no guessing involved:
- Pretzel sticks or twists, 4 cups (about 8 ounces)
- Caramel bits, 1 bag (11 ounces), or wrapped caramels unwrapped and roughly chopped
- Heavy cream, 2 tablespoons
- Semi-sweet chocolate chips, 1 1/2 cups
- Flaky sea salt, 1 teaspoon
Five ingredients. That’s it. This is one of those recipes where simplicity is the whole point, not a shortcut you’re settling for.
How to Make Salted Caramel Pretzel Bark
This recipe moves through four clear stages: toast, coat, drizzle, and chill. None of them are complicated, but a little patience at each step makes a noticeable difference in the final texture.
Step 1: Get Your Baking Sheet Ready
Preheat your oven to 350°F. Line a rimmed baking sheet with parchment paper, making sure it covers the edges so nothing sticks later. Skipping this step turns cleanup into a whole ordeal, so don’t skip it.
Parchment paper also helps the bark release cleanly once it’s fully chilled and set. If you don’t have parchment, foil works, though it can stick slightly more. Either way, take the extra thirty seconds to line the pan properly.
Step 2: Toast the Pretzels for Extra Flavor
Spread the pretzel sticks in a single, even layer across the lined sheet. Avoid piling them up, since crowded pretzels toast unevenly and some stay raw-tasting. Bake for 5 to 7 minutes, watching closely after the five-minute mark.
You’ll know they’re ready when the kitchen fills with a warm, nutty smell. This short toast deepens the pretzel flavor so it can actually stand up to the caramel and chocolate. Pull them the moment they smell fragrant, since pretzels go from toasty to burnt fast.
Step 3: Melt the Caramel Into a Smooth Sauce
In a small saucepan over medium-low heat, combine the caramel bits and heavy cream. Stir constantly, since caramel scorches quickly if you walk away even for a minute. Keep stirring until everything melts into one smooth, glossy sauce.
The texture you’re after looks like warm honey, thick but pourable. If it seems too stiff, add another half tablespoon of cream and stir again. Take it off the heat the second it’s smooth, since overheating can make caramel grainy.
Step 4: Pour the Caramel Over the Toasted Pretzels
Pour the warm caramel evenly across the toasted pretzels while they’re still on the baking sheet. Use a spatula to nudge it into gaps so every pretzel gets some coverage. Don’t worry about perfection here, since a slightly uneven coat still tastes incredible.
Work relatively fast, because caramel firms up as it cools and gets harder to spread. Once every pretzel has a decent caramel coating, move straight to the chocolate step. There’s no need to let it cool first.
Step 5: Melt the Chocolate Chips
Add the chocolate chips to a microwave-safe bowl. Microwave in 30-second bursts, stirring thoroughly between each one, until the chocolate turns fully smooth and glossy. Rushing this step with longer intervals is the fastest way to scorch chocolate, so stay patient.
Chocolate holds its shape even when melted underneath, so always stir before assuming it needs more time. A rubber spatula works better than a spoon here, since it scrapes the bowl’s edges cleanly. Once smooth, move quickly since chocolate firms up as it cools.
Step 6: Drizzle the Chocolate Over Everything
Drizzle the melted chocolate back and forth across the caramel-coated pretzels. Aim for decent coverage, though a few visible caramel patches actually look great. Use the back of a spoon to spread thin spots if you want fuller coverage.
This layer is where the bark gets its signature look, so take a moment and make it visually appealing. It doesn’t need to be flawless. Slightly uneven drizzles give the bark a rustic, homemade charm that store-bought versions can’t fake.
Step 7: Finish With Sea Salt
While the chocolate is still soft, sprinkle the flaky sea salt evenly across the top. Timing matters here, since salt won’t stick once the chocolate firms up. This final touch is what turns a sweet treat into a genuinely balanced one.
Don’t skip the salt thinking it’s optional garnish. It’s doing real flavor work, cutting through the sweetness and making every other ingredient taste sharper. A little goes a long way, so resist the urge to overdo it.
Step 8: Chill Until Fully Set
Transfer the entire baking sheet to the refrigerator. Chill for at least one hour, or until the chocolate feels completely firm to the touch. Rushing this step leads to messy, smeared pieces once you try to break it apart.
Longer chilling, even a few hours, only helps the texture. The flavors also meld together better the longer it sits, so this isn’t just about firming up chocolate.
Step 9: Break Into Pieces and Serve
Once fully set, lift the whole slab out using the parchment paper. Break it into irregular pieces by hand, and don’t stress about uniform shapes. Jagged edges actually make the bark look more homemade and appealing on a serving tray.
Store extra pieces in an airtight container, and try to actually make it last more than a day.
Tips for the Best Results
- Stir caramel constantly so it never scorches or turns grainy
- Use good-quality chocolate, since it’s a major flavor driver here
- Toast pretzels just until fragrant, not deeply browned
- Chill longer if you want cleaner, firmer breaks when portioning
- Add flaky salt while chocolate is still soft so it actually sticks
Equipment You’ll Need
- A rimmed baking sheet, or a shallow roasting pan as backup
- Parchment paper for easy release and cleanup
- A small saucepan for melting the caramel
- A microwave-safe bowl for melting chocolate
- A flexible spatula for spreading and coating
Fun Variations to Try
- Swap semi-sweet chocolate for dark chocolate for a richer, more intense bite
- Add chopped pecans or walnuts for extra crunch and nuttiness
- Drizzle melted peanut butter over the chocolate layer for a nutty twist
- Use gluten-free pretzels to make the whole recipe gluten-free
- Mix in crushed toffee bits for even more caramel flavor throughout
What to Serve It With
Cold milk pairs perfectly with the sweetness here, cutting through the richness nicely. Hot chocolate works just as well for a cozy, cold-weather version. For gifting, pack pieces into a decorative tin, since this bark travels and stores beautifully.
FAQs About Salted Caramel Pretzel Bark
Can I use a different type of chocolate? Yes, absolutely. Dark chocolate adds more depth, while white chocolate brings a sweeter contrast. Pick whichever suits your taste, since all versions work well with the caramel and pretzels.
How should I store this bark? Keep it in an airtight container at room temperature for up to a week. If your kitchen runs warm, storing it in the fridge helps keep the chocolate from softening too much.
Can I make this ahead of time? Definitely. Make it one or two days before you need it and store it properly until serving. Let it sit at room temperature briefly before eating for the best crunch.
Is there a way to make this vegan? Yes, swap in dairy-free chocolate chips and use coconut cream instead of heavy cream. Double check your pretzel brand too, since some contain milk-based ingredients.
What else can I add for more flavor? Crushed toffee bits, espresso powder, or even a light drizzle of peanut butter all work great here. Treat the base recipe as a starting point and build from there.
Final Thoughts
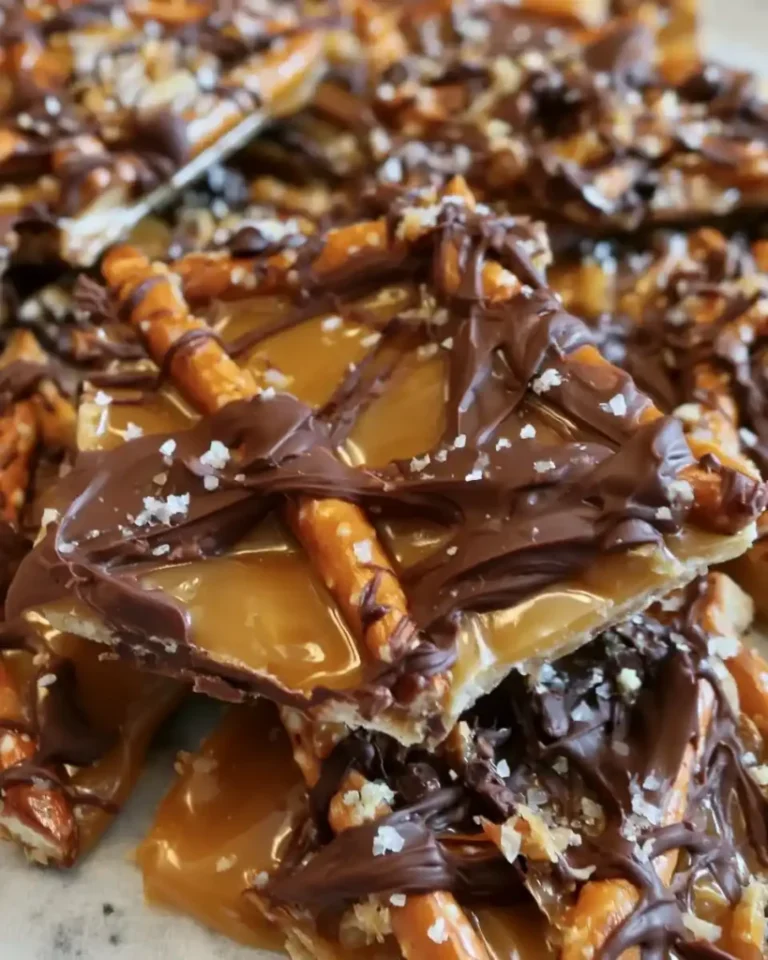
Salted Caramel Pretzel Bark hits that rare sweet spot of being ridiculously easy and genuinely impressive at the same time. Between the toasted pretzels, gooey caramel, and salty finish, every piece delivers a satisfying crunch-to-sweetness ratio. It’s the kind of treat people remember and ask about.
FYI, this bark disappears fast once it hits a table, so maybe stash a few pieces away before serving. Make a batch, break it apart, and enjoy watching everyone reach for seconds.
Salted Caramel Pretzel Bark
Ingredients
Method
- Preheat your oven to 350°F and line a rimmed baking sheet with parchment paper.
- Spread the pretzel sticks in a single, even layer across the lined sheet.
- Bake the pretzels for 5 to 7 minutes, watching closely, until fragrant.
- In a small saucepan over medium-low heat, combine the caramel bits and heavy cream, stirring constantly until melted and smooth.
- Pour the caramel over the toasted pretzels, using a spatula to cover evenly.
- Add chocolate chips to a microwave-safe bowl and melt in 30-second bursts until smooth.
- Drizzle the melted chocolate over the caramel-coated pretzels.
- Sprinkle the flaky sea salt evenly across the chocolate layer.
- Chill in the refrigerator for at least 1 hour or until set.
- Break the bark into pieces and serve.