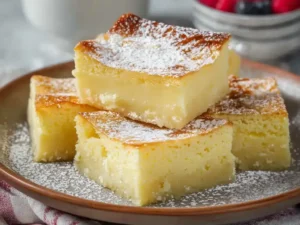
You know that one dessert that makes your whole house smell like a fiesta? Yeah, that’s Kalamay Hati for you. This classic Filipino sticky rice cake is the kind of sweet that hits different — rich, chewy, and wrapped in coconut goodness.
I first tried it at a family gathering in Laguna, and honestly? I could not stop at one slice. IMO, it is one of the most underrated Filipino kakanin out there. It deserves way more love than it gets.
So today, I’m walking you through the full Kalamay Hati recipe — ingredients, steps, tips, and all. Whether you’re making it for the first time or the fiftieth, this guide has you covered.
What Exactly Is Kalamay Hati?
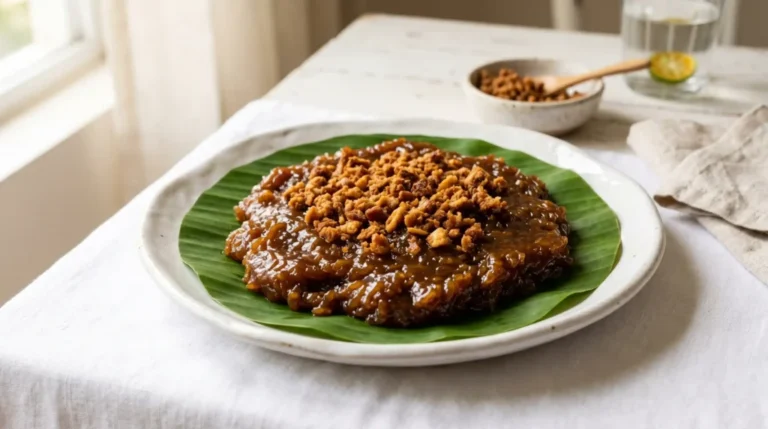
Kalamay Hati is a traditional Filipino delicacy made from glutinous rice flour, coconut milk, and brown sugar. The word ‘hati’ literally means ‘half’ or ‘divided,’ referring to how the dessert is often split or cut into portions.
It has a thick, sticky, almost fudgy texture that clings to your fingers in the best way possible. You can find it all over the Philippines, but it’s especially popular in the Visayas and some parts of Luzon.
Think of it as the Filipino cousin of mochi — but richer and drenched in latik (coconut curd). Have you ever had something so simple taste so extraordinary? That’s Kalamay Hati.
Kalamay Hati Ingredients You’ll Need
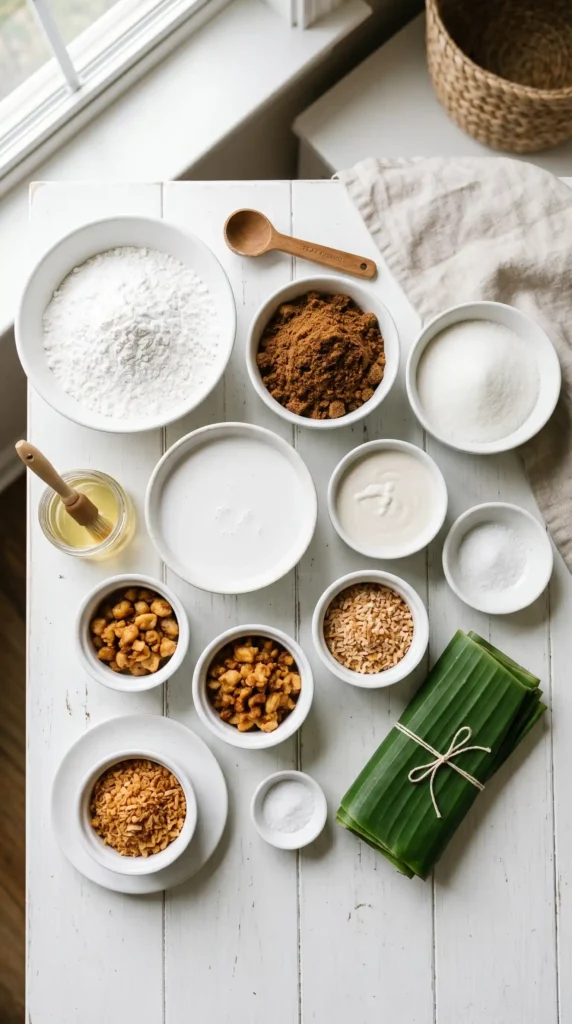
Let’s talk ingredients first. The beauty of this recipe is that it only needs a handful of pantry staples. Simple stuff, big results.
For the Kalamay:
- 2 cups glutinous rice flour (malagkit flour)
- 2 cups fresh coconut milk (or 2 cans, 400ml each)
- 1 cup brown sugar (packed)
- 1/2 cup white sugar
- 1/4 teaspoon salt
For the Latik (Coconut Curd Topping):
- 2 cups pure coconut cream
- Banana leaves for lining (optional but traditional)
- A little coconut oil for greasing
FYI — if you can get freshly pressed coconut milk from the market, please do. It makes a world of difference compared to canned. Your Kalamay Hati will taste infinitely more authentic.
How to Make Latik First
Before you even start on the kalamay, you need to prepare the latik. This is the golden, toasty coconut curd that crowns the whole dessert. It sounds intimidating, but trust me, it’s not.
Step-by-Step Latik Process:
Pour the 2 cups of pure coconut cream into a wide, shallow pan or wok. Use a non-stick or heavy-bottomed pan if you have one — it helps prevent burning.
Set your stove to medium heat and let the coconut cream come to a gentle simmer. Do not cover the pan. You want the liquid to evaporate slowly.
Stir the cream occasionally as it heats up. After about 10 minutes, you will notice the liquid starting to reduce and the oil beginning to separate from the solids.
Keep stirring every couple of minutes. The mixture will gradually go from a white liquid to a thicker, oily substance with floating white curds. This is where the magic begins.
As the oil fully separates, the curds will start to turn golden. This is your cue to stir more frequently — every 30 seconds or so. You do not want them to burn.
Once the curds turn a deep golden-brown color, remove the pan from the heat immediately. The residual heat will continue to darken them slightly, so take them off a little early.
Strain the latik through a fine mesh sieve or cheesecloth. Collect the golden oil separately – you will use this to grease your pan. Set the toasted curds aside for topping.
Pro tip: Keep a very close eye on the latik once it starts browning. It can go from golden to burnt in under a minute. Patience here saves the whole batch.
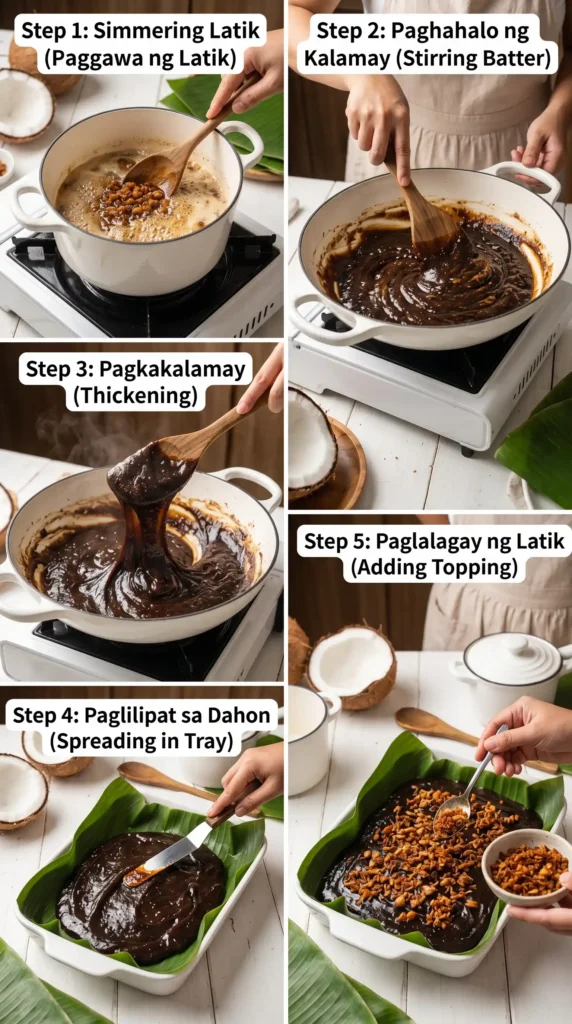
How to Make Kalamay Hati — The Main Event
Alright, with your latik ready and waiting, it’s time to make the star of the show. The process is straightforward, but the stirring requires some arm strength. Consider it your workout for the day.
Preparing Your Pan:
Take your 9×9 inch baking pan or round bilao (bamboo tray) and line it with softened banana leaves. Brush them generously with the latik oil you saved. If you do not have banana leaves, just grease the pan well with the coconut oil or latik oil.
The banana leaves give the kalamay a subtle earthy aroma that is absolutely lovely. But no judgment if you skip it — the taste is still incredible either way.
Mixing the Batter:
- In a large, heavy-bottomed pot or kawali, combine the 2 cups of glutinous rice flour and 1 cup of brown sugar. Stir them together dry first so the sugar distributes evenly throughout the flour.
- Slowly pour in the 2 cups of coconut milk while stirring constantly. Add it gradually — not all at once. This prevents lumps from forming in the batter. Keep stirring until you get a completely smooth, lump-free mixture.
- Add the 1/2 cup of white sugar and 1/4 teaspoon of salt to the mixture. Stir again until both are fully dissolved into the batter. Give it a taste at this point. The raw batter should be pleasantly sweet.
- Place the pot over low to medium-low heat. This is very important — low heat prevents the bottom from scorching before the batter cooks through. Patience is everything in this step.
- Begin stirring the mixture continuously using a wooden spoon or heat-resistant spatula. Do not walk away. The batter needs your constant attention as it heats up and starts to thicken.
- After about 15 minutes of stirring, the batter will start to visibly thicken and pull away from the sides of the pot. Keep going. The mixture will become heavier and harder to stir — that’s a good sign.
- Continue stirring for another 15 to 20 minutes. The kalamay is done when it forms a thick, smooth, glossy mass that no longer sticks to the sides of the pot and holds its shape when you lift the spoon.
- Do a quick test: scoop a small spoonful and let it cool for a moment on a plate. It should be firm but still pliable, sticky and chewy when you poke it. If it’s still runny, cook it a few more minutes.
Setting and Topping:
Transfer the cooked kalamay immediately into your prepared banana leaf-lined pan. Use a wet spatula or spoon to spread it evenly across the pan. Work quickly because it will start to firm up as it cools.
Smooth the surface as flat as you can. A damp hand or wet spatula works perfectly here to get that nice, even finish on top.
While the kalamay is still warm and slightly soft, generously scatter the golden latik curds all over the surface. Press them in very gently so they stick to the top.
Allow the Kalamay Hati to cool completely at room temperature. This usually takes about 30 to 45 minutes. Once cool, it will firm up nicely and become much easier to slice.
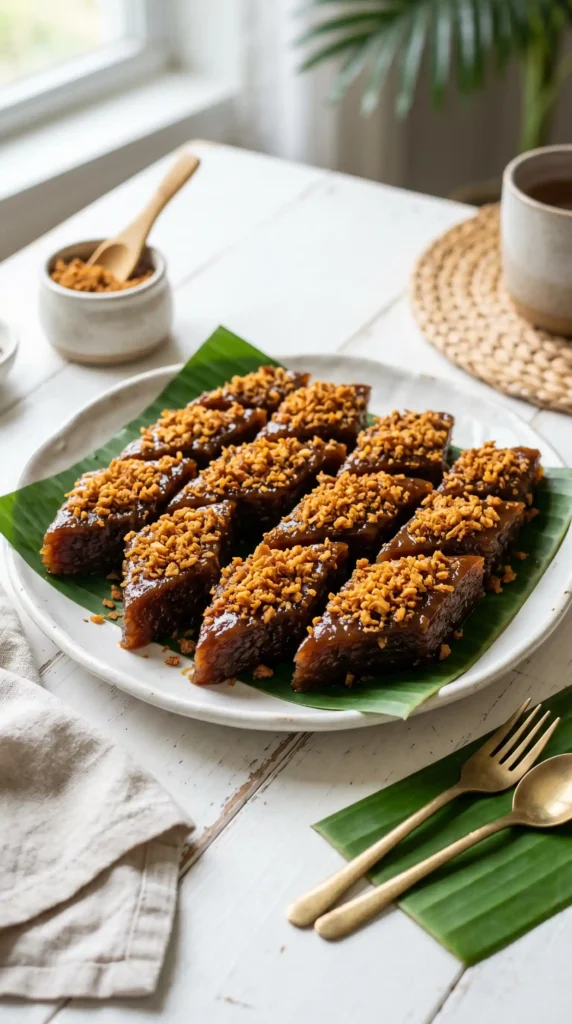
Slice into squares, diamonds, or rectangular pieces using a sharp knife. Dip the knife in water between cuts to prevent sticking. Arrange on a plate and serve at room temperature.
Tips to Make Your Kalamay Hati Perfect Every Single Time
Even a simple recipe has a few tricks. Here’s what I’ve learned from making this a bunch of times — and yes, from a few failed batches too.
- Always use glutinous rice flour (also called malagkit or sweet rice flour). Regular rice flour will not give you the same chewy texture.
- Low and slow is the cooking method. Rushing with high heat gives you a burnt bottom and raw center.
- Never stop stirring once the batter is on the heat. Seriously, constant stirring is what gives you that smooth, glossy finish.
- Fresh coconut milk is king. If using canned, pick a full-fat version for the richest result.
- Let it cool fully before cutting. I know it’s hard to wait — but cutting it warm just gives you a sticky mess.
- The banana leaf lining is optional but worth it for the aroma and the traditional presentation.
How to Store Kalamay Hati
Good news — Kalamay Hati stores really well. At room temperature, it keeps for up to 2 days if you cover it tightly. In the refrigerator, it will last for up to a week.
Just note that refrigeration makes it a bit firmer. To restore the soft, chewy texture, microwave individual pieces for 15-20 seconds or let them sit at room temp for a bit before eating.
Can you freeze it? Yes, actually. Wrap pieces tightly in cling wrap and freeze for up to a month. Thaw overnight in the fridge and reheat gently. It’s not exactly the same, but close enough when you’re craving it.
Fun Variations to Try
Once you’ve nailed the classic Kalamay Hati recipe, why not experiment a little? Here are some fun twists people love.
- Ube Kalamay Hati: Add 1/2 cup of ube halaya to the batter for a gorgeous purple version with a subtle yam flavor.
- Pandan Kalamay Hati: Mix in 2 tablespoons of pandan juice or pandan extract for a fragrant, green-hued version.
- Chocolate Kalamay Hati: Stir in 2 tablespoons of cocoa powder for a richer, slightly bitter twist.
- Extra Latik: Go heavy on the topping. More latik equals more happiness, and I stand by that statement.
Frequently Asked Questions About Kalamay Hati
Can I use regular rice flour instead of glutinous rice flour?
No, you really cannot. Glutinous rice flour is what gives Kalamay Hati its signature chewy, sticky texture. Regular rice flour will produce a completely different, grainy result. Always look for malagkit or sweet rice flour.
Why is my Kalamay Hati too soft or runny?
This usually means it was not cooked long enough. The batter needs to be stirred over heat until it becomes a thick, glossy mass that pulls cleanly away from the sides of the pot. If it’s still spreading flat when you put it in the pan, pop it back on the stove.
Can I make Kalamay Hati without banana leaves?
Absolutely. Banana leaves add a beautiful aroma and traditional look, but they are not essential to the flavor or texture. Just grease your pan well with coconut oil or the reserved latik oil and proceed as normal.
How do I know when the latik is done?
The latik is ready when the coconut curds turn a deep, even golden-brown color and the oil fully separates. Watch it carefully toward the end — the color can shift from golden to burnt very quickly. Take it off the heat as soon as it looks deeply golden.
Is Kalamay Hati the same as regular Kalamay?
They are similar but not identical. Regular kalamay is often cooked and served directly in a coconut shell or container. Kalamay Hati typically refers to the version that is set in a pan and topped with latik, resulting in a firmer, sliceable form. Both are delicious — different presentations, same spirit.
Final Thoughts on Kalamay Hati
Kalamay Hati is one of those recipes that sounds simple — and it is — but the result is so deeply satisfying that it always feels like an achievement. Sticky, chewy, rich with coconut flavor, and crowned with toasty golden latik. What’s not to love?
The key is patience: low heat, constant stirring, and letting it cool properly before you slice into it. Follow those three rules and your Kalamay Hati will come out perfect every single time.
So go ahead, make a batch this weekend. Share it with your family, bring it to a party, or just eat it all yourself — I am not here to judge. Life is short, and Filipino desserts are too good to skip.
Kalamay Hati
Ingredients
Method
- Pour the coconut cream into a wide, shallow pan. Set to medium heat without covering the pan, allowing it to simmer.
- Stir occasionally. After about 10 minutes, liquid will reduce and oil will start separating from the solids.
- Once the curds become golden and oil fully separates, remove from heat and strain the latik.
- Line a 9x9 inch baking pan or bamboo tray with banana leaves, brushing generously with the reserved latik oil.
- In a heavy-bottomed pot, combine glutinous rice flour and brown sugar.
- Gradually pour in coconut milk while stirring to avoid lumps.
- Add white sugar and salt, stirring until dissolved.
- Place pot over low heat and stir continuously for 30 to 35 minutes until the mixture thickens and pulls away from the sides.
- Transfer the thick kalamay to the prepared pan, smoothing the surface.
- While warm, sprinkle latik on top and press gently to stick.
- Allow to cool completely, approximately 30 to 45 minutes, before slicing into pieces.
- Serve at room temperature.