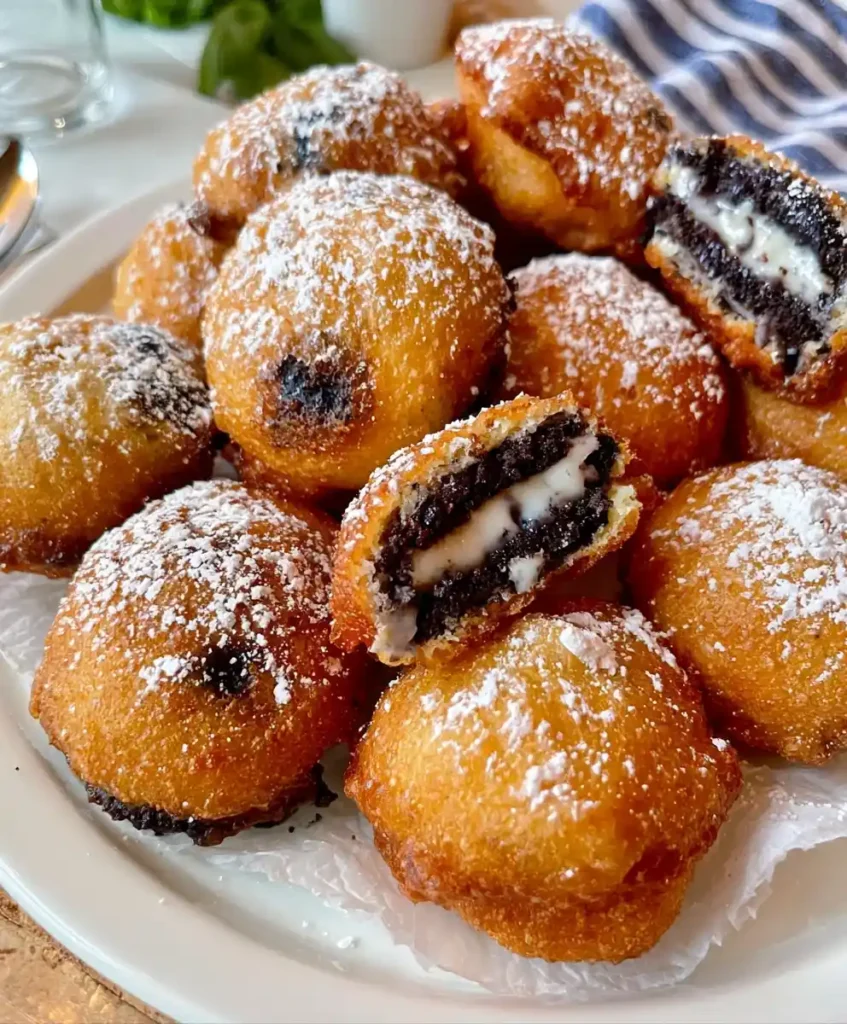
Crispy on the outside, warm and gooey in the middle—Deep Fried Oreos are proof that carnival food belongs in your kitchen too. I first tried these at a county fair and spent the drive home plotting how to recreate them. Turns out, all it takes is oil, batter, and about 30 minutes.
Servings: 16 pieces Prep Time: 10 minutes Cook Time: 20 minutes Total Time: 30 minutes
Why You’ll Love This Deep Fried Oreos Recipe
There’s something almost magical about a cookie getting the deep-fry treatment. The outside turns golden and crisp while the inside stays soft and melty. Have you ever had a dessert that feels like a hug? This is that dessert.
They also come together fast, which matters on busy weeknights or last-minute get-togethers. Deep Fried Oreos need zero fancy skills, just hot oil and a willingness to get a little messy. IMO, that’s exactly the kind of recipe every home cook needs on standby.
What You’ll Need: Deep Fried Oreos Ingredients
Here’s your full shopping list with exact amounts, so there’s no second-guessing at the store.
- 4 cups vegetable oil (for frying)
- 16 Mega Stuf Oreos
- 1 cup Bisquick baking mix
- 1 large egg, beaten
- 2/3 cup whole milk
- 1 teaspoon vanilla extract
- 2 tablespoons powdered sugar, for dusting
Seven ingredients, most of which are probably already sitting in your pantry. That’s the beauty of this recipe; it doesn’t ask much of you.
Equipment You’ll Need
- Large Dutch oven: Ideal for frying, though a deep skillet works fine too.
- Deep-fry thermometer: Keeps your oil at the right temperature so nothing burns.
- Large spoon: For dipping and lowering Oreos into the oil safely.
- Paper towels: Essential for draining excess oil once frying is done.
- Whisk: For mixing the batter smooth; a sturdy fork works as backup.
How to Make Deep Fried Oreos
Let’s slow down and walk through each stage carefully, since frying rewards patience way more than rushing ever does.
Step 1: Heat the Oil
Pour the vegetable oil into your Dutch oven, filling it deep enough that the Oreos can float freely once they go in. Set the pot over medium heat and clip on your thermometer so you can track the temperature accurately as it climbs. You’re aiming for exactly 350 degrees Fahrenheit, since oil that’s too cool leaves you with greasy, soggy Oreos, and oil that’s too hot burns the outside before the inside even warms up. If you don’t have a thermometer, drop a tiny bit of batter into the oil; if it sizzles and rises to the surface quickly, you’re ready to fry.
Step 2: Whisk Together the Batter
Grab a medium mixing bowl and crack in your beaten egg, then add the vanilla extract and whole milk. Whisk these wet ingredients together until fully combined and smooth, with no streaks of egg remaining. Slowly sprinkle in the Bisquick while continuing to whisk, working out any lumps as you go. Keep mixing until the batter reaches a consistency similar to thick pancake batter, thick enough to coat the back of a spoon without sliding right off. This batter is what gives your Oreos that signature crispy, puffy shell, so don’t rush through mixing it properly.
Step 3: Coat Each Oreo Thoroughly
Place one Oreo onto a large spoon, then dip it fully into the batter, making sure every edge and surface gets covered completely. Nobody wants a naked patch of cookie hitting hot oil directly, since that spot won’t crisp up the same way. Once it’s coated, lift the Oreo back out and spoon a little extra batter over the top for good measure. This second layer helps create that beautiful golden puff once it hits the oil, so don’t skip it.
Step 4: Fry Until Golden
Carefully lower the batter-coated Oreo into the hot oil using your spoon, going slowly to avoid any oil splashing back at you. Fry only two or three Oreos at a time, since overcrowding the pot drops the oil temperature and leads to uneven, greasy results. Let each one cook for about 30 to 60 seconds, watching closely as the batter turns a deep golden brown. Flip each Oreo gently halfway through frying so both sides cook evenly. Pull them out the moment they reach that perfect golden color, since a few extra seconds can tip them from crispy to burnt.
Step 5: Drain, Dust, and Serve
Transfer your freshly fried Oreos onto a plate lined with paper towels, letting them sit for a minute so excess oil gets absorbed. While they’re still warm, dust them generously with powdered sugar, covering the tops evenly for that classic fairground look. Serve them right away while the center is still warm and gooey, since that contrast between crispy shell and melty middle is the whole point. Trust me, waiting too long just means a slightly less magical bite.
Tips for Success
- Always check your oil temperature before frying to avoid burnt or soggy results.
- Fry in small batches so the oil temperature stays steady throughout.
- Let the batter rest for a few minutes before dipping for a crunchier shell.
- Dust with powdered sugar right before serving, not earlier, for the best presentation.
- Let kids help with the dipping step; it’s genuinely fun for them.
Variations of Deep Fried Oreos
- Chocolate Covered Oreos: Dip the cookies in melted chocolate before battering for an extra sweet layer.
- Peanut Butter Delight: Spread peanut butter between two Oreos before dipping for a nutty twist.
- Gluten-Free Version: Swap the Bisquick for a gluten-free all-purpose baking mix.
- Seasoned Sugar Dust: Use cinnamon sugar instead of plain powdered sugar for a warmer flavor.
- Mini Oreos: Use mini Oreos for bite-sized versions that are perfect for parties.
Serving Suggestions
- Pair with a scoop of vanilla ice cream for a hot-and-cold contrast.
- Drizzle with chocolate or caramel sauce for extra indulgence.
- Garnish with fresh berries to balance out the sweetness.
- Serve on a platter dusted with powdered sugar for a fairground-style presentation.
- Pair with hot cocoa or coffee for a cozy dessert pairing.
FAQs About Deep Fried Oreos
Can I make these Deep Fried Oreos ahead of time? You can prep the batter a few hours ahead and store it in the fridge, but fry the Oreos right before serving for the best crispy texture.
Can I use different flavored Oreos? Absolutely. Mint, peanut butter, or birthday cake Oreos all work great and give the batter a fun flavor twist.
Are Deep Fried Oreos a healthy treat? Let’s be honest here; they’re an indulgent dessert, not a health food. Enjoy them for special occasions or the occasional craving, in moderation.
What should I do with leftovers? Store any extras in an airtight container in the fridge, then reheat in the oven to bring back some crispiness. They’re best fresh, though.
Can I make a vegan version of Deep Fried Oreos? Yes, swap the egg for a flax egg or unsweetened applesauce, and use a non-dairy milk instead of whole milk.
Why did my batter slide off the Oreos? This usually happens when the batter is too thin. Let it rest a few minutes and add a bit more Bisquick if needed to thicken it up.
Final Thoughts
Deep Fried Oreos turn a simple cookie into something worth talking about, with almost zero effort involved. The crispy shell, the warm center, the dusting of powdered sugar—every part earns its place. Whether you’re making these for a party or just treating yourself on a random Tuesday, they deliver serious satisfaction. Heat up that oil, grab your Oreos, and get frying; your taste buds will thank you.
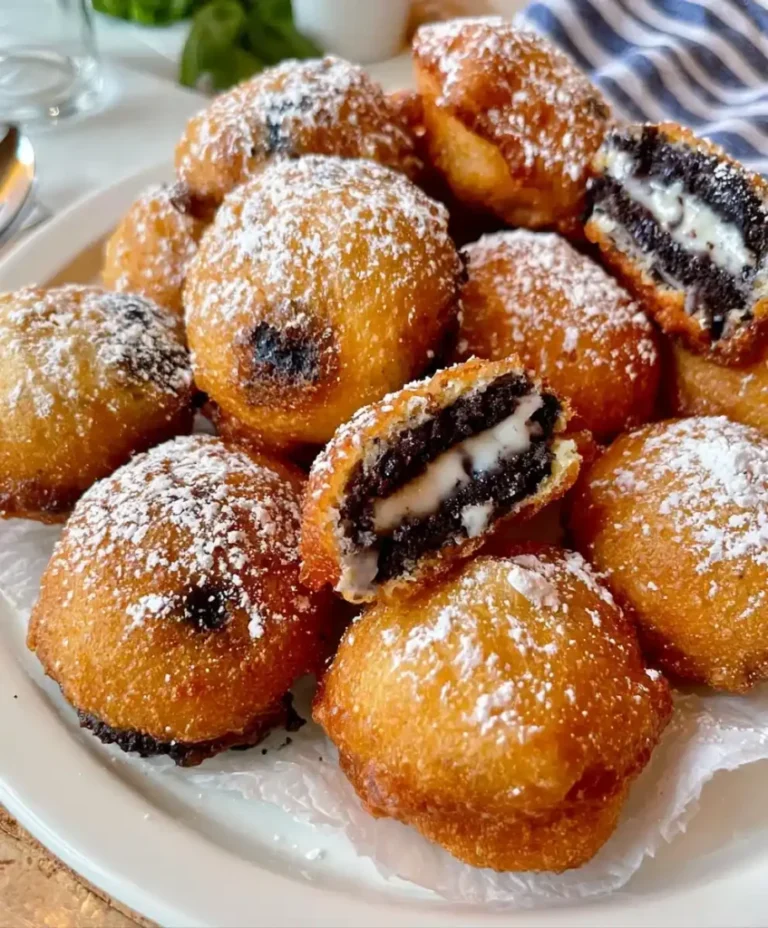
Deep Fried Oreos
Ingredients
Method
- Pour the vegetable oil into your Dutch oven, filling it deep enough that the Oreos can float freely. Set the pot over medium heat and clip on your thermometer to track the temperature aiming for exactly 350 degrees Fahrenheit.
- In a medium mixing bowl, crack in your beaten egg, then add the vanilla extract and whole milk. Whisk together until fully combined.
- Slowly sprinkle in the Bisquick while continuing to whisk until the batter reaches a consistency similar to thick pancake batter.
- Coat each Oreo fully in the batter, ensuring no patches remain uncovered.
- Carefully lower the batter-coated Oreo into the hot oil, frying only two or three at a time to avoid overcrowding.
- Let each Oreo cook for about 30 to 60 seconds, flipping gently halfway through until they reach a deep golden brown.
- Transfer fried Oreos onto a plate lined with paper towels to absorb excess oil. Dust with powdered sugar while warm and serve immediately.



