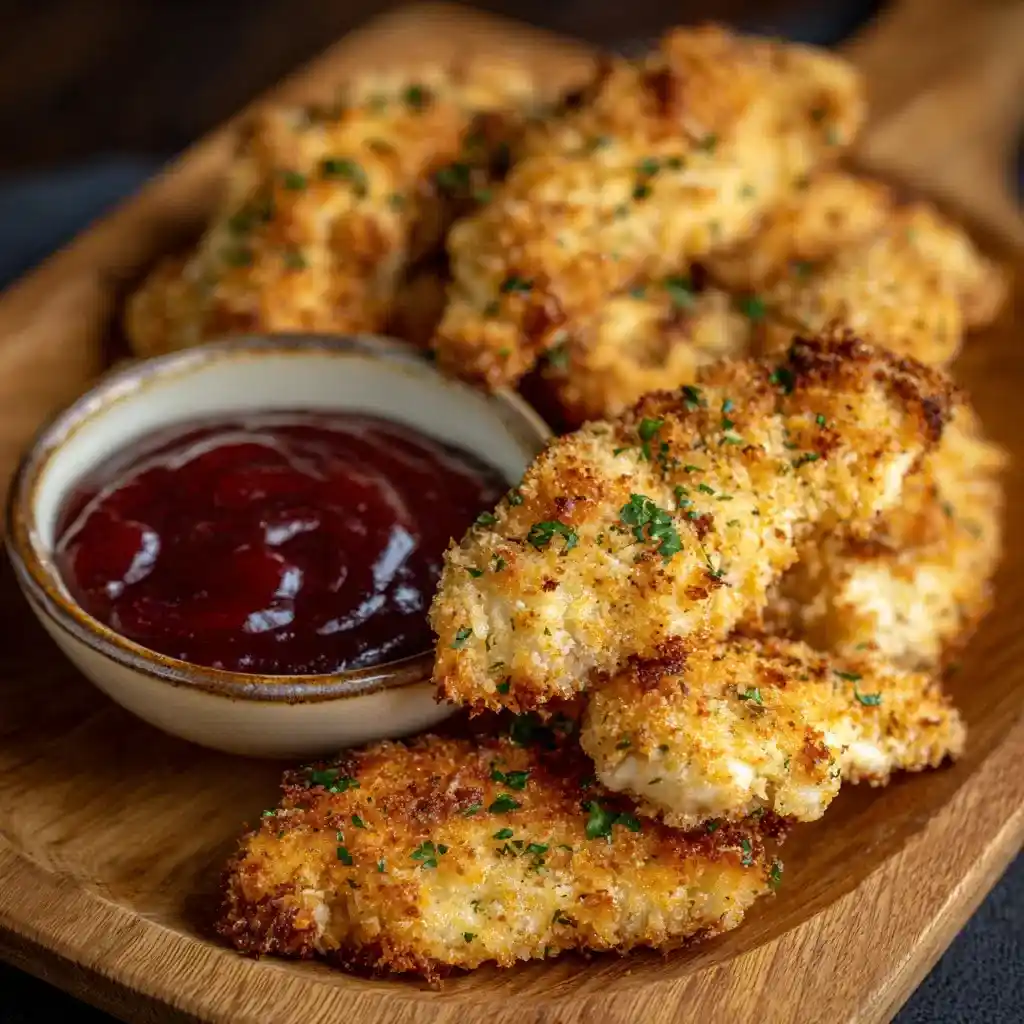
Craving crispy chicken tenders without the deep fryer mess? Air Fryer Chicken Tenders deliver that perfect crunch with way less oil and way less cleanup. I started making these on weeknights when I wanted fried chicken vibes without the guilt trip. Once you try this method, you won’t look back.
Servings: 4 Prep Time: 15 minutes (plus 30 minutes to 4 hours marinating) Cook Time: 11 minutes
Why Air Fryer Chicken Tenders Beat the Deep-Fried Version
Let’s be real, deep frying is messy, oily, and honestly kind of a hassle. This air fryer method gives you that same crispy exterior without the vat of oil sitting on your stove. IMO, that’s a win for both your kitchen and your waistline.
The air fryer circulates hot air around the chicken, creating a crunchy crust that rivals traditional frying. Have you ever wondered how something with barely any oil gets that satisfying crunch? The circulating heat does all the work for you.
My Honest Take After Making These Dozens of Times
I’ve made these tenders more times than I can count, and they never disappoint. My kids request them weekly, which honestly says a lot about how good they are. Even picky eaters can’t resist that golden, crispy coating.
What You’ll Need for These Crispy Tenders
Before firing up your air fryer, let’s gather everything you need. Nothing complicated here, just simple ingredients that create maximum crunch and flavor. Here’s your complete shopping list.
- Chicken tenderloins, or chicken breasts cut into strips
- Buttermilk
- All-purpose flour
- Cornstarch
- Cajun seasoning, low sodium
- Garlic powder
- Salt and black pepper
- Large egg
- Water
- Seasoned bread crumbs
- Crushed cornflakes
- Cooking spray
That’s the entire lineup. No specialty items required, just pantry staples that combine into something genuinely crave-worthy.
Let’s Talk About the Buttermilk Marinade
Buttermilk isn’t just there for flavor, it actually tenderizes the chicken through its natural acidity. Have you ever bitten into dry, tough chicken tenders and wondered what went wrong? Skipping the buttermilk soak is usually the culprit.
This step takes minimal effort but makes a massive difference in the final texture. IMO, it’s the single most important step in this entire recipe. Don’t skip it, even if you’re tempted to rush.
How to Make Air Fryer Chicken Tenders
Ready to get cooking? This process might look like a lot of steps, but each one is quick and simple. Let’s walk through it together so you know exactly what to expect.
Step One: Marinate the Chicken
Place your chicken tenderloins into a bowl and pour the buttermilk over them. Let this sit for at least thirty minutes, though up to four hours in the fridge works even better. This soak tenderizes the meat and adds subtle tangy flavor throughout.
Step Two: Prep Your Breading Stations
Grab three separate bowls for this part. In the first bowl, combine flour, cornstarch, Cajun seasoning, garlic powder, salt, and pepper. Mixing the cornstarch in here is key, since it adds that extra crispiness everyone loves.
In your second bowl, whisk together the egg and water until fully combined. In the third bowl, mix the seasoned bread crumbs with crushed cornflakes. This combination creates a crunchy, textured coating that regular breadcrumbs alone just can’t match.
Step Three: Remove and Dry the Chicken
Take your chicken out of the buttermilk, letting any excess liquid drip off completely. Pat each piece dry with a paper towel before moving to the next step. This drying step helps the flour coating stick properly instead of sliding right off.
Step Four: Dredge Through Each Station
Dip each piece of chicken into the flour mixture first, coating it thoroughly on all sides. Next, dip it into the egg wash, letting any excess drip away. Finally, press it firmly into the bread crumb and cornflake mixture until fully coated.
Make sure you press the coating on rather than just rolling the chicken around. This pressing motion helps the crunchy exterior stick and stay put during cooking. Skip this, and you might lose some coating in the air fryer basket.
Step Five: Add a Light Spray
Once your chicken is fully coated, spray each piece lightly with cooking spray. This small step helps the coating brown evenly and achieve that golden, crispy finish. Don’t drench it, just a light, even coating does the trick.
Step Six: Preheat Your Air Fryer
Set your air fryer to 390°F and let it preheat for a few minutes before adding the chicken. Preheating matters more than people realize, since it helps create that instant sizzle and crunch. Skipping this step often leads to soggier, less crispy results.
Step Seven: Arrange and Air Fry
Place your breaded chicken tenders in a single layer inside the air fryer basket. Avoid overcrowding, since pieces touching each other won’t crisp up evenly. Air fry for eleven minutes, flipping halfway through if you want extra even browning.
Step Eight: Check for Doneness
Your tenders are done once they turn golden brown and reach an internal temperature of 165°F. Use a meat thermometer if you’re unsure, since undercooked chicken is never worth the risk. Once they hit that temperature, pull them out immediately to avoid drying them out.
Serving Suggestions That Hit the Spot
These tenders pair perfectly with classic dipping sauces like ranch, honey mustard, BBQ, or buffalo sauce. Have you ever met a chicken tender that didn’t need a good dipping sauce? I certainly haven’t.
Bold combo: serve them alongside fries, coleslaw, or mac and cheese for a full comfort food spread. They also work wonderfully with a fresh salad if you’re trying to balance things out a bit.
Storing and Reheating Leftovers
Got leftovers? Store them in an airtight container in the fridge for up to three days. Reheating in the air fryer at 375°F for three to four minutes brings back that crispy texture beautifully.
Want to freeze them for later? These tenders freeze well for up to two months. Just make sure they’re fully cooled before sealing them into a freezer-safe container or bag.
Fun Variations Worth Trying
Bored of the classic version? Here are some easy tweaks that keep this recipe exciting without much extra effort.
- Add grated parmesan to the breading for extra richness
- Toss cooked tenders in buffalo sauce for a spicy kick
- Drizzle with honey and garlic butter after cooking
- Swap breadcrumbs for panko for extra crunch
- Use almond flour and crushed pork rinds for a low-carb version
- Add everything bagel seasoning to the breading mixture
- Skip the Cajun seasoning entirely for a milder, kid-friendly version
Frequently Asked Questions
Can I skip the buttermilk marinade?
Yes, just substitute regular milk mixed with a tablespoon of vinegar or lemon juice. It won’t be identical, but it still tenderizes the chicken effectively.
Can I use frozen chicken for this recipe?
You’ll want to thaw it completely before marinating. Marinating frozen chicken won’t allow the buttermilk to properly penetrate and tenderize the meat.
Do I really need to flip the tenders halfway through?
Flipping is optional, but it does help achieve more even browning on both sides. If your air fryer circulates heat well, you can often skip this step.
Can I bake these instead of air frying?
Absolutely, bake them at 425°F for eighteen to twenty-two minutes. The texture will be slightly different, but they’ll still turn out crispy and delicious.
How do I keep my chicken tenders crispy?
Avoid overcrowding your air fryer basket, since pieces touching each other steam instead of crisping. Cook in batches if needed for the best texture.
Can I prep these ahead of time?
Yes, bread the chicken and refrigerate it for up to twenty-four hours before cooking. This makes weeknight dinners even faster and more convenient.
Final Thoughts
Air Fryer Chicken Tenders prove that crispy, crave-worthy chicken doesn’t require a deep fryer or hours of effort. They’re juicy, crunchy, and endlessly customizable for whatever mood you’re in 🙂 Give this recipe a try soon, and don’t be surprised when it becomes your new go-to weeknight dinner.
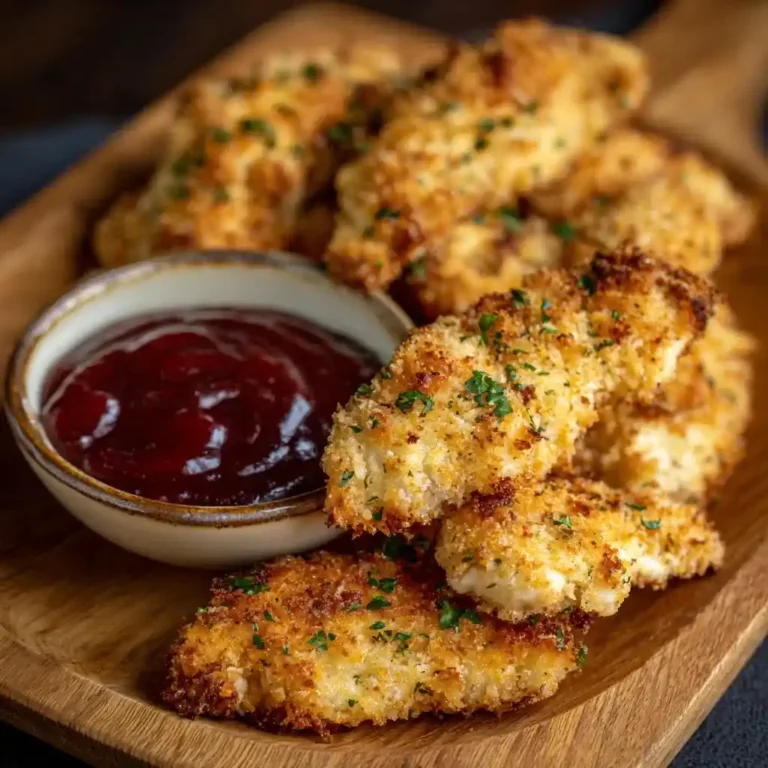
Air Fryer Chicken Tenders
Ingredients
Method
- Place chicken tenderloins in a bowl and pour buttermilk over them. Marinate for at least 30 minutes, or up to 4 hours for best results.
- In the first bowl, combine flour, cornstarch, Cajun seasoning, garlic powder, salt, and pepper.
- In the second bowl, whisk egg and water until combined.
- In the third bowl, mix seasoned bread crumbs with crushed cornflakes.
- Remove chicken from buttermilk, allowing excess to drip off. Pat dry with a paper towel.
- Dredge each piece in the flour mixture, then in egg wash, followed by pressing into the breadcrumb mixture.
- Spray each coated chicken piece lightly with cooking spray.
- Preheat air fryer to 390°F for a few minutes.
- Arrange chicken in a single layer in the air fryer basket. Air fry for 11 minutes, flipping halfway through.
- Check doneness; should be golden brown and reach an internal temperature of 165°F.




