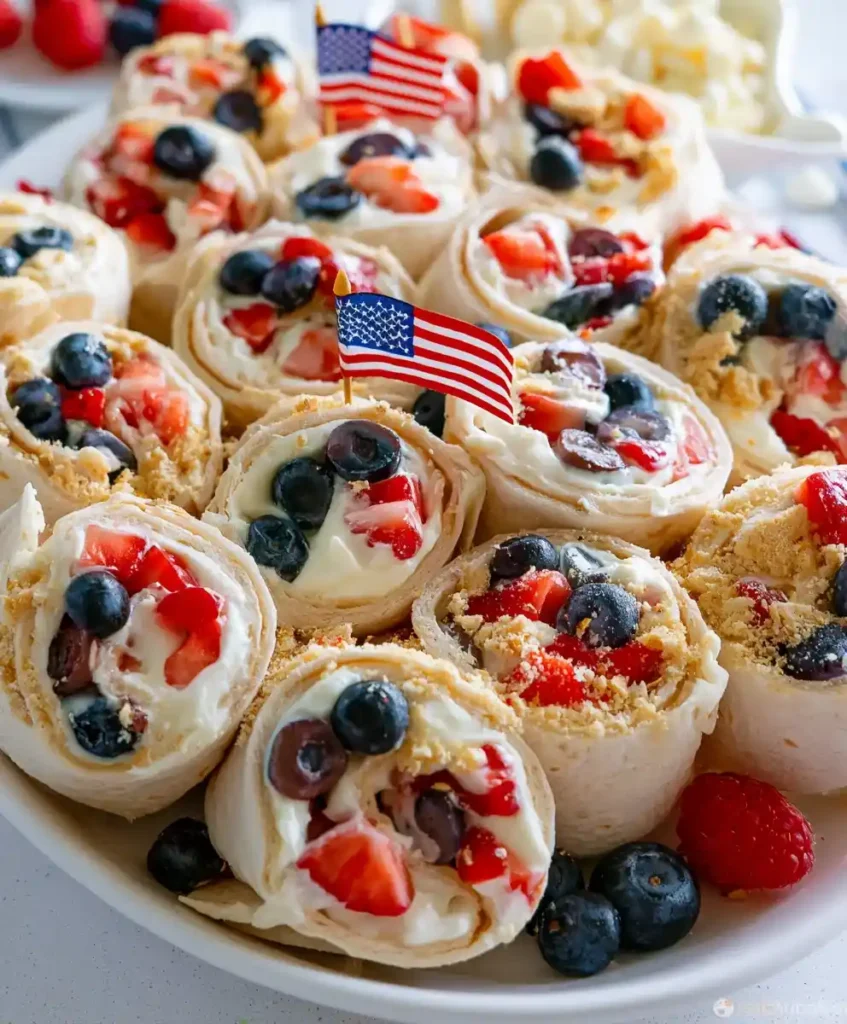
Soft tortillas rolled around a fluffy cream cheese filling, studded with strawberries and blueberries — that’s the whole concept behind Patriotic Cream Cheese Pinwheels. I started making these for a backyard 4th of July party when I needed something colorful that didn’t involve turning on my oven. They’ve stuck around as my easiest crowd-pleaser ever since.
Prep time: 15 minutes Chill time: 30 minutes Total time: 45 minutes Servings: 6 to 8 (makes about 24 pinwheels)
Why You’ll Love This Patriotic Cream Cheese Pinwheels Recipe
This recipe requires zero baking, which matters a lot when your oven’s already busy with everything else for the cookout. IMO, that’s the real win of a good pinwheel recipe — big presentation, almost no effort. You get a treat that looks like it took hours but actually took fifteen minutes of active work.
They’re also endlessly customizable, so picky eaters and fruit lovers alike find something to enjoy. Have you ever needed a dessert that photographs well without any actual photography skills? These pinwheels deliver exactly that, sliced and ready to impress.
Ingredients for Patriotic Cream Cheese Pinwheels
Here’s everything you need, with amounts included so there’s no guesswork:
- Flour tortillas — 6 large (10-inch)
- Cream cheese — 8 ounces, softened
- Whipped topping — 1 cup
- Vanilla extract — 1 teaspoon
- Powdered sugar — 1/4 cup
- Strawberries — 1 cup, diced
- Blueberries — 1 cup
- Mini American flags — 12, for garnish
Eight ingredients, and most of them likely already live in your fridge or pantry. Nothing here requires a specialty grocery run.
Equipment You’ll Need
- A mixing bowl for the filling
- An electric mixer, though a whisk works with a bit more effort
- A spatula or butter knife for spreading
- Plastic wrap for chilling the rolls
- A sharp or serrated knife for slicing
That’s the entire list. This recipe doesn’t ask much of your kitchen setup.
How to Make Patriotic Cream Cheese Pinwheels
Step 1: Prepare the Cream Cheese Filling
Grab a mixing bowl and add your softened cream cheese, whipped topping, vanilla extract, and powdered sugar. Using softened cream cheese here matters quite a bit, since cold cream cheese leaves lumps that never fully smooth out no matter how long you mix. Let it sit at room temperature for about 20 minutes beforehand if you forgot to plan ahead.
Using an electric mixer, whip everything together until the mixture turns light, fluffy, and completely smooth. This usually takes about two minutes on medium speed. Scrape down the sides of the bowl once during mixing to make sure nothing gets left behind unmixed.
Step 2: Spread the Filling onto the Tortillas
Lay one flour tortilla flat on a clean surface or cutting board. Using a spatula, spread an even layer of your cream cheese filling across the entire tortilla, working from the center outward. Leave a small, half-inch border around the edge so the filling doesn’t squeeze out once you start rolling.
Repeat this spreading process with each remaining tortilla, working one at a time so the filling doesn’t dry out while you wait. Take your time here, since an even layer of filling makes for far more attractive pinwheels once sliced.
Step 3: Add the Strawberries and Blueberries
Sprinkle your diced strawberries and blueberries evenly across the cream cheese layer on each tortilla. Distribute the fruit with your hands rather than dumping it all in the center, so every eventual slice gets a good mix of both colors. This step is what turns a simple cream cheese wrap into something genuinely festive-looking.
Press the fruit gently into the filling so it stays put once you start rolling. Skipping this light press usually means fruit tumbling out the sides during the rolling step.
Step 4: Roll the Tortillas into Logs
Starting from one edge, roll the tortilla into a tight log, tucking the filling and fruit inward as you go. Keep the roll snug rather than loose, since a loose roll leads to gaps that make slicing messy later. Continue rolling all the way to the opposite edge.
Repeat this rolling process with every tortilla until you have a full batch of tightly rolled logs. If any filling squeezes out the ends, that’s completely normal and easy to wipe away with a paper towel.
Step 5: Wrap and Chill the Rolls
Wrap each rolled tortilla individually in plastic wrap, twisting the ends slightly to keep everything secure. Place the wrapped rolls in the refrigerator and let them chill for at least 30 minutes. This chilling step firms up the filling significantly, which makes the difference between clean slices and a messy, squished cutting job.
Resist the urge to skip or shorten this step, even if you’re in a hurry. A properly chilled roll holds its shape far better once the knife comes out.
Step 6: Slice into Pinwheels
Once chilled, unwrap each roll and place it on a cutting board. Using a sharp or serrated knife, slice the roll into rounds about one inch thick. A gentle sawing motion works better than pressing straight down, which can squish the roll out of shape.
Arrange your sliced pinwheels on a serving tray, angling a few pieces for visual interest if you’re feeling fancy. Discard the very end pieces of each roll if they look uneven, or just consider them the cook’s treat.
Step 7: Add the Finishing Touch
Stick a mini American flag into the top of each pinwheel just before serving. This small detail turns a simple appetizer into a genuinely festive centerpiece for any patriotic gathering. Serve the pinwheels chilled, or let them sit at room temperature for a few minutes if you prefer a slightly softer bite.
Tips for Success
- Prep every ingredient before you start to keep the whole process moving smoothly
- Make sure the cream cheese is fully softened for a lump-free filling
- Chill the rolls longer than 30 minutes if you want firmer, cleaner slices
- Use a serrated knife for the neatest possible cuts through each roll
- Swap in seasonal fruit whenever strawberries or blueberries aren’t at their best
Variations Worth Trying
- Tropical swap: Use diced kiwi and mango instead of strawberries and blueberries
- Nutty crunch: Stir chopped walnuts or pecans into the cream cheese filling
- Gluten-free option: Use gluten-free tortillas in place of regular flour tortillas
- Sweet twist: Fold white chocolate chips or graham cracker crumbs into the filling
- Dairy-free version: Substitute a dairy-free cream cheese alternative for the regular kind
Serving Suggestions
Pair these pinwheels with a colorful fruit salad for a matching, refreshing table spread. Iced tea or lemonade rounds out the sweetness nicely as a drink pairing. A star-spangled tablecloth or patriotic-themed platter takes the presentation up another notch entirely.
FAQs About Patriotic Cream Cheese Pinwheels
Can I make these pinwheels a day in advance? Yes, you can prepare and roll them a day ahead. Keep them wrapped tightly in plastic in the refrigerator until you’re ready to slice and serve.
What if I can’t find mini American flags? Toothpicks with small paper stars cut and taped on work just as well. It’s an easy homemade substitute that still brings the festive look.
Can I use different fruits in this recipe? Absolutely. Raspberries, diced peaches, or any seasonal fruit you love work well here, as long as the colors still feel appropriately festive.
Do these pinwheels need to stay refrigerated after serving? Yes, especially in warm weather. Keep any leftovers in the fridge and bring them back to room temperature for a few minutes before serving again.
Are these pinwheels a good option for kids? Definitely. The sweet, creamy filling and fun rolling process make this a hit with kids, both to eat and to help make.
Why did my filling squeeze out while rolling? This usually happens when the filling layer is spread too thick or too close to the tortilla’s edge. Leave a small border and don’t overfill for the cleanest roll.
Final Thoughts
Patriotic Cream Cheese Pinwheels prove that a genuinely impressive party appetizer doesn’t need an oven, complicated steps, or hours of your time. Between the creamy filling, fresh fruit, and that festive red-white-and-blue color combo, these pinwheels disappear fast at any summer gathering. Grab your tortillas, roll them up, and let this one become a staple at every patriotic celebration.
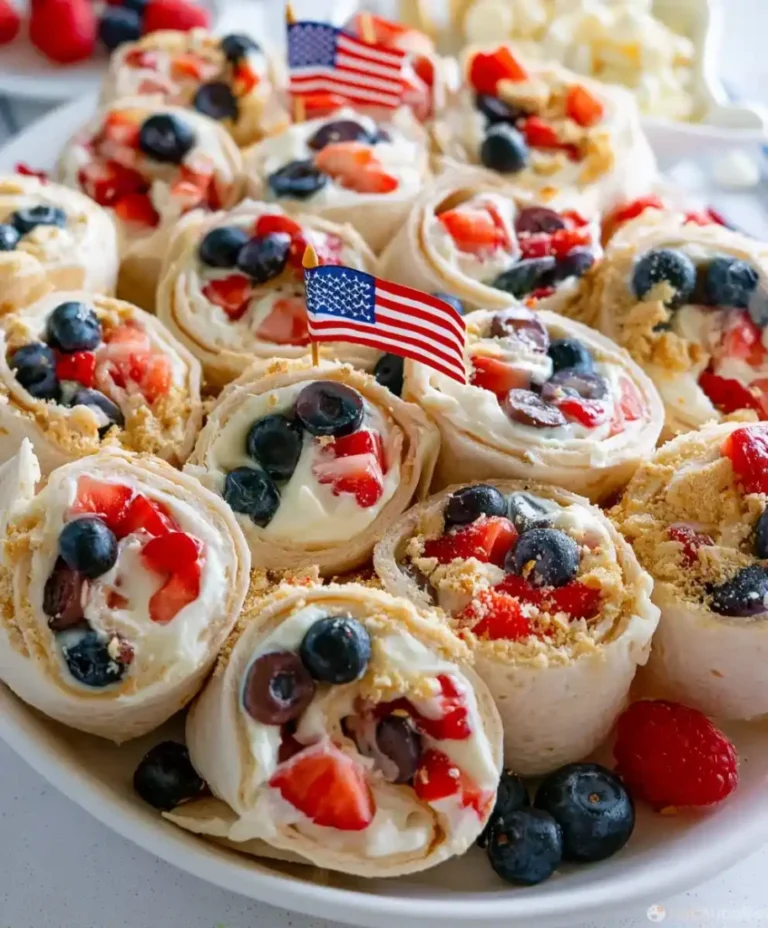
Patriotic Cream Cheese Pinwheels
Ingredients
Method
- In a mixing bowl, combine the softened cream cheese, whipped topping, vanilla extract, and powdered sugar.
- Using an electric mixer, whip until light and fluffy, about two minutes, scraping down the sides to ensure thorough mixing.
- Lay a flour tortilla flat and spread an even layer of the cream cheese filling, leaving a half-inch border around the edge.
- Repeat with each tortilla.
- Sprinkle diced strawberries and blueberries evenly across the cream cheese layer on each tortilla, pressing gently into the filling.
- Starting from one edge, roll the tortilla tightly, tucking the filling and fruit inward. Ensure the roll is snug.
- Repeat the process with all tortillas.
- Wrap each tortilla log in plastic wrap and chill in the refrigerator for at least 30 minutes.
- Unwrap each roll and slice into 1-inch thick rounds using a serrated knife.
- Arrange on a serving tray.
- Insert a mini American flag into the top of each pinwheel before serving.




