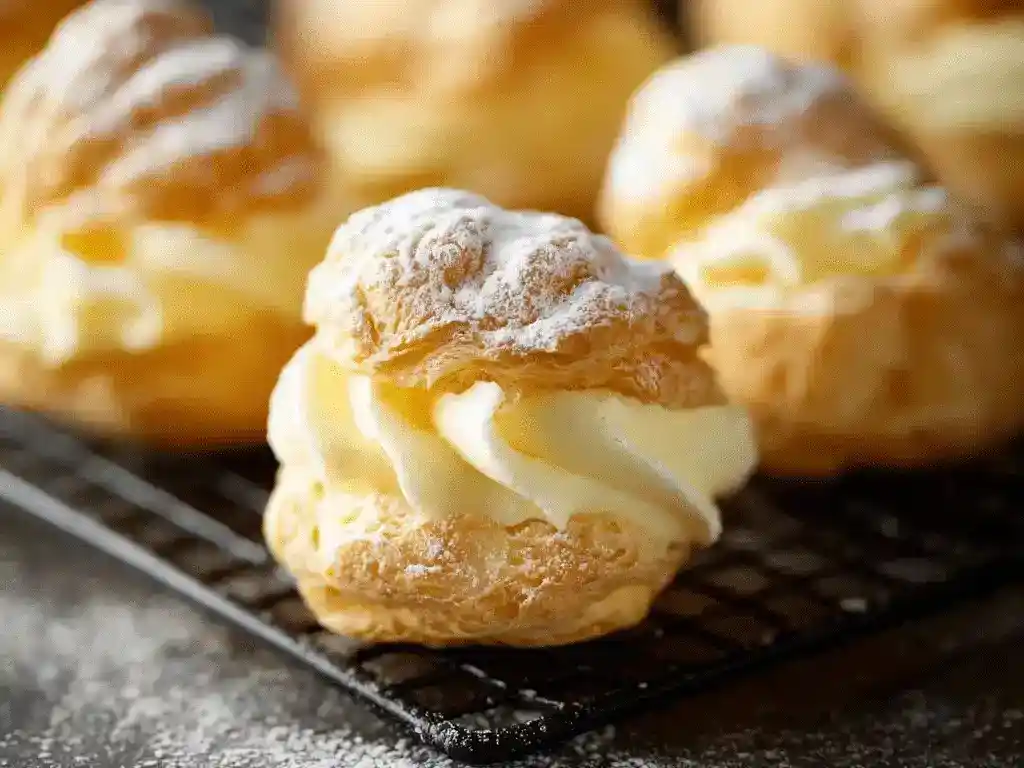
Let’s clear something up right away: Cream Puffs look like they came from a fancy French bakery, but they’re shockingly easy to make at home. I was intimidated by these for years, and honestly, that fear was completely unnecessary.
Servings: About 12 cream puffs Prep time: 20 minutes Bake time: 20–25 minutes Total time: Roughly 1 hour, plus chilling time for the filling
I remember my first attempt at Cream Puffs. I assumed the dough would fight me the whole way. Turns out, choux pastry (that’s the fancy name for this dough) is more forgiving than people give it credit for.
Why Cream Puffs Feel Fancier Than They Actually Are
Have you ever bitten into a cream puff and wondered how something so light could hold so much filling? That’s the magic of choux pastry. It puffs up in the oven, creating a hollow center perfect for stuffing with creamy filling.
The crisp, golden shell contrasts beautifully with the cool, velvety pudding inside. That contrast is exactly what makes Cream Puffs so addictive. One bite and you get crunch, cream, and just enough sweetness to keep you reaching for another.
IMO, this is one of those desserts where simple ingredients create something that tastes way more impressive than the effort required. FYI, that’s basically the dream for anyone who bakes but doesn’t want to spend all day in the kitchen.
Ingredients You’ll Need
Nothing complicated here. Just pantry staples and a few fridge basics.
For the Cream Puffs
- Butter
- Water
- All-purpose flour
- Eggs
For the Filling
- Instant vanilla pudding mix (two small boxes)
- Cold whole milk
- Sour cream
- Powdered sugar, for dusting on top
Simple list, right? No obscure ingredients, no trip to a specialty store required.
How to Make Cream Puffs, Step by Step
Let’s walk through this slowly, because choux pastry rewards patience and punishes rushing.
Step 1: Preheat and Prep
Preheat your oven to 375°F (190°C) before you do anything else. Line a baking sheet with a silicone mat or parchment paper so your puffs don’t stick once they’re baked. Having everything ready before you start cooking makes this whole process smoother.
Step 2: Melt the Butter and Boil
In a saucepan, melt the butter directly in the water over medium heat. Once the butter fully melts, bring the mixture to a rolling boil. Don’t rush this step—a proper boil matters for how the dough forms in the next stage.
Step 3: Stir in the Flour
Reduce the heat to low and add the flour all at once. Stir vigorously and constantly until the dough pulls away from the sides of the pan and forms a smooth ball. This usually takes about a minute, and yes, your arm will get a small workout.
Step 4: Cool It Down Slightly
Remove the pan from heat and let the dough cool for a couple of minutes. Skipping this step means your eggs could scramble the moment they hit the hot dough, and nobody wants scrambled eggs in their pastry. A short cooling window protects the texture.
Step 5: Beat in the Eggs
Using a mixer, beat in the eggs one at a time, fully incorporating each one before adding the next. The dough will look strange and separated at first—don’t panic, that’s completely normal. Keep mixing until it turns smooth, glossy, and velvety.
Step 6: Shape and Bake
Drop the dough onto your prepared baking sheet in walnut-sized spoonfuls, spacing them a couple of inches apart. Bake for 20 to 25 minutes, until the puffs turn golden and feel dry to the touch. Avoid opening the oven door during the first 15 minutes, or your puffs might deflate before they’ve had the chance to set.
Step 7: Cool Completely
Let the baked puffs cool completely on a wire rack before you even think about filling them. Warm puffs will melt your filling into a soggy mess in seconds. This is the moment to practice patience, even if the kitchen smells incredible.
Making the Creamy Filling
While the puffs cool, whip up the filling—this part takes barely five minutes.
Whisk the instant vanilla pudding mix with cold whole milk until it turns smooth. Add the sour cream and blend everything together until it thickens up nicely. Refrigerate the mixture for at least an hour so it sets properly before filling your puffs.
Once everything’s chilled, slice each cooled puff in half and spoon in the filling generously. Dust the tops with powdered sugar right before serving. This final touch turns a simple pastry into something that looks bakery-made.
Serving and Storage Tips
- Serve Cream Puffs immediately after filling for the best texture and crunch.
- Store unfilled puffs in an airtight container at room temperature for up to 2 days.
- Refrigerate filled puffs and eat them within 2 days for freshness.
- Reheat unfilled puffs in a 350°F oven for 5 minutes to restore crispiness.
Fun Variations Worth Trying
Once you’ve nailed the base recipe, switching things up is easy and fun.
- Chocolate Cream Puffs: Add cocoa powder to the filling or drizzle melted chocolate on top.
- Lemon Cream Puffs: Mix lemon juice and zest into the pudding for a bright, tangy twist.
- Coffee Cream Puffs: Dissolve instant coffee granules into the milk before mixing.
- Caramel Cream Puffs: Drizzle caramel sauce over the top after filling.
- Mini Cream Puffs: Drop smaller spoonfuls and reduce bake time to 15–18 minutes.
Have you ever tried swapping pudding flavors just to see what sticks? It’s a surprisingly fun way to keep this recipe from ever getting boring.
Frequently Asked Questions
Can I make Cream Puffs ahead of time? Yes—bake the puffs in advance and fill them right before serving for the best texture.
Why didn’t my cream puffs rise properly? Double-check your oven temperature and make sure each egg fully incorporates before adding the next.
Can I freeze cream puffs? Yes, unfilled puffs freeze well for up to 2 months. Thaw them fully before filling.
What can I use instead of instant pudding? A homemade custard made from egg yolks, sugar, milk, and cornstarch works great too.
How do I get crispier puffs? Bake until they’re golden and feel dry, and resist opening the oven during the first 15 minutes 🙂
Final Thoughts
Cream Puffs prove that a little patience with simple ingredients gets you a genuinely impressive dessert. The crisp shell, the creamy filling, the dusting of powdered sugar—it all adds up to something that looks way harder than it actually is. Give this recipe a shot, and don’t be surprised when everyone assumes you bought them from a bakery.
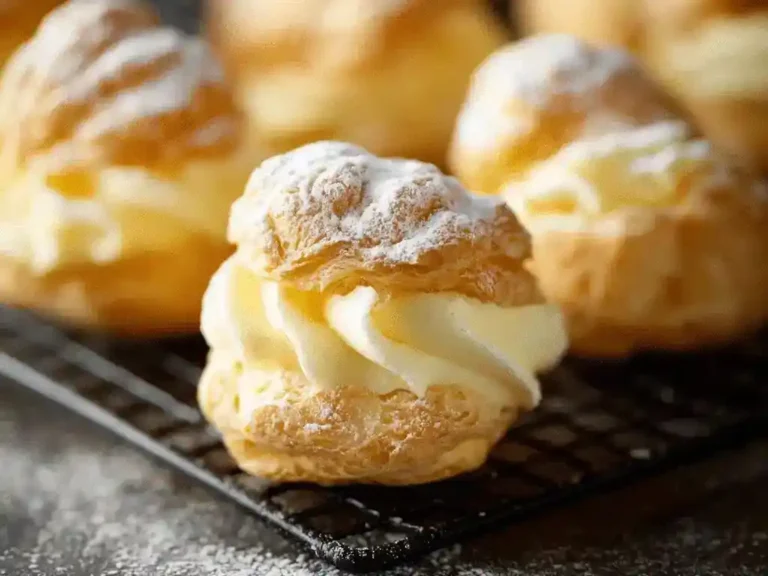
Cream Puffs
Ingredients
Method
- Preheat your oven to 375°F (190°C) and line a baking sheet with parchment paper.
- Melt the butter in water over medium heat, then bring to a rolling boil.
- Reduce heat to low and add flour all at once. Stir vigorously until the dough pulls away from the sides.
- Let the mixture cool slightly before adding eggs to prevent scrambling.
- Beat in the eggs one at a time until the dough becomes smooth and glossy.
- Drop walnut-sized spoonfuls of the dough onto the prepared baking sheet, spacing them apart.
- Bake for 20 to 25 minutes until golden and dry, avoiding opening the oven during the first 15 minutes.
- Cool completely on a wire rack before filling.
- Whisk the pudding mix with cold milk until smooth, then add sour cream and blend until thick.
- Refrigerate the filling for at least an hour before using.
- Slice cooled puffs in half and fill generously with the prepared filling.
- Dust with powdered sugar right before serving.




