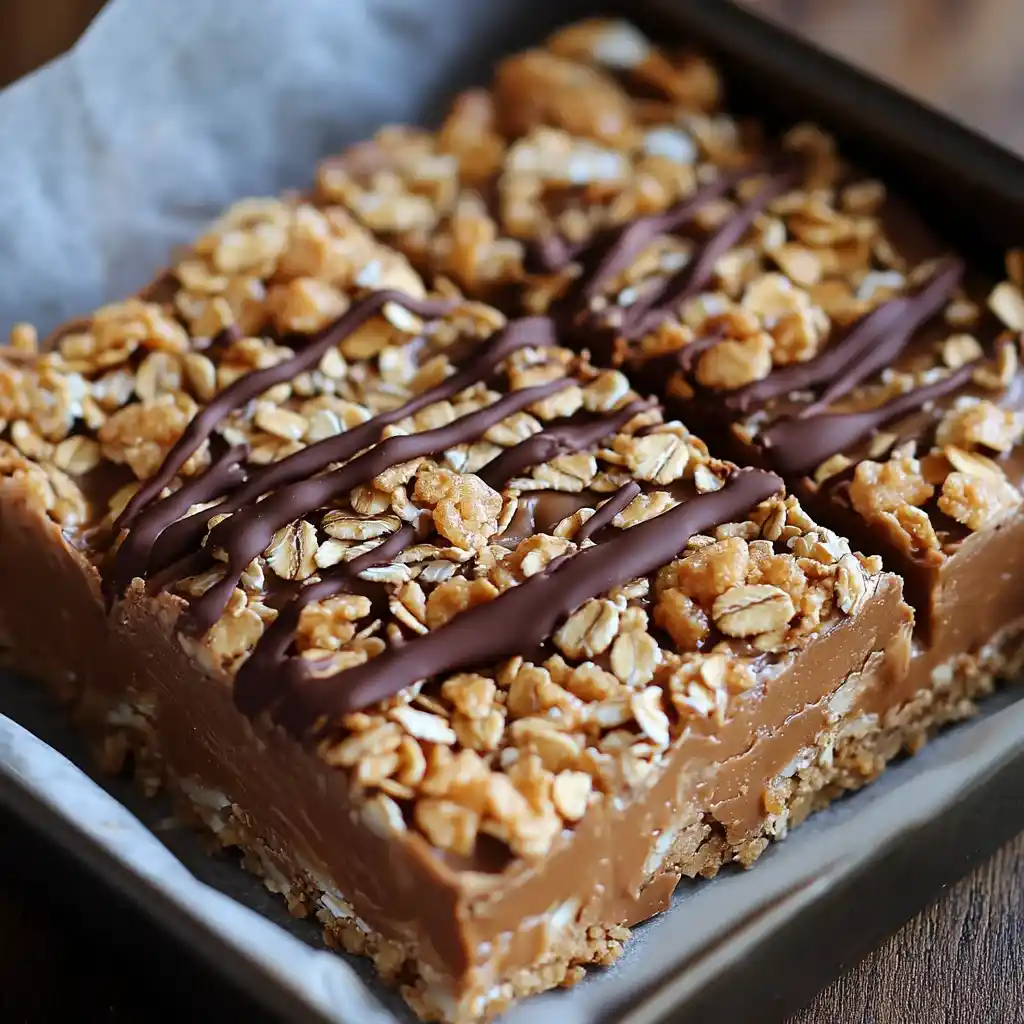
No oven. No stress. Just fifteen minutes of mixing and a fridge doing the rest. These No-Bake Peanut Butter Yogurt Bars With Chocolate Crisp Topping are the snack I make when I want something sweet without turning on a single appliance.
Servings: 12 bars Prep time: 15 minutes Chill time: 2 to 3 hours Total time: About 2 hours 15 minutes, mostly hands-off
If you’ve got a bowl and a fridge, you’ve basically got dessert. Let’s get into why this recipe works so well.
Why These No-Bake Peanut Butter Yogurt Bars Are So Good
Most “healthy” snack bars taste like cardboard with good intentions. Not these. Have you ever bitten into something that’s actually both nutritious and genuinely delicious? That’s the whole point of this recipe.
Greek yogurt does double duty here — it adds protein and a slight tang that keeps the peanut butter from tasting one-note. The crispy rice cereal brings texture, and the chocolate topping brings, well, chocolate. IMO, that combination is basically unbeatable.
No baking, minimal cleanup, and a result that looks way more impressive than the effort involved. What’s not to love?
What You’ll Need for No-Bake Peanut Butter Yogurt Bars With Chocolate Crisp Topping
Just eight ingredients stand between you and these bars. Here’s exactly what to grab.
- Peanut butter — 1 cup
- Greek yogurt — 1/2 cup
- Honey or maple syrup — 1/3 cup
- Rolled oats — 1 cup
- Cinnamon — 1/2 teaspoon
- Salt — a pinch (about 1/8 teaspoon)
- Crispy rice cereal — 1 cup
- Melted dark chocolate — 1/2 cup
That’s the entire list. Chances are you already have most of this sitting in your pantry right now.
A Note on Substitutions
Want this vegan? Swap the honey for maple syrup and use a plant-based yogurt instead. No crispy rice cereal on hand? Granola or crushed nuts step in just fine.
How to Make No-Bake Peanut Butter Yogurt Bars With Chocolate Crisp Topping
Here’s the full breakdown, with extra detail so every step turns out exactly right.
Step 1: Mix the Peanut Butter Base
Grab a mixing bowl and add the peanut butter, Greek yogurt, honey (or maple syrup), cinnamon, and salt. Using a spatula or whisk, stir everything together until it’s completely smooth. Take your time here — you want no streaks of yogurt left unmixed, just one uniform, creamy blend.
This mixture should feel thick but still stirrable, not stiff. If your peanut butter is cold and hard to work with, let it sit at room temperature for a bit before starting. It mixes far more easily that way.
Step 2: Fold In the Oats and Cereal
Add the rolled oats and crispy rice cereal directly into your peanut butter mixture. Using a spatula, gently fold everything together rather than stirring vigorously. Vigorous stirring crushes the cereal and leaves you with less crunch in the finished bars.
Keep folding until every piece of oat and cereal looks coated in that sticky peanut butter mixture. There shouldn’t be any dry, uncoated spots left. This step is what gives the bars their satisfying texture once they set.
Step 3: Press the Mixture Into the Pan
Line a baking pan with parchment paper, leaving a little overhang on the sides for easy removal later. Scoop the oat mixture into the pan and spread it out roughly with a spatula. Then, using your hands or the back of a measuring cup, press it down firmly and evenly.
Really commit to the pressing here. A loosely packed mixture leads to bars that crumble apart the second you try to slice them. Firm, even pressure across the entire pan gives you clean, sturdy bars later.
Step 4: Add the Chocolate Crisp Topping
Melt your dark chocolate in the microwave in short 20-second bursts, stirring between each one, until it’s smooth and glossy. Pour the melted chocolate over your pressed mixture and use a spatula to spread it evenly across the entire surface.
Work quickly but carefully, since the chocolate sets faster than you’d expect once it hits the cold peanut butter base. This layer is what gives the bars that glossy, bakery-style finish on top.
Step 5: Chill Until Set
Place the pan in the refrigerator and let it chill for 2 to 3 hours. This waiting period matters — it’s what allows the bars to firm up enough to slice cleanly instead of falling apart. Resist the urge to cut into them early.
If you have the patience, chilling overnight gives you an even firmer, more sliceable bar. Use this time to plan what you’ll pair the bars with, or just get on with your day while the fridge does the work.
Step 6: Slice and Store
Once fully set, remove the pan from the fridge and lift the entire slab out using the parchment overhang. Set it on a cutting board and slice into bars using a sharp knife. A pizza cutter also works well for straight, even lines.
Store any leftover bars in an airtight container in the fridge, where they’ll stay fresh for up to a week. Though honestly, they rarely last that long once people know they exist.
Tips for Getting These Bars Right
A few small habits make a noticeable difference in the final result:
- Use room-temperature peanut butter for smoother, easier mixing.
- Press firmly into the pan so the bars hold together when sliced.
- Don’t rush the chill time — a full 2 to 3 hours is what sets the texture.
- Chill overnight if you want an even firmer bar.
- Store in an airtight container to keep them fresh throughout the week.
Equipment You’ll Need
- Mixing bowl: A medium bowl works well for combining everything.
- Spatula or whisk: A spatula handles mixing and pressing; a whisk smooths the base mixture.
- Parchment paper: Essential for lifting the bars out cleanly; foil works as a backup.
- Sharp knife: For neat slicing; a pizza cutter also does the job nicely.
Variations Worth Trying
- Swap the nut butter: Almond butter or cashew butter both work beautifully instead of peanut butter.
- Boost the protein: Stir in a scoop of your favorite protein powder for extra nutrition.
- Add dried fruit: Cranberries or raisins bring a chewy texture and natural sweetness.
- Double up on chocolate: Mix mini chocolate chips into the base for extra richness.
- Go gluten-free: Use certified gluten-free oats and rice cereal for a gluten-sensitive version.
What to Serve with These Bars
A glass of almond milk or a smoothie rounds these bars out into a satisfying snack. Fresh sliced bananas or strawberries on the side add color and a burst of freshness. These also work great as a quick post-workout snack when you need something to refuel with.
FAQs About No-Bake Peanut Butter Yogurt Bars With Chocolate Crisp Topping
Can I make these bars vegan? Yes. Swap the honey for maple syrup and use a plant-based yogurt, and you’ll still get that same creamy texture.
How long do these bars last in the fridge? Stored in an airtight container, they stay fresh for up to a week, though they rarely last that long in practice.
Can I freeze these bars? Definitely. Wrap them individually in plastic wrap and store them in a freezer-safe container for up to three months.
What can I use instead of crispy rice cereal? Granola or crushed nuts both work well as substitutes, adding a similar crunch to the finished bars.
Can I add protein powder to this recipe? Yes, a scoop mixed in with the other ingredients is an easy way to boost the nutritional value.
Why did my bars fall apart when I sliced them? This usually means the mixture wasn’t pressed firmly enough into the pan, or it didn’t chill long enough before slicing.
Final Thoughts
No-Bake Peanut Butter Yogurt Bars With Chocolate Crisp Topping prove that a genuinely good snack doesn’t need an oven, fancy equipment, or hours of effort. Fifteen minutes of mixing and a little patience in the fridge get you there.
Make a batch this week and see how fast they disappear. Enjoy every bite
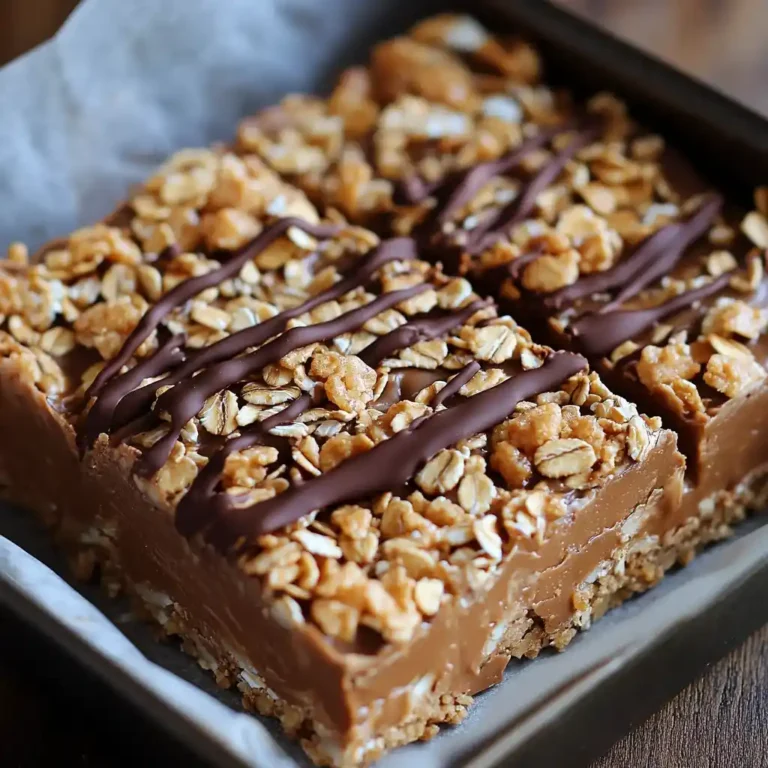
No-Bake Peanut Butter Yogurt Bars
Ingredients
Method
- In a mixing bowl, combine the peanut butter, Greek yogurt, honey (or maple syrup), cinnamon, and salt. Stir until smooth.
- Fold in the rolled oats and crispy rice cereal until everything is coated.
- Line a baking pan with parchment paper and press the mixture into the pan evenly.
- Melt the dark chocolate and pour it over the pressed mixture. Spread it evenly to coat.
- Refrigerate the pan for 2 to 3 hours until set.
- Slice into bars and store in an airtight container in the fridge.
Notes
No-Bake Peanut Butter Yogurt Bars
Ingredients
Method
- In a mixing bowl, combine the peanut butter, Greek yogurt, honey (or maple syrup), cinnamon, and salt. Stir until smooth.
- Fold in the rolled oats and crispy rice cereal until everything is coated.
- Line a baking pan with parchment paper and press the mixture into the pan evenly.
- Melt the dark chocolate and pour it over the pressed mixture. Spread it evenly to coat.
- Refrigerate the pan for 2 to 3 hours until set.
- Slice into bars and store in an airtight container in the fridge.




