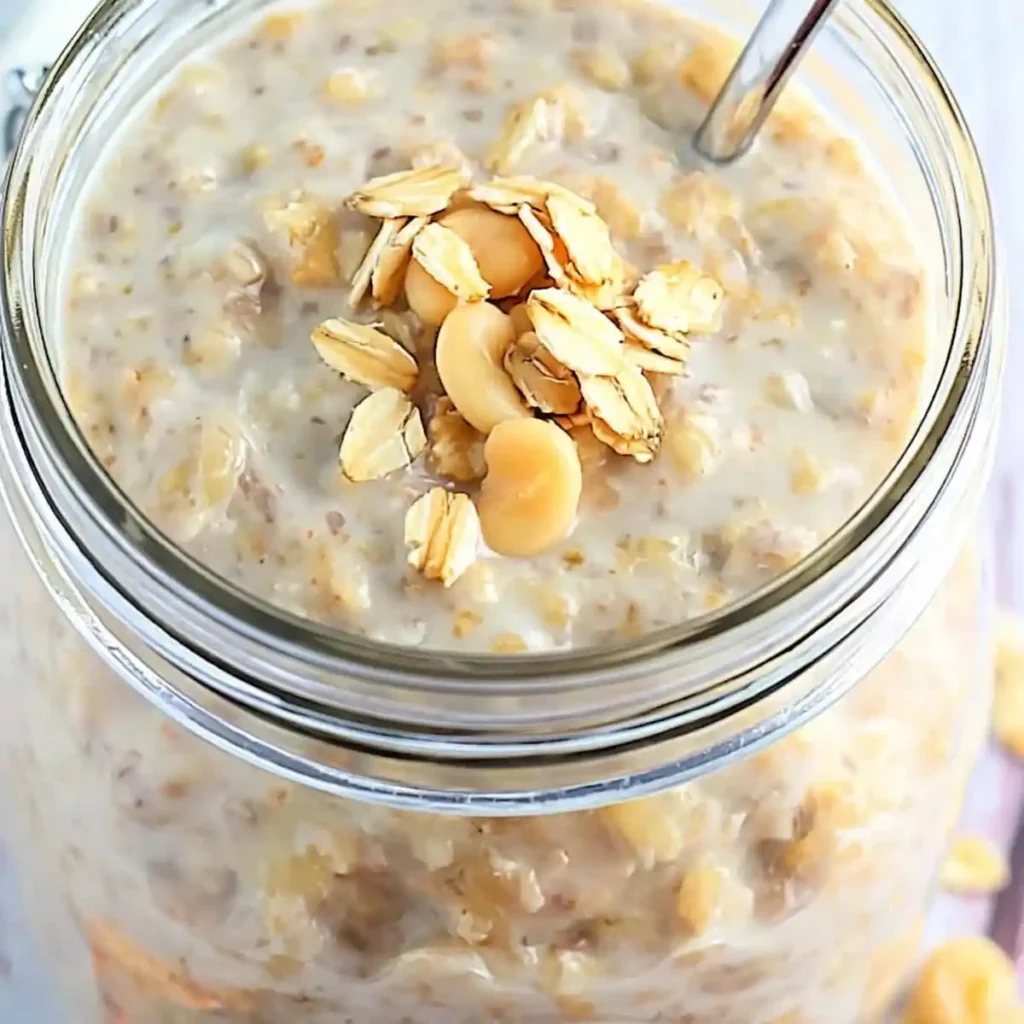
You want a breakfast that costs almost no effort and still tastes good. I hear you. These Basic Overnight Oats take five minutes tonight and give you a creamy, ready-to-eat bowl tomorrow morning.
I started making overnight oats when my mornings turned into a daily sprint. Cooking oatmeal at 7 a.m. felt like a bad joke. Now my jar waits in the fridge, and I just grab a spoon.
Why This Basic Overnight Oats Recipe Works
Have you ever wondered how raw oats turn soft and creamy without any cooking? The oats slowly absorb the milk and yogurt in the fridge. By morning, they feel like pudding.
Chia seeds thicken the mixture and add fiber. Yogurt brings tang and extra protein. Honey, vanilla, and a pinch of salt round out the flavor.
I also love the flexibility. This base recipe takes any topping you throw at it. Fruit, nuts, peanut butter, whatever your fridge offers.
Servings and Time at a Glance
Here is the quick overview before you start. I like knowing the schedule before I grab a spoon, and I bet you do too.
- Servings: 1 jar (one generous breakfast)
- Prep time: 5 minutes
- Chill time: at least 6 hours, or overnight
- Total time: 5 minutes of work, plus fridge time
The fridge does the heavy lifting. You stir, cover, and go to bed. Honestly, that’s my kind of cooking.
Ingredients and Quantities
Here is exactly what you need for these Basic Overnight Oats. The amounts below make one serving, so multiply them if you want to prep several jars.
- 1/2 cup old-fashioned rolled oats
- 1/2 cup milk
- 1/4 cup plain yogurt
- 1 tablespoon chia seeds
- 1 tablespoon honey or maple syrup
- 1/2 teaspoon vanilla extract
- 1 pinch salt
A Quick Note on the Oats
Use old-fashioned rolled oats. They soak up liquid well and keep a pleasant chew. Quick oats turn mushy, and steel-cut oats stay too hard.
You don’t need to toast or rinse them. Just pour them into the jar.
A Quick Note on the Milk and Yogurt
Any milk works here. Dairy milk, oat milk, almond milk, and soy milk all do the job. I use whatever I have open.
Choose plain yogurt so you control the sweetness. Greek yogurt makes the oats thicker and creamier. Regular yogurt gives a slightly looser texture.
A Quick Note on the Sweetener
Honey and maple syrup both taste great. Honey gives a floral note, while maple adds a cozy, caramel flavor. Use maple syrup if you want a vegan jar.
How to Make Basic Overnight Oats
Now the easy part. I broke the process into small steps so you can follow along without guessing. Each step explains what to do and why it matters.
Step 1: Add the Oats to a Jar
Grab a jar or airtight container. A mason jar works perfectly, but any container with a tight lid will do. Pour in the 1/2 cup of rolled oats.
Pick a container with a little extra room. The oats and chia seeds swell overnight. A jar that holds about 16 ounces gives you space to stir.
Step 2: Pour In the Milk and Add the Yogurt
Pour in 1/2 cup of milk. Then spoon in 1/4 cup of plain yogurt. The oats should sit in a loose, wet mixture.
Don’t worry if it looks too runny. The oats and chia seeds will absorb a lot of that liquid. By morning, you get a spoonable texture.
Step 3: Stir in the Chia Seeds and Flavorings
Add the 1 tablespoon of chia seeds, the sweetener, the vanilla extract, and the pinch of salt. Salt sounds odd, but it sharpens the sweetness. FYI, you will taste the difference.
Measure the chia seeds with care. Too many make the oats gluey, and too few leave them loose. One tablespoon hits the sweet spot.
Step 4: Mix Everything Together
Stir the mixture thoroughly with a spoon or small spatula. Scrape the bottom of the jar. Dry oats and chia seeds love to hide there.
Stir for about 30 seconds. You want every oat to touch the liquid. Skipping this step leaves dry pockets in the morning.
Step 5: Cover the Container
Seal the jar tightly with its lid. A tight seal keeps the oats fresh and stops them from picking up fridge smells. Nobody wants garlic-flavored oats.
If you use a bowl, cover it with a plate or plastic wrap. A lid works best, though. It makes the jar easy to grab and go.
Step 6: Refrigerate Overnight
Place the jar in the fridge for at least 6 hours. Overnight works best, because the oats keep softening as they sit. I usually prep mine around 9 p.m.
Do you want a thicker texture? Give it a full 8 hours. Do you want a chewier bite? Check it at 6. Either way, you win.
Step 7: Stir Before Serving
Take the jar out of the fridge and stir the oats well. The chia seeds may settle at the bottom, so scrape from the bottom up. A good stir brings the creamy texture back.
Check the thickness. Some mornings the oats look firmer than I expected. That is normal, and the next step fixes it.
Step 8: Adjust the Consistency
Add a splash of milk if the oats feel too thick. Stir again and taste. Add a little more until the texture suits you.
I like mine thick enough to hold a spoon upright. My sister likes hers looser. We argue about it, but we both finish our jars.
Step 9: Add Toppings and Serve
Top your oats with fresh fruit, nuts, seeds, or anything you like. Eat them straight from the jar or spoon them into a bowl. They taste great cold.
Toppings add crunch and freshness. I always add something crunchy, since soft oats need contrast. IMO, a handful of nuts makes the whole bowl better.
Topping Ideas for Overnight Oats
The base recipe tastes great on its own, but toppings turn it into something special. I rotate through a few favorites every week.
Here are my go-to options:
- Sliced banana and a spoonful of peanut butter
- Fresh blueberries and chopped almonds
- Sliced strawberries and a sprinkle of coconut
- Diced apple, cinnamon, and walnuts
- Raspberries and a few dark chocolate chips
Which one sounds best to you? Mine changes with the season, but banana and peanut butter win most weeks.
Tips for the Best Overnight Oats Every Time
A few small habits separate good oats from great ones. I learned these through plenty of trial and error. Some jars turned out creamy, and some turned out like wallpaper paste.
- Measure carefully. The oat-to-liquid ratio controls the texture.
- Stir well at night. Thorough mixing prevents dry clumps.
- Add crunchy toppings in the morning. Nuts and seeds stay crisp this way.
- Taste before serving. Add more sweetener if you like.
Cold Oats vs. Cooked Oatmeal
Cooked oatmeal tastes warm and cozy, but it demands time and a stove. Overnight oats need no heat and no morning effort. I prefer overnight oats on busy weekdays and cooked oatmeal on lazy weekends.
You can also warm overnight oats in the microwave for 1 to 2 minutes. Stir halfway through. This gives you the best of both worlds.
Storing and Meal Prepping
Store the jars in the fridge for up to 4 days. I make three or four jars on Sunday night and grab one each morning. Add fresh fruit right before eating so it doesn’t turn soggy.
Avoid freezing the jars if you want the best texture. Frozen oats turn watery after thawing. Fresh batches taste better.
Frequently Asked Questions
Can I eat overnight oats cold?
Yes, you can. Most people eat them straight from the fridge. Cold oats taste refreshing, especially in warm weather. You can also heat them if you prefer a warm breakfast.
How long do overnight oats last in the fridge?
They stay fresh for up to 4 days in a sealed container. The texture gets softer each day. Add fresh toppings right before you eat.
Can I use quick oats or steel-cut oats?
Quick oats work, but they turn mushy. Steel-cut oats stay too firm without cooking. Old-fashioned rolled oats give the best texture for this recipe.
Can I make overnight oats without yogurt?
Yes. Replace the yogurt with extra milk, about 1/4 cup. The oats will taste lighter and less tangy. You can also add a spoonful of nut butter for creaminess.
Are overnight oats healthy?
Overnight oats offer fiber, protein, and slow-digesting carbs. Chia seeds add omega-3 fats and extra fiber. Toppings and sweeteners change the nutrition, so choose them with care.
Can I make overnight oats vegan?
Yes. Use plant-based milk, dairy-free yogurt, and maple syrup instead of honey. The recipe stays creamy and satisfying. Soy or oat milk gives the thickest texture.
Final Thoughts on This Basic Overnight Oats Recipe
This Basic Overnight Oats recipe proves that great breakfast needs very little effort. You mix a few ingredients, chill the jar, and add toppings in the morning. That is the whole plan.
So what are you waiting for? Grab a jar and stir tonight’s batch. Then tell me how it turned out, and brag about the empty jars.
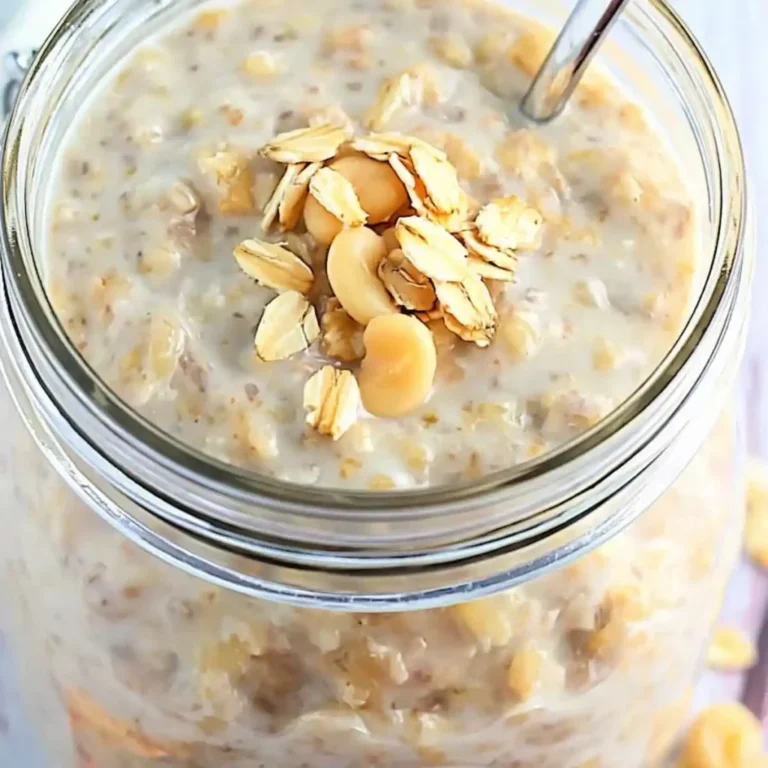
Basic Overnight Oats
Ingredients
Method
- Step 1: Add the Oats to a Jar - Pour in the old-fashioned rolled oats into a jar or airtight container.
- Step 2: Pour In the Milk and Add the Yogurt - Pour in the milk and spoon in the yogurt, ensuring the oats are well mixed.
- Step 3: Stir in the Chia Seeds and Flavorings - Add chia seeds, sweetener, vanilla extract, and salt, mixing thoroughly.
- Step 4: Mix Everything Together - Stir the mixture for about 30 seconds to ensure all ingredients are combined.
- Step 5: Cover the Container - Seal the jar with a lid to keep the oats fresh.
- Step 6: Refrigerate Overnight - Chill in the fridge for at least 6 hours or overnight.
- Step 7: Stir Before Serving - Shake or stir the jar before serving to mix any settled ingredients.
- Step 8: Adjust the Consistency - If too thick, add a splash of milk until the desired texture is reached.
- Step 9: Add Toppings and Serve - Top with your favorite fruits, nuts, or seeds before enjoying.




