Servings: About 36 straws | Prep Time: 15 minutes | Cook Time: 18 minutes | Total Time: 33 minutes
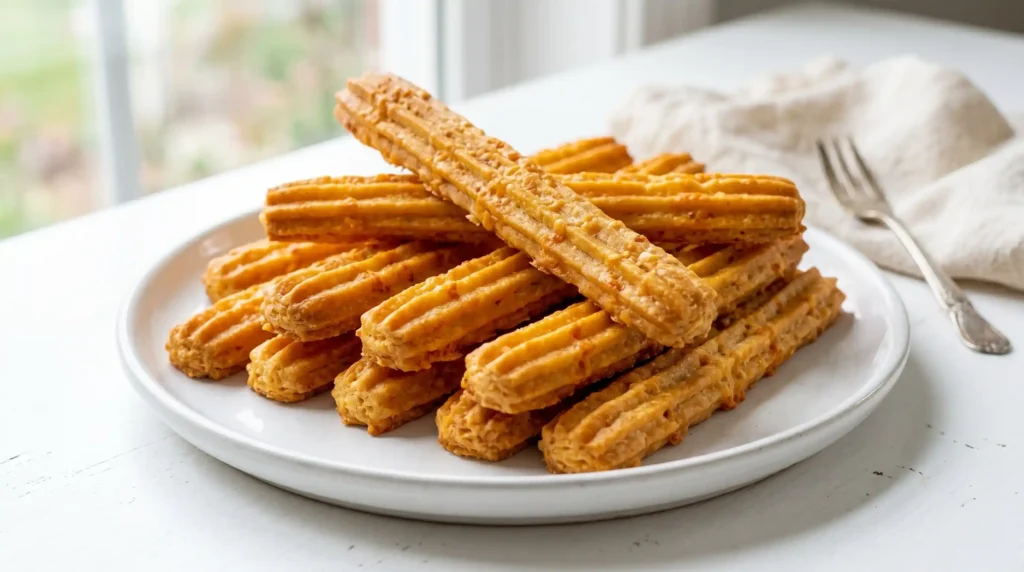
If you have ever attended a Southern gathering of any kind — a cocktail party, a holiday spread, a bridal shower, a Tuesday afternoon — you have encountered Classic Southern Cheese Straws. They disappear faster than any other item on the table, every single time. And yet somehow people still act surprised that something so simple tastes this good.
I grew up eating these at every family event and never once thought about making them myself. Then I did. And now I make them constantly.
What Makes Classic Southern Cheese Straws So Special
Have you ever wondered why some recipes stick around for generations while others fade out after one season? Cheese straws answer that question. They are salty, buttery, slightly spicy, and completely addictive — all from a short list of pantry staples.
The combination of sharp cheddar, butter, and a hit of cayenne creates a snack that walks the line between savory cracker and cheese cookie in the best possible way. They work at fancy parties. They work on a weeknight with a cold drink.
Here is what makes this recipe a timeless Southern classic:
- Only 8 ingredients, most already in your pantry
- Ready in about 33 minutes from start to finish
- Keep well for days in an airtight container
- Naturally gluten-friendly with a simple flour swap
- Scale up easily for larger batches
IMO, these are the single best savory snack you can make from scratch. Bold claim. Fully stand by it.
Ingredients You Will Need
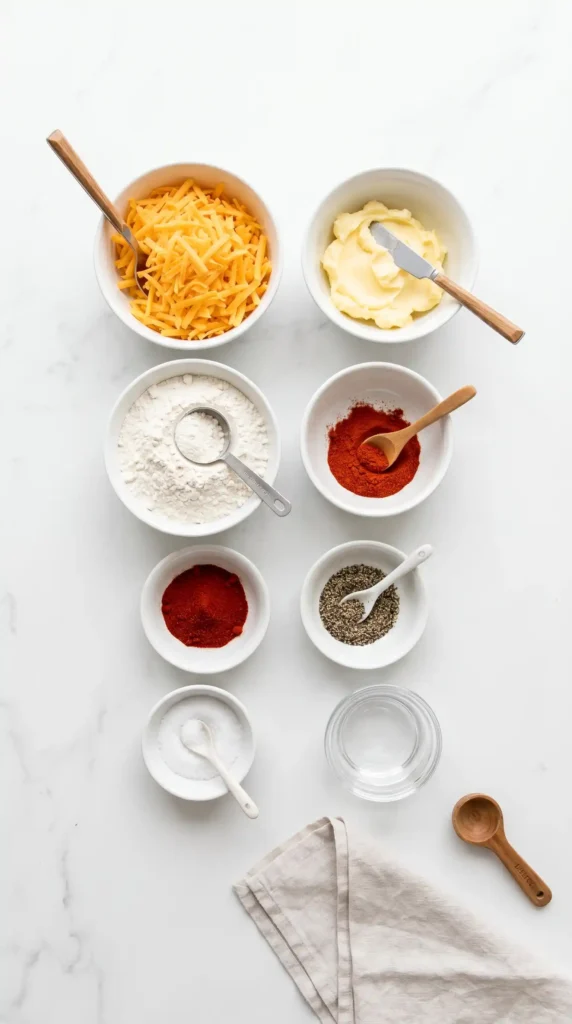
These quantities make approximately 36 cheese straws. Double the batch easily — they go fast and store well.
- 1 cup sharp cheddar cheese, shredded
- 1/2 cup unsalted butter, softened
- 1 cup all-purpose flour
- 1/4 teaspoon cayenne pepper
- 1/2 teaspoon salt
- 1/4 teaspoon black pepper
- 1/4 teaspoon paprika
- 1 to 2 tablespoons cold water
A note on the cheese: Sharp cheddar is the correct choice here, and freshly shredded beats pre-packaged every time. Pre-shredded cheese contains anti-caking agents that slightly interfere with how smoothly it blends into the dough. Grab a block and shred it yourself — it takes two extra minutes and makes a noticeable difference
Equipment You Will Need
No fancy tools required:
- Large mixing bowl
- Separate medium bowl for dry ingredients
- Baking sheet
- Parchment paper
- Whisk
- Hand mixer or stand mixer (or just a sturdy wooden spoon)
- Sharp knife or bench scraper
That is the full setup. Easy.
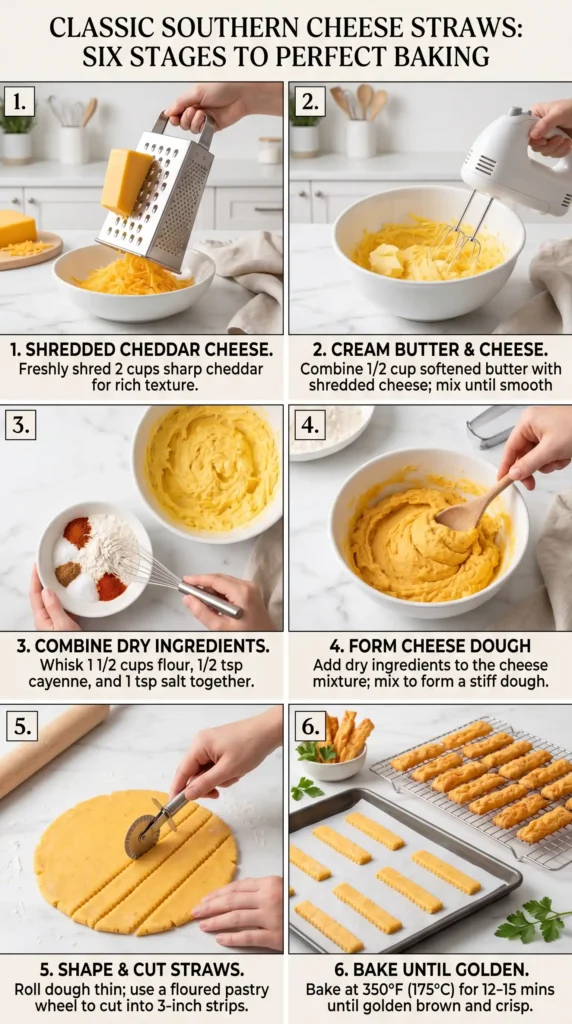
How to Make Classic Southern Cheese Straws Step by Step
Step 1: Preheat the Oven and Line the Baking Sheet
Set your oven to 350 degrees Fahrenheit (175 degrees Celsius) and let it preheat fully. A properly preheated oven means the straws bake evenly from the moment they go in. Cold oven starts cause uneven cooking, and with something this thin, that matters.
Line your baking sheet with parchment paper. Parchment prevents sticking and helps the bottoms of the straws bake to a clean golden color without over-browning. If you do not have parchment, a silicone mat works just as well.
Step 2: Blend the Butter and Cheese
Place the 1/2 cup of softened unsalted butter into your large mixing bowl. Add the 1 cup of freshly shredded sharp cheddar cheese on top.
Use a hand mixer on medium speed, a stand mixer with the paddle attachment, or a wooden spoon and some elbow grease to blend the butter and cheese together thoroughly. You want a cohesive, uniform mixture with no streaks of plain butter visible. This step takes about 2 to 3 minutes with a mixer or a bit longer by hand.
Why softened butter and not melted? Softened butter keeps the dough workable and gives the straws a slightly flaky, tender texture. Melted butter would make the dough too wet and sticky, and the finished straws would spread flat and lose their shape. Pull the butter from the fridge about 30 minutes before you start.
Step 3: Mix the Dry Ingredients
In your medium bowl, add the 1 cup of all-purpose flour, 1/4 teaspoon of cayenne pepper, 1/2 teaspoon of salt, 1/4 teaspoon of black pepper, and 1/4 teaspoon of paprika.
Whisk all of these together until they look evenly combined. This step ensures the spices distribute uniformly throughout the dough rather than creating pockets of intense heat or saltiness in individual straws. A 20-second whisk solves that problem completely.
Step 4: Combine the Wet and Dry Mixtures
Add the flour and spice mixture to your cheese-butter bowl gradually. Mix as you go — add about a third of the flour mixture at a time, stirring after each addition until it incorporates.
The dough will start looking crumbly at first, which is completely normal. Keep mixing. As you add more flour, the mixture begins coming together into a cohesive dough. If it still looks too dry and crumbly after all the flour is added, add cold water one tablespoon at a time — up to 2 tablespoons total — mixing after each addition until the dough holds together when pressed.
The key here is not overworking the dough. Mix only until everything comes together. Overworking develops gluten and makes the straws tougher rather than tender and crisp. Stop mixing the moment the dough looks uniform.
Step 5: Shape the Dough
Turn the dough out onto a lightly floured surface. Use your hands to roll it into a log shape roughly 1 inch in diameter. The log should feel firm, smooth, and hold its cylindrical shape when you set it down.
If the dough feels sticky, lightly flour your hands and the surface. If it cracks when you roll it, it is slightly too dry — press a small amount of cold water into the dough and work it in gently.
Use a sharp knife or bench scraper to cut the log into individual pieces. Cut them approximately 1/4 to 1/2 inch thick for the classic cheese straw shape. Uniform thickness keeps them baking at the same rate — too thin and the edges burn before the centers set, too thick and the outsides look done while the inside stays doughy.
If you want the traditional ridged cheese straw look, you can use a cookie press or piping bag fitted with a star tip to pipe the dough into straw shapes directly onto the parchment. That method takes a bit more time but gives you that instantly recognizable Southern presentation.
Step 6: Arrange on the Baking Sheet
Place the cut pieces onto your prepared parchment-lined baking sheet. Space them about 1 inch apart — these do not spread dramatically like cookies, but they need a little room for heat circulation.
For cleaner edges and slightly better texture, press each piece down very gently with your fingers or the flat of a knife to create a slight oval or flat round shape. This optional step helps them bake more evenly and look neater on the serving platter.
Step 7: Bake Until Golden
Slide the baking sheet into the preheated oven. Bake for 15 to 20 minutes, checking at the 15-minute mark. You want the cheese straws to look lightly golden on the edges and bottom while the tops stay just slightly pale.
Watch the color carefully during the last few minutes. The cayenne and cheese make these brown faster than a plain cracker dough, and the difference between perfectly golden and slightly over-done is narrow. Rotate the pan halfway through baking if your oven has hot spots — most do.
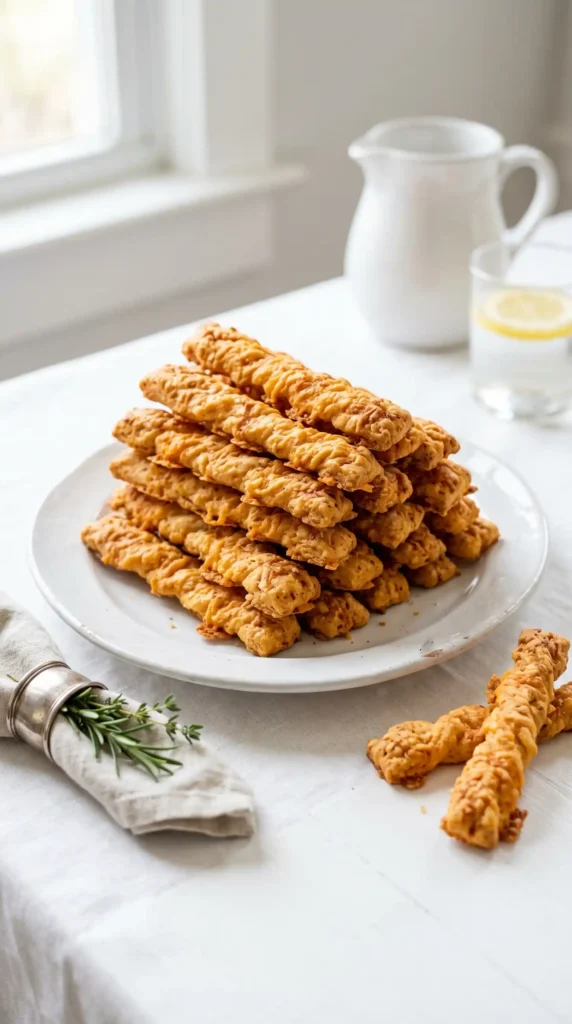
Step 8: Cool Before Serving
Remove the baking sheet from the oven and let the cheese straws cool directly on the pan for 10 minutes. They firm up significantly as they cool, and attempting to move them while still hot usually results in crumbling.
After 10 minutes, transfer them to a wire rack or a serving platter and allow them to cool completely. Fully cooled cheese straws have that satisfying crisp snap when you bite into them. Warm ones are still good — very good, actually — but the texture is more tender than crisp.
Tips for Perfect Classic Southern Cheese Straws
A few things that consistently improve results:
- Use extra sharp cheddar for maximum flavor. Regular cheddar makes a milder straw. Extra sharp delivers that bold, tangy punch the best versions have.
- Keep everything cold. Cold butter is harder to work with, but the cold water in the recipe matters — it keeps the fat from softening too much during mixing.
- Do not skip the cayenne. Even if you dislike heat, a small amount of cayenne adds background warmth without being spicy. Skipping it makes the straws noticeably flat-tasting.
- Chill the dough if it gets too soft. If the dough feels greasy or loses its shape while you cut it, 15 minutes in the fridge firms it back up perfectly.
- Bake one test piece first. If you are unsure about thickness or your oven’s heat distribution, bake a single straw and check the result before committing the whole batch.
Fun Variations to Try
The classic recipe stands on its own, but these variations are genuinely worth exploring:
- Pepper jack version: Substitute half the cheddar with shredded pepper jack for extra heat
- Herb straws: Add 1/2 teaspoon of dried rosemary or thyme to the dry ingredients
- Smoked paprika: Swap the regular paprika for smoked paprika for a deeper, slightly smoky flavor
- Parmesan blend: Use 3/4 cup cheddar and 1/4 cup freshly grated Parmesan for a nuttier finish
- Everything bagel topping: Press a pinch of everything bagel seasoning onto each straw before baking
Storage Instructions
One of the best things about Classic Southern Cheese Straws is how well they keep:
- Room temperature: Store in an airtight container for up to 1 week. They stay crisp and flavorful for days.
- Freezer: Freeze baked straws in a zip-top bag for up to 3 months. Thaw at room temperature for 20 minutes.
- Freeze the raw dough: Roll the log, wrap tightly in plastic wrap, and freeze for up to 2 months. Slice and bake directly from frozen — add 3 to 4 extra minutes to the baking time.
FYI — these make exceptional gifts. Wrap them in a tin or a cellophane bag and bring them to literally any occasion. You will be everyone’s favorite person.
Frequently Asked Questions
Can I make cheese straws without a cookie press or piping bag? Absolutely. The roll-and-slice method described in this recipe produces great results without any special equipment. The traditional piped shape is purely visual — the flavor and texture are identical whether you pipe, roll and slice, or roll into balls and press flat.
Why are my cheese straws crumbly and falling apart? This usually means the dough was too dry or the butter was not fully softened before mixing. Add cold water one tablespoon at a time until the dough holds together when pressed. Also ensure your butter reached true room temperature — stiff butter does not blend smoothly with the cheese.
Can I use pre-shredded cheese? You can, but freshly shredded sharp cheddar blends more smoothly into the dough and delivers better flavor. Pre-shredded cheese contains starch-based anti-caking agents that slightly affect how the dough comes together. The difference is noticeable once you try both side by side.
How spicy are Classic Southern Cheese Straws? With 1/4 teaspoon of cayenne, they have a gentle warmth — noticeable but not at all overwhelming. If you want more heat, increase to 1/2 teaspoon. If you want virtually no heat, reduce the cayenne to just a pinch. The black pepper and paprika still provide plenty of flavor at lower heat levels.
Can I make the dough ahead of time? Yes. Wrap the dough log tightly in plastic wrap and refrigerate for up to 3 days or freeze for up to 2 months. Cold dough actually slices more cleanly than freshly made dough, so making it ahead has a real practical advantage beyond convenience.
Final Thoughts
Classic Southern Cheese Straws are one of those rare recipes where the simplicity of the ingredient list directly reflects how good the finished product tastes. Sharp cheddar, butter, flour, spices — and the result is something people genuinely cannot stop eating.
Make a batch this week. Bring them somewhere. Watch them vanish. Then accept the compliments with appropriate modesty.

Classic Southern Cheese Straws
Ingredients
Method
- Preheat the oven to 350 degrees Fahrenheit (175 degrees Celsius) and line a baking sheet with parchment paper.
- In a large mixing bowl, blend the softened butter and shredded cheddar cheese until uniform using a hand mixer or wooden spoon.
- In a separate medium bowl, whisk together the flour, cayenne, salt, black pepper, and paprika until evenly combined.
- Gradually combine the dry mixture with the cheese mixture, mixing until a dough forms. If the dough is crumbly, add cold water one tablespoon at a time.
- Turn the dough onto a lightly floured surface and roll it into a log about 1 inch in diameter.
- Slice the log into pieces approximately 1/4 to 1/2 inch thick, or pipe with a cookie press for traditional shapes.
- Arrange the cut pieces on the prepared baking sheet, spaced about 1 inch apart.
- Bake for 15 to 20 minutes, checking frequently after 15 minutes until lightly golden on the edges.
- Cool on the baking sheet for 10 minutes before transferring them to a wire rack to cool completely.


