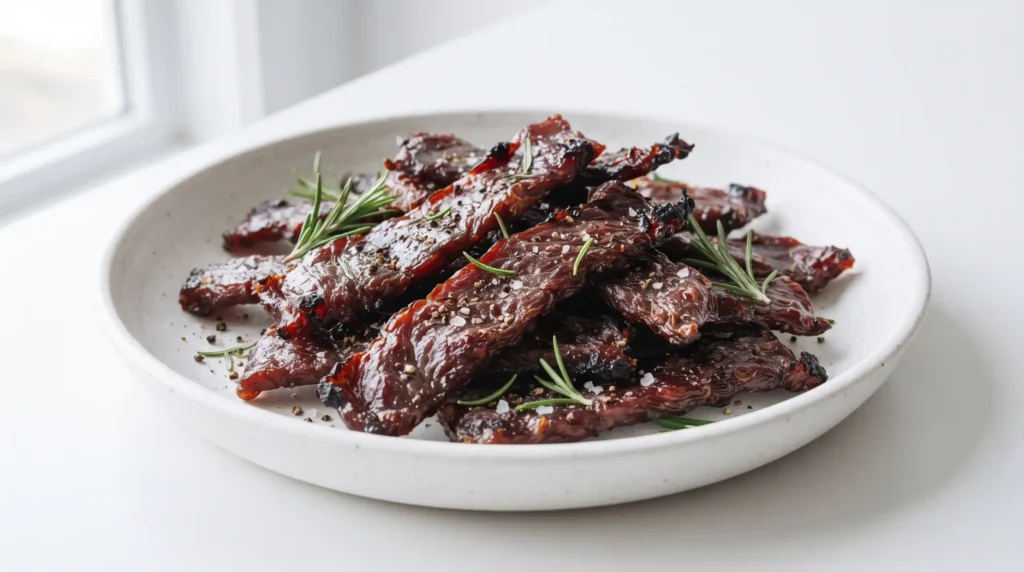
Servings: 8–10 | Prep Time: 15 minutes | Marinate Time: 6–8 hours (overnight preferred) | Cook Time: 4 hours | Total Time: ~10–12 hours
Ever bitten into a piece of store-bought beef jerky and thought, “I could absolutely make something better”? Spoiler: you can. Homemade beef jerky beats the bagged stuff every single time. Let me walk you through exactly how.
Why Homemade Beef Jerky Is Worth Your Time
Look, I get it. Making beef jerky from scratch sounds like a weekend project reserved for serious foodies. But trust me, once you try it, you’ll wonder why you ever paid $10 for a tiny bag at the gas station. 🙂
The flavor control alone is worth it. You pick the spice level, the sweetness, and the smokiness. Store-bought jerky can’t compete with that.
Plus, it’s high in protein and low in carbs — a genuinely great snack for anyone trying to eat smart on the go.
Ingredients for Beef Jerky
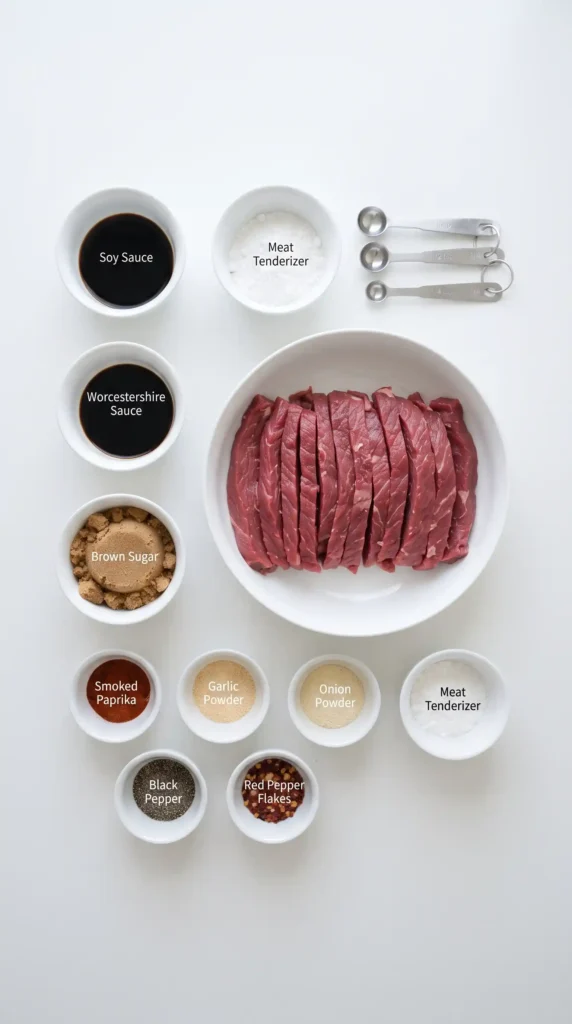
Here’s everything you need for this recipe. These quantities make 8–10 servings.
For the Meat:
- 2 lbs (900g) eye of round roast, trimmed of fat
For the Marinade:
- 1/3 cup soy sauce
- 2 tablespoons Worcestershire sauce
- 1 tablespoon brown sugar
- 1 teaspoon smoked paprika
- 1/2 teaspoon unseasoned meat tenderizer
- 1 teaspoon garlic powder
- 1 teaspoon onion powder
- 1/2 teaspoon black pepper (freshly ground, if possible)
- 1/4 teaspoon red pepper flakes (adjust to your heat preference)
Simple, right? No exotic stuff — just pantry staples that do real work together.
Equipment You’ll Need
Before we start, make sure you have these on hand:
- Sharp chef’s knife
- Cutting board
- Large mixing bowl
- Baking sheets (2)
- Wire racks
- Aluminum foil
- Airtight storage container
How to Make Beef Jerky
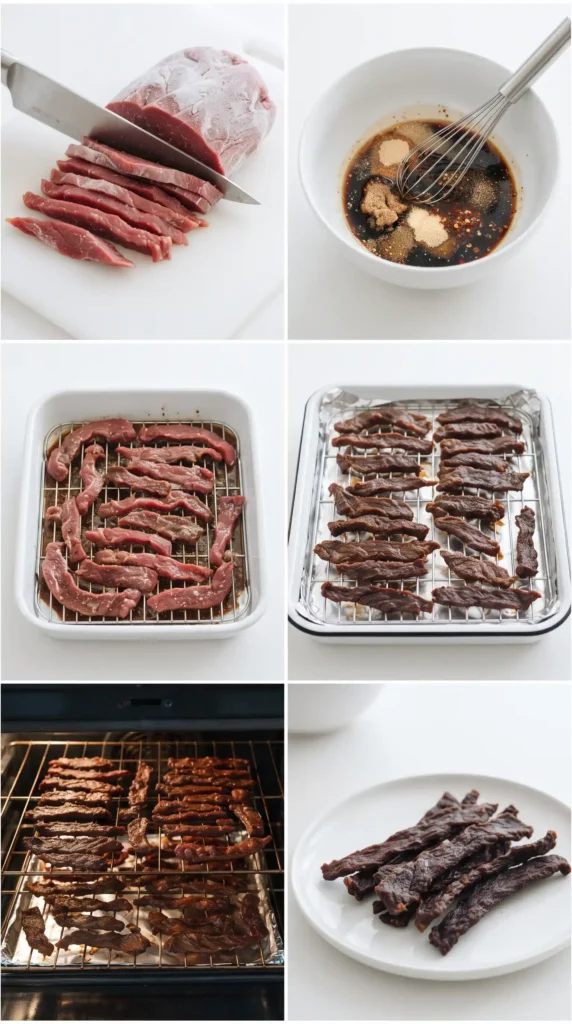
Step 1: Freeze the Meat First (Game Changer)
Here’s a trick most people skip, and it makes slicing SO much easier. Pop the eye of round roast in the freezer for 1–2 hours before you start slicing.
A slightly frozen roast slices into thin, even strips without the meat sliding all over your cutting board. You want strips about 1/8 to 1/4 inch thick.
Always slice against the grain. This shortens the muscle fibers and gives you jerky that’s tender to chew instead of toughing out your jaw. If you’re unsure about the grain direction, look for the lines running through the meat and cut perpendicular to them.
Step 2: Mix the Marinade
Grab your large mixing bowl. Add the soy sauce, Worcestershire sauce, brown sugar, smoked paprika, meat tenderizer, garlic powder, onion powder, black pepper, and red pepper flakes.
Whisk everything together until the sugar dissolves completely. Give it a taste — it should hit savory, slightly sweet, and mildly smoky all at once. If it doesn’t knock your socks off at this stage, tweak it now before the meat goes in.
IMO, this marinade is where the whole recipe lives or dies. Don’t rush it.
Step 3: Marinate the Meat
Add all your sliced beef strips into the marinade. Use your hands or tongs to make sure every single piece gets fully coated. Don’t leave any strip behind — this is an equal-opportunity marinade situation.
Cover the bowl tightly with plastic wrap and refrigerate for at least 6 hours. Overnight is better. The longer the meat sits, the deeper the flavor penetrates. You’ll be glad you waited, I promise.
Step 4: Preheat the Oven
When you’re ready to bake, set your oven to 175°F (80°C). This low temperature is intentional — we’re drying the beef slowly, not cooking it fast. High heat would just bake it like a roast, and that’s not what we’re going for here.
Line your baking sheets with aluminum foil (easy cleanup, you’re welcome). Place wire racks on top of the foil-lined sheets. The racks let air circulate underneath the meat strips, which is essential for even drying.
Step 5: Lay Out the Strips
Pull your marinated strips out of the fridge and let the excess marinade drip off each piece. Lay the strips flat on the wire racks in a single layer. Do not overlap them.
Seriously — overlapping is the enemy of good jerky. Where strips touch, moisture gets trapped and you end up with chewy, underdone patches. Take the time to space them out properly.
Step 6: Bake and Flip
Slide those racks into the oven and let them bake for 4 hours total. At the 2-hour mark, flip every strip over. This ensures both sides dry evenly.
Your kitchen will smell incredible after about an hour. Fair warning: people will wander in asking what you’re making. You can choose to share or not — no judgment here. :/
How do you know it’s done? Pick up a strip and bend it. It should feel dry and leathery, bending without snapping. If it snaps clean, it’s slightly overdried (still edible, just crunchier). If it feels wet or soft, give it another 30 minutes.
Step 7: Check the Internal Temperature
This step matters for food safety. Use a meat thermometer to confirm your jerky has reached an internal temperature of 160°F (71°C). This ensures any harmful bacteria are eliminated.
If you’re not quite there after 4 hours, add 20–30 minute increments until it hits the safe zone.
Step 8: Cool It Down
Once done, remove the racks from the oven and let the jerky cool at room temperature for at least 30 minutes. The strips will firm up even more as they cool — so don’t panic if they seem a little soft right out of the oven.
Step 9: Store Properly
Transfer cooled jerky to an airtight container. Keep it at room temperature for up to 2 weeks, in the fridge for up to 2 months, or in the freezer for up to 6 months. Though honestly, it never lasts that long in my house.
Tips for the Best Beef Jerky Every Time
- Slice uniform thickness — inconsistent slices mean some pieces finish early while others stay wet.
- Don’t skip the meat tenderizer — it makes a noticeable difference in how tender each bite feels.
- Use a dehydrator if you have one — the results are even more consistent than an oven.
- Smoked paprika is non-negotiable — it adds that slightly smoky depth that makes homemade jerky taste legit.
- Marinate overnight when possible — 6 hours is the minimum, but 12 is where the magic happens.
Variations Worth Trying
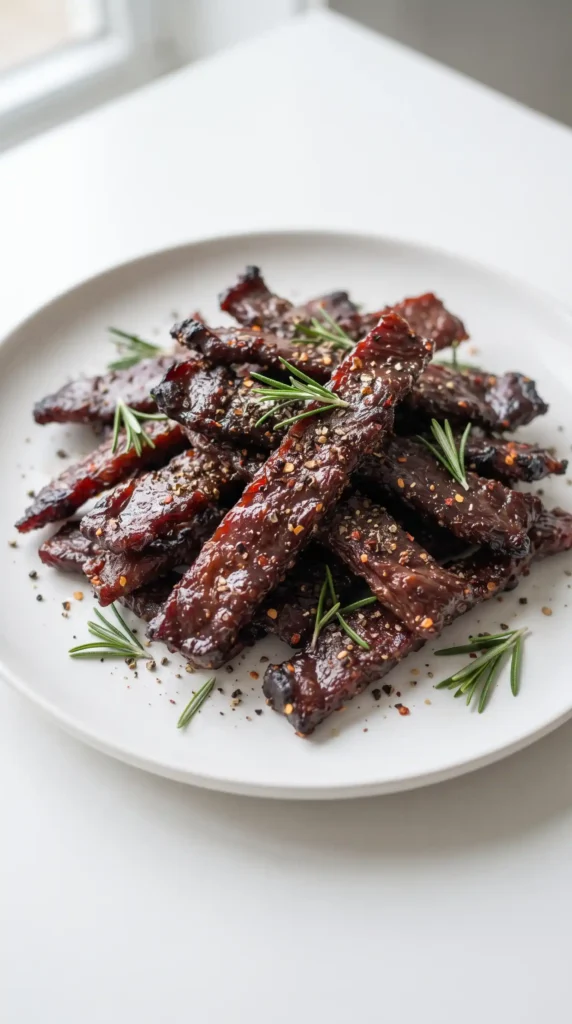
Have you ever thought about how easy it is to switch up the flavor profile with just a few ingredient swaps? Here are some fun directions to take this recipe:
- Spicy Teriyaki: Swap soy sauce for teriyaki sauce, add 1 teaspoon sesame oil, and top with sesame seeds before baking.
- Sweet and Smoky: Add 1 tablespoon honey or maple syrup to the marinade for a caramelized finish.
- Chipotle Heat: Replace smoked paprika with 1 teaspoon chipotle powder for a deeper, spicier smoke flavor.
- Low-Sodium Version: Use low-sodium soy sauce and skip the meat tenderizer if watching sodium intake.
- Herb-Infused: Add 1 teaspoon dried rosemary or thyme for a more earthy, savory twist.
Serving Suggestions
FYI, beef jerky isn’t just a snack you eat straight from the bag. Try these ideas:
- Pair it with sharp cheddar and apple slices on a charcuterie board.
- Crumble it over a Caesar salad for a protein-packed crunch.
- Toss it into trail mix with almonds and dried cranberries.
- Enjoy it with a cold drink after a hike or workout.
FAQs About Beef Jerky Recipe
Q: How long does homemade beef jerky last? Stored in an airtight container at room temperature, it stays good for up to 2 weeks. Refrigerated, it lasts about 1–2 months. Frozen, it keeps well for up to 6 months.
Q: Can I make beef jerky in a dehydrator instead of an oven? Yes, and honestly a dehydrator gives more consistent results. Set it to 160°F (71°C) and dehydrate for 4–6 hours, checking periodically for your preferred texture.
Q: What cut of beef works best for jerky? Eye of round is the top choice — it’s lean, affordable, and easy to slice. Flank steak and top round are great alternatives. Avoid cuts with a lot of fat, since fat doesn’t dry well and shortens shelf life.
Q: Can I make this beef jerky recipe gluten-free? Absolutely. Swap regular soy sauce for a certified gluten-free tamari or coconut aminos. The flavor is slightly different but still excellent.
Q: Why is my beef jerky too tough or too chewy? Tough jerky usually means you sliced with the grain instead of against it. Chewy jerky typically means it needed more drying time. Both are fixable with the techniques covered above.
Q: Is homemade beef jerky healthier than store-bought? Generally, yes. You control exactly what goes in — no preservatives, artificial colors, or mystery additives. You can also control the sodium level, which is a huge plus.
Final Thoughts
Making your own beef jerky is one of those kitchen projects that feels impressive but is genuinely approachable. The prep is minimal, the waiting is the hardest part (I speak from experience), and the payoff is completely worth it.
Once you nail the base recipe, you’ll start experimenting with flavors and wonder why you ever settled for the store-bought stuff. Get that roast sliced, get it marinating tonight, and tomorrow you’ll have a snack that slaps.