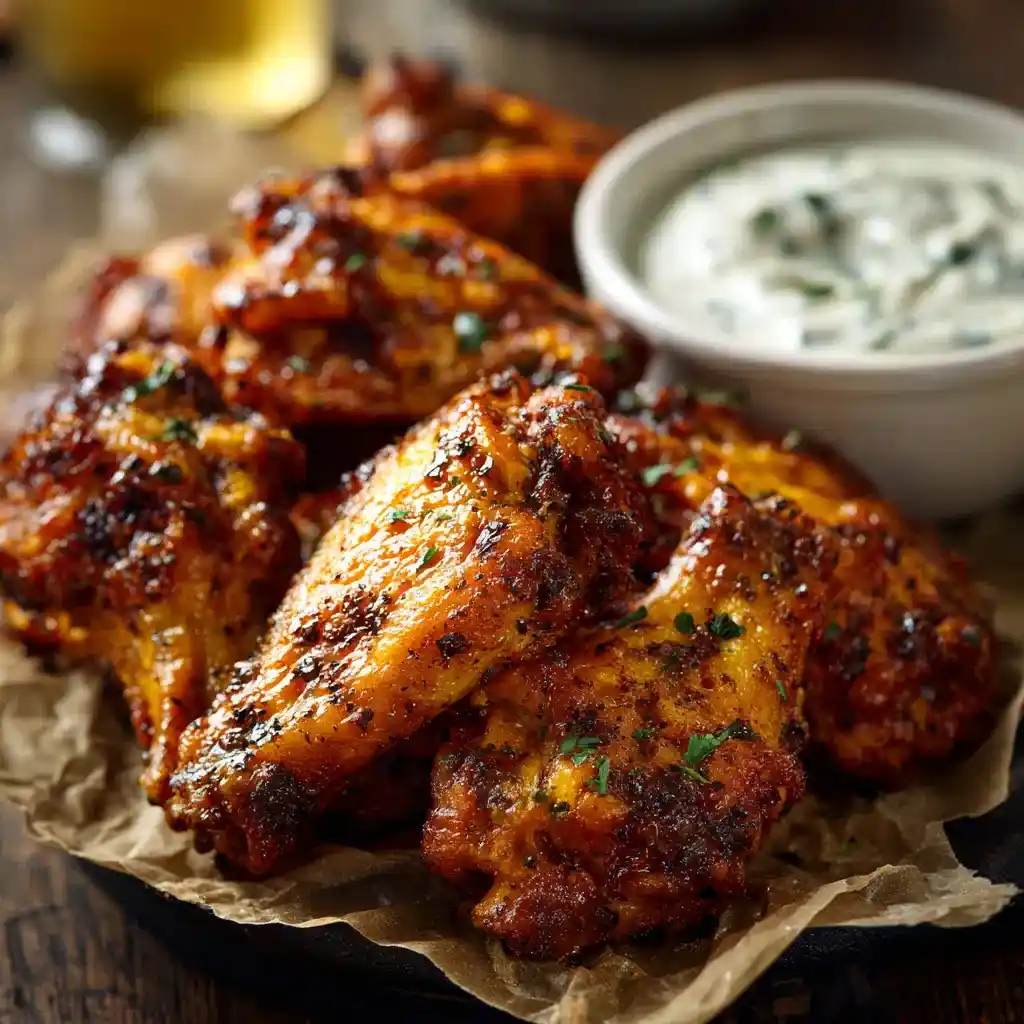
Game day is coming, and you need wings that actually crisp up in the oven. Baked Buffalo Wings deliver that crunch without a vat of hot oil sitting on your stovetop. I switched to baking these years ago, and I honestly never looked back.
Servings: 4 Prep time: 15 minutes (plus 30 minutes optional chilling) Cook time: 35 minutes plus broiling Total time: About 1 hour
Frying wings always stressed me out. Hot oil splattering everywhere, the constant temperature-checking—no thanks. Baking gives you that same crispy, saucy payoff with way less cleanup and zero fear of grease burns.
Why Baked Buffalo Wings Actually Get Crispy
Have you ever wondered how oven-baked wings manage to crisp up without a deep fryer? The secret’s in the baking powder. It draws moisture out of the skin, which lets the wings turn genuinely crispy in the oven instead of just rubbery.
Patting the wings completely dry before seasoning matters more than people realize. Extra moisture on the skin is basically the enemy of crispiness here. Combine that dry skin with a hot oven and a quick broil, and you get restaurant-style crunch at home.
Ingredients You’ll Need
Short list, big flavor payoff.
- Chicken wings, split with tips removed
- All-purpose flour
- Baking powder
- Garlic powder
- Seasoned salt
- Black pepper
- Buffalo sauce, store-bought or homemade
That’s it. No deep fryer, no complicated marinade, just a handful of ingredients doing exactly what they need to do.
How to Make Baked Buffalo Wings, Step by Step
Let’s go through this properly, because a few small details make the difference between soggy wings and genuinely crispy ones.
Step 1: Preheat the Oven
Set your oven to 425°F and let it fully preheat before you do anything else. A properly hot oven is non-negotiable for crispy wings—starting them in a lukewarm oven basically guarantees soggy skin. Give it the full time it needs to reach temperature.
Step 2: Dry the Wings Thoroughly
Pat the chicken wings completely dry using paper towels, pressing firmly to remove as much surface moisture as possible. This step feels tedious, but skipping it is the number one reason home-baked wings turn out soft instead of crispy. Take the extra minute here—it genuinely pays off.
Step 3: Season the Wings
In a large bowl, combine the wings with flour, baking powder, garlic powder, seasoned salt, and black pepper. Toss everything together until each wing gets evenly coated in the seasoned flour mixture. Make sure you reach every wing, including the underside, since uneven coating means uneven crispiness.
Step 4: Arrange on the Baking Sheet
Line a rimmed baking sheet with aluminum foil first, then layer parchment paper on top of that. Arrange your seasoned wings in a single layer, making sure they aren’t touching or overlapping each other. Crowding the pan traps steam, and steam is exactly what ruins crispy skin.
Step 5: Chill for Extra Crispiness (Optional)
If your schedule allows it, refrigerate the seasoned wings uncovered for about 30 minutes before baking. This extra step dries the skin out even further, which translates directly into crispier results once they hit the oven. Skipping this step still works fine, but it’s worth doing if you have the time.
Step 6: Bake the Wings
Slide the wings into your preheated oven and bake for 20 minutes on the first side. Flip each wing over and continue baking for another 15 minutes, giving both sides a chance to crisp up evenly. The wings should look golden and feel firm to the touch by the end of this stage.
Step 7: Toss in Buffalo Sauce
Pull the wings out of the oven and pour the buffalo sauce directly over them while they’re still hot. Toss everything together thoroughly, making sure every wing gets fully coated in that spicy, tangy sauce. Working quickly here helps the sauce cling better while the wings are still warm.
Step 8: Broil for the Final Crisp
Slide the parchment paper out from underneath the sauced wings so they sit directly on the foil-lined pan. Switch your oven to broil and watch closely as the wings turn golden and slightly charred in spots. This step takes just a few minutes, so don’t walk away from the oven during this part.
Serving and Storage Tips
- Serve immediately with celery sticks, carrot sticks, and a side of ranch or blue cheese dressing.
- Store leftover wings in an airtight container in the refrigerator for up to 3 days.
- Reheat in the oven at 375°F for 10 to 15 minutes to keep the skin crispy.
- Avoid microwaving leftovers, since it turns the crispy skin soft and rubbery almost instantly.
Fun Variations to Try
Once you’ve nailed the classic version, these twists are worth experimenting with.
- Honey Buffalo Wings: Mix honey into your buffalo sauce for a sweet-and-spicy combo.
- Garlic Parmesan Wings: Toss the baked wings with melted butter, garlic powder, and grated Parmesan instead.
- Lemon Pepper Wings: Toss with lemon juice, lemon zest, and cracked black pepper after baking.
- Buffalo Cauliflower Wings: Swap the chicken for cauliflower florets for a vegetarian version.
- Chipotle Wings: Blend chipotle powder into your buffalo sauce for a smoky, spicy kick.
Have you ever tried swapping buffalo sauce for teriyaki? It sounds like a stretch, but the sweet-savory combo works surprisingly well on baked wings.
Frequently Asked Questions
Can I make Baked Buffalo Wings gluten-free? Yes—swap the all-purpose flour for a gluten-free flour blend, and everything else stays the same.
Can I make these wings ahead of time? Absolutely. Season the wings and refrigerate them for up to 24 hours before baking.
Can I freeze baked buffalo wings? Yes, fully cooked wings freeze well in an airtight container for up to 3 months.
How do I make my wings extra crispy? Pat them completely dry before seasoning, bake on parchment paper, and try the optional chilling step.
Can I adjust the spiciness level? Yes 🙂 Use a mild buffalo sauce, or simply reduce the amount you toss the wings in.
Final Thoughts
Baked Buffalo Wings prove you don’t need a deep fryer to get that crispy, saucy, finger-licking result everyone loves on game day. A hot oven, a quick broil, and a generous coating of buffalo sauce get you there every single time. Make a batch this weekend, and don’t blame me when they disappear in about four minutes flat.
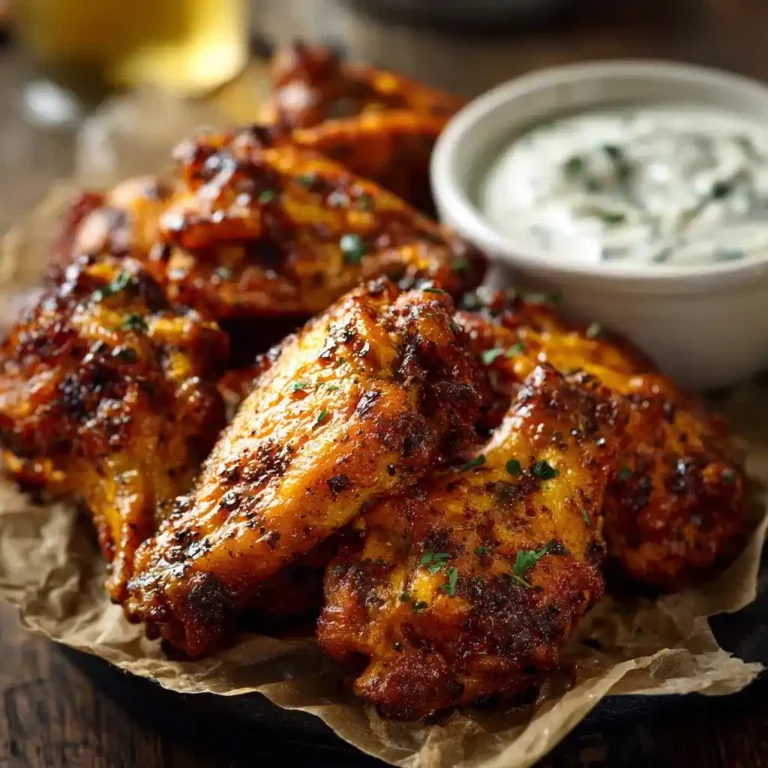
Baked Buffalo Wings
Ingredients
Method
- Preheat the oven to 425°F (220°C).
- Pat the chicken wings completely dry using paper towels.
- In a large bowl, combine the wings with flour, baking powder, garlic powder, seasoned salt, and black pepper, tossing until evenly coated.
- Line a rimmed baking sheet with aluminum foil and layer parchment paper on top. Arrange the wings in a single layer without touching.
- If time allows, refrigerate the seasoned wings uncovered for 30 minutes to enhance crispiness.
- Bake the wings for 20 minutes on one side, then flip and bake for an additional 15 minutes.
- Once baked, remove the wings and toss with buffalo sauce while still hot.
- Broil the wings for a few minutes until golden and slightly charred.




