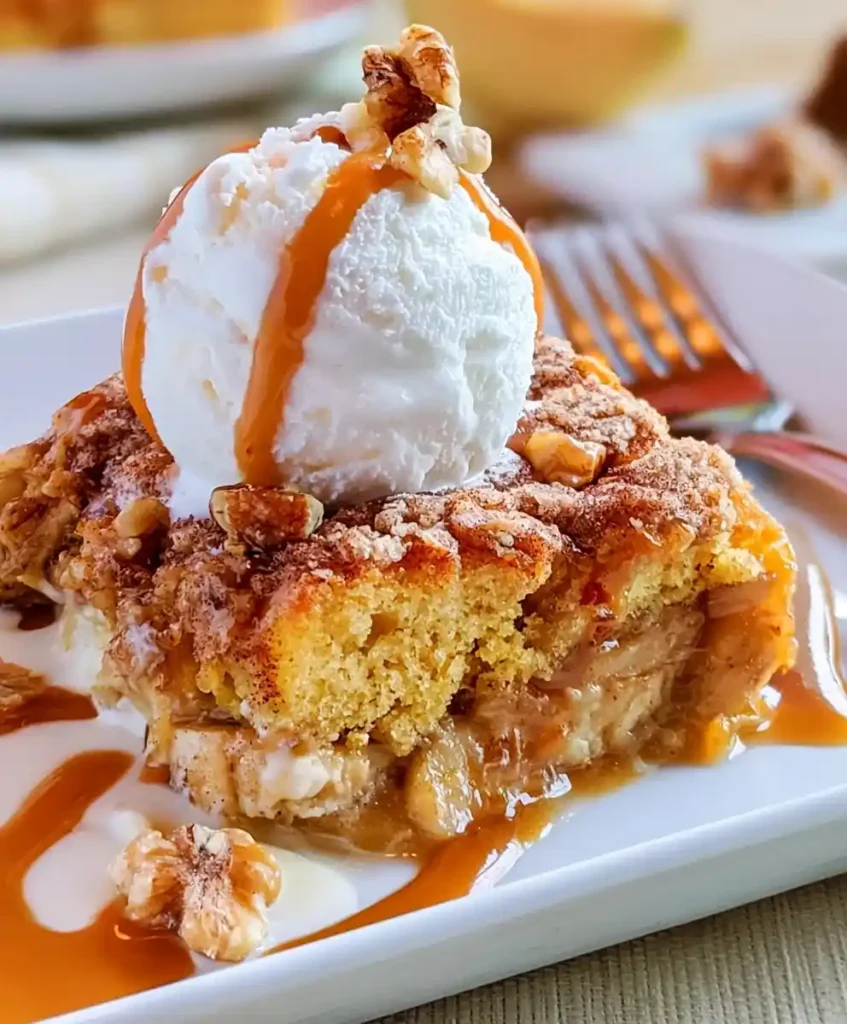
Got five overripe bananas staring at you from the counter? This Banana Dump Cake recipe is exactly what you need. No mixer, no fuss, just dump, bake, and devour.
Servings: 12 Prep time: 15 minutes Bake time: 50 minutes Total time: About 1 hour 5 minutes
Why This Banana Dump Cake Recipe Deserves a Spot in Your Rotation
Ever feel guilty tossing spotted bananas in the trash? Don’t. Those bananas are basically begging to become dessert. This cake turns them into something genuinely craveable.
I made this the first time out of pure laziness, honestly. No creaming butter, no separate bowls for wet and dry—just layers stacked into a pan. IMO, that’s the whole appeal.
It’s the kind of recipe that forgives you for skipping precision. Close enough usually works out just fine here.
What You’ll Need for This Banana Dump Cake Recipe
Here’s the ingredient list, and most of it is probably already sitting in your kitchen right now.
- Ripe bananas – 5 large
- Whole milk – 1 cup
- Chopped walnuts or pecans – 1/2 cup, optional
- Yellow cake mix – 1 box (15.25 oz)
- Dark brown sugar – 1/2 cup, packed
- Ground cinnamon – 1 teaspoon
- Unsalted butter, cold – 3/4 cup, sliced into pats
Substitution Notes
No dark brown sugar on hand? Light brown sugar works fine, just with a slightly milder flavor. Skip the nuts entirely if you want, the cake holds up just as well without them.
Dairy-free? Swap the whole milk for a non-dairy alternative like oat or almond milk. The texture stays close enough that nobody will complain.
How to Make Banana Dump Cake, Step by Step
Let’s slow this down a bit, because rushing the layering is the one way to mess up an otherwise foolproof recipe.
Step 1: Preheat the Oven and Prep Your Pan
Set your oven to 350°F before doing anything else. This gives it time to reach an even temperature while you handle the rest of the prep.
Grab a 9×13-inch baking pan and coat it generously with cooking spray or butter. Skipping this step means fighting to pry your cake out later, and nobody wants that battle.
Step 2: Mash and Slice the Bananas
Take about two and a half of your bananas and mash them with a fork right in the pan. Spread that mashed layer evenly across the bottom, covering every corner.
Slice the remaining bananas into rounds and scatter them over the mashed layer. This two-texture banana base is what gives the finished cake its rich, fruity depth.
Step 3: Pour the Milk Over the Bananas
Pour the whole milk evenly over your banana layers, making sure it spreads across the whole pan. This milk soaks into everything as it bakes, keeping the cake moist instead of dry.
If you’re using nuts, sprinkle them on now. They’ll toast slightly during baking, adding a nice crunch against all that soft banana.
Step 4: Sprinkle the Cake Mix Evenly
Open your box of yellow cake mix and sprinkle it dry, straight over the banana and milk layers. Take your time here—cover every visible bit of banana so nothing bakes unevenly.
Don’t stir it in. This is the step people get wrong most often. The dry mix needs to sit on top and slowly absorb moisture as it bakes, which is exactly what creates that signature gooey texture.
Step 5: Layer Butter, Sugar, and Cinnamon on Top
Slice your cold butter into roughly 24 thin pats. Distribute them evenly across the top of the dry cake mix, spacing them out so no area gets left dry.
In a small bowl, mix the brown sugar and cinnamon together. Sprinkle this mixture over the butter pats, covering as much surface area as you can manage.
Step 6: Bake Until Golden and Bubbling
Slide the pan into your preheated oven and bake for 45 to 55 minutes. You’re watching for a deep golden-brown top with visible bubbling around the edges.
Every oven runs a little differently, so start checking around the 40-minute mark. Have you ever pulled a dessert too early just because you got impatient? Don’t do that here—the extra minutes matter.
Step 7: Cool Before Serving
Once it’s out of the oven, let the cake rest in the pan on a wire rack for at least 30 minutes. This cooling period lets the buttery sauce underneath thicken into that gooey texture everyone loves.
Scoop warm portions into bowls rather than trying to cut clean slices—this cake isn’t meant to hold a knife-edge shape, and that’s perfectly fine.
Tips for a Better Banana Dump Cake
A handful of small habits separate a good dump cake from a great one.
- Use very ripe bananas: the more spotted, the sweeter and more flavorful the cake turns out.
- Never stir after adding the cake mix: let the layers stay separate so the texture develops properly.
- Cover every inch with cake mix: any exposed banana or milk can burn slightly during the long bake.
- Check for bubbling edges: that’s your clearest sign the cake is fully done.
- Let it cool fully: rushing this step means runny, unset sauce instead of a rich, gooey topping.
Fun Variations on This Banana Dump Cake Recipe
Once you’ve made the base version, it’s easy to switch things up depending on your mood.
- Chocolate lovers’ version: scatter a cup of chocolate chips over the banana layer before adding the milk.
- Nut-free swap: replace walnuts or pecans with shredded coconut for a different kind of crunch.
- Gluten-free option: use a gluten-free yellow cake mix; the process stays exactly the same.
- Lighter version: swap whole milk for almond milk and butter for coconut oil.
- Extra spiced: add a pinch of nutmeg or pumpkin spice alongside the cinnamon for deeper flavor.
How to Serve Banana Dump Cake
This dessert practically begs for toppings. Serve it warm with a scoop of vanilla ice cream and watch it disappear fast.
A drizzle of caramel sauce takes it up another level entirely. Pair a bowl with hot coffee, and you’ve basically built the coziest dessert moment of your week.
FAQs About Banana Dump Cake Recipe
Can I make this cake ahead of time? Yes. Assemble the layers, cover the pan, and refrigerate it. Let it sit at room temperature briefly before baking so it heats evenly.
What if I don’t have a boxed cake mix? You can make a homemade version using flour, sugar, baking powder, and salt combined in similar proportions. It works, though the texture shifts slightly.
How do I store leftovers? Keep leftovers in an airtight container in the fridge for three to four days. Reheat individual portions in the microwave before serving.
Can I customize the recipe? Definitely. Add chocolate chips, dried fruit, or a splash of vanilla extract to make it your own.
Can I use frozen bananas instead of fresh? Yes, but thaw them completely first and drain off any excess liquid. Too much extra moisture can make the layers soggy instead of gooey.
Why didn’t my cake mix layer turn golden? This usually means the butter pats weren’t distributed evenly enough. Spread them out fully next time so every section browns properly.
Final Thoughts on This Banana Dump Cake Recipe
This Banana Dump Cake recipe proves dessert doesn’t need to be complicated to be impressive. Five ingredients, zero mixing skills required, and a payoff that tastes far more impressive than the effort put in.
Next time those bananas start looking a little too spotted for snacking, you’ll know exactly what to do with them. Your kitchen will thank you, and honestly, so will everyone at your table.
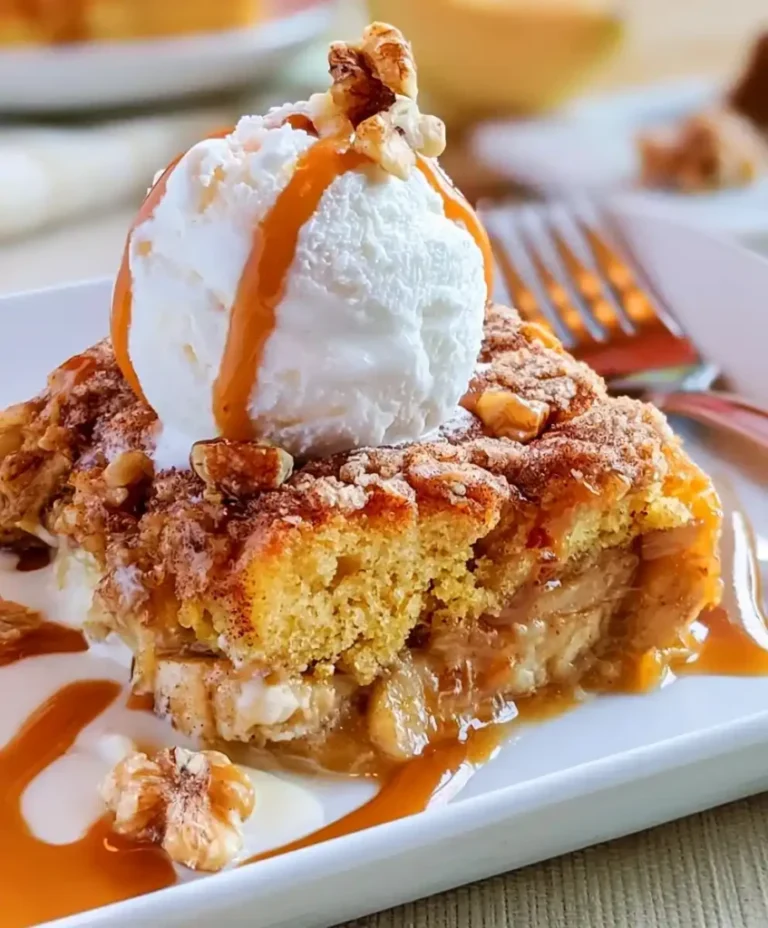
Banana Dump Cake
Ingredients
Method
- Preheat the oven to 350°F and prepare a 9x13-inch baking pan by coating it with cooking spray or butter.
- Mash about two and a half bananas in the pan and spread evenly across the bottom.
- Slice the remaining bananas into rounds and scatter them over the mashed layer.
- Pour the whole milk evenly over the banana layers.
- If using nuts, sprinkle them on top.
- Sprinkle the dry yellow cake mix evenly over the banana and milk layers without stirring.
- Slice the cold butter into pats and distribute them evenly on top of the dry cake mix.
- In a small bowl, mix the brown sugar and cinnamon together and sprinkle over the butter.
- Bake in the preheated oven for 45 to 55 minutes, until the top is golden brown and bubbling around the edges.
- Let the cake cool in the pan on a wire rack for at least 30 minutes before serving.



