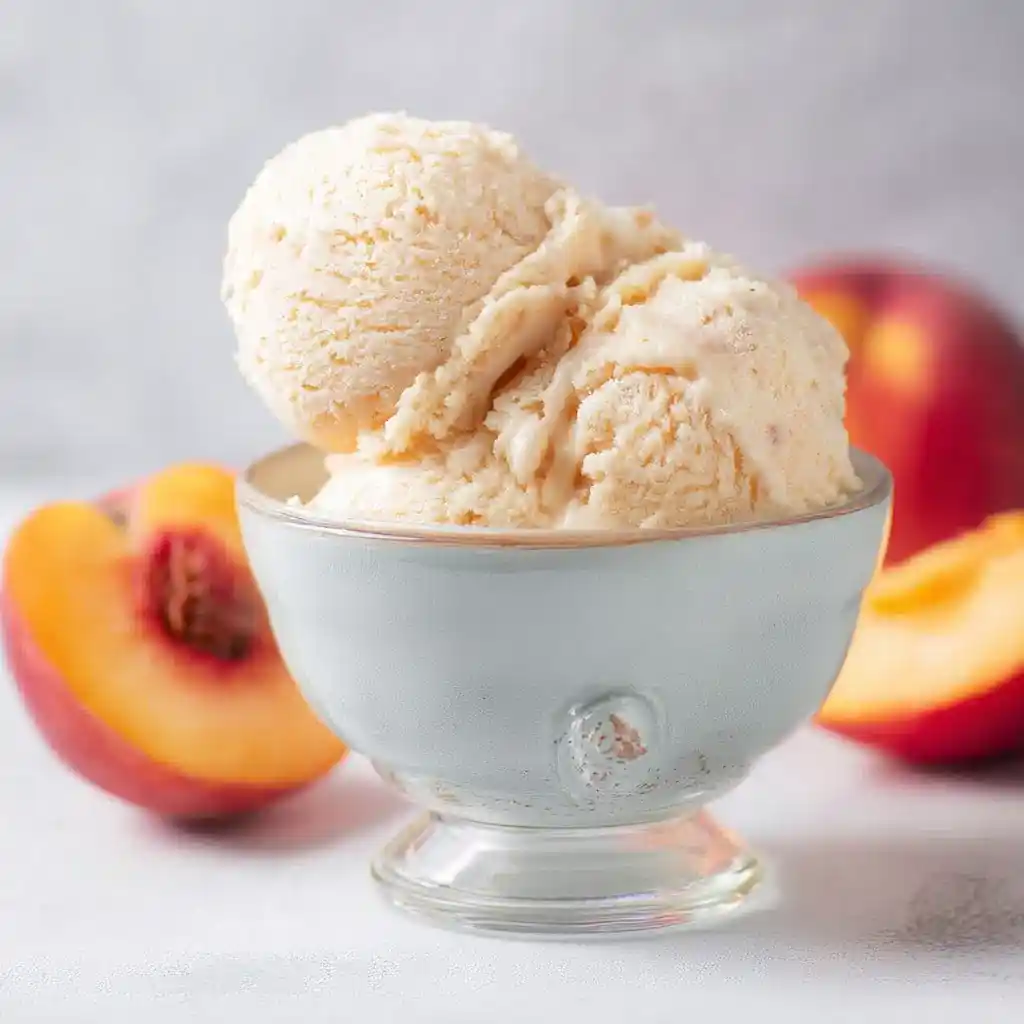
Servings: 4 Prep time: 10 minutes Freeze time: 2 hours Total time: About 2 hours 10 minutes
Three ingredients. One blender. Zero ice cream maker. That’s the entire pitch for this Blender Peach Ice Cream recipe, and honestly, it delivers way more flavor than it has any right to.
I started making this on lazy summer afternoons when I wanted something cold but refused to dig out an ice cream machine. Turns out, my blender was doing all the heavy lifting the whole time. Have you ever found a shortcut that actually tastes better than the “proper” way?
Why Blender Peach Ice Cream Deserves a Spot in Your Freezer
Not every homemade dessert earns a permanent spot in your rotation, but this one has. Here’s why I keep coming back to this Blender Peach Ice Cream recipe all summer long:
- No ice cream maker needed — your blender does everything
- Only three ingredients, so grocery runs stay short
- Naturally sweetened with honey instead of processed sugar
- Ready in about two hours, most of which is just freezer time
- Endlessly customizable, from banana to coconut to chocolate chip
IMO, that’s a pretty unbeatable combo for a dessert that takes ten minutes of actual work.
What You Need for Blender Peach Ice Cream
Here’s the whole ingredient list. Yes, really, this is it.
- 1 1/2 cups milk
- 2 tablespoons honey
- 3 cups frozen peach slices
That’s the entire shopping list. No heavy cream, no eggs, no cooking a custard base on the stove for twenty minutes while stirring nervously. Just milk, honey, and peaches doing all the work together.
How to Make Blender Peach Ice Cream
Let’s slow down and walk through each step properly, because rushing a blender-based dessert is honestly one of the easiest ways to end up with peach soup instead of ice cream.
Step 1: Start With the Liquid Base
Pour the milk into your blender first, followed by the honey. Starting with these two ingredients gives your blender blades something smooth to grab onto right away. Blend on low to medium speed until the honey fully dissolves into the milk and the mixture looks pale and uniform.
Step 2: Add the Peaches Slowly
Once your milk and honey base looks smooth, start adding the frozen peach slices a little at a time. Adding them gradually instead of dumping the whole bag in at once keeps your blender motor from struggling. Blend after each addition so the peaches break down evenly instead of clumping.
Step 3: Blend Until It Looks Like Soft Serve
Keep blending until the entire mixture thickens up and starts resembling soft-serve ice cream. This usually takes a couple of minutes of steady blending, sometimes with a pause to scrape down the sides. You’ll know it’s ready when it holds its shape but still looks creamy and smooth.
Step 4: Transfer to a Freezer-Safe Container
Pour your thick peach mixture into a glass loaf pan or any freezer-safe container you have on hand. Use a spatula to smooth the top into an even, flat layer. An even surface helps the ice cream freeze consistently, so you don’t end up with soft spots and rock-hard spots in the same batch.
Step 5: Freeze Until Firm
Place your container in the freezer and let it sit for about two hours, or until it firms up completely. This waiting period is genuinely the hardest part of the whole recipe. Set a timer, because trust me, you will forget and check every twenty minutes otherwise.
Step 6: Soften Before Scooping
If your ice cream freezes rock solid, don’t panic and don’t attack it with a spoon like it owes you money. Let it sit at room temperature for a few minutes, or set the container in a bowl of warm water briefly. This softens the edges just enough to make scooping easy again.
Step 7: Re-Blend for Extra Creaminess
Want an even smoother texture? Break the frozen mixture into chunks and toss them back into the blender for a quick re-blend. This step is optional, but it turns a slightly icy texture into something closer to actual soft-serve. Have you ever noticed how one extra blend cycle changes everything?
Tips for the Best Blender Peach Ice Cream
Want this to turn out perfectly every single time? These small tricks make a genuine difference.
- Use fully frozen peaches for the thickest, creamiest texture
- Blend in short bursts to avoid overworking your blender motor
- Store in an airtight container for up to one week in the freezer
- Let it soften for 5–10 minutes before scooping for easier serving
- Re-blend leftovers if the texture turns icy after a few days
Skipping the softening step is basically asking your spoon to fight a losing battle :/
Fun Variations to Try
Once you’ve mastered the classic version, why not switch things up? Here are some variations worth trying next:
- Peach Banana Ice Cream — add one ripe banana for extra creaminess
- Peach Vanilla Ice Cream — add a teaspoon of vanilla extract for deeper flavor
- Peach Coconut Ice Cream — swap regular milk for coconut milk
- Peach Cheesecake Ice Cream — blend in a couple tablespoons of cream cheese
- Peach Chocolate Chip Ice Cream — stir in mini chocolate chips after blending
FYI, the coconut version tastes like a mini tropical vacation in a bowl.
Frequently Asked Questions
Can I use fresh peaches instead of frozen? Yes, but freeze them first so your ice cream reaches that thick, creamy consistency instead of turning into a runny smoothie.
Do I need an ice cream maker for this recipe? No, this entire recipe relies on your blender, which is exactly what makes it so quick and low-effort.
Can I use non-dairy milk? Absolutely. Almond milk, oat milk, and coconut milk all work well and change the flavor slightly depending on which one you pick.
Why does my ice cream turn out icy instead of creamy? It usually needs a bit more blending, or you can try a higher-fat milk alternative for a smoother result.
How long does it last in the freezer? It stays at its best for up to one week, though re-blending leftovers helps restore that fresh, creamy texture.
Wrapping It Up
This Blender Peach Ice Cream recipe proves that homemade frozen desserts don’t need fancy equipment or a long ingredient list. Just milk, honey, and peaches turn into something genuinely creamy and satisfying in under three hours.
So next time summer heat hits and you want something cold, skip the store run. Grab your blender, toss in those three ingredients, and let your freezer handle the rest. Your future self will thank you the second that first spoonful hits.



