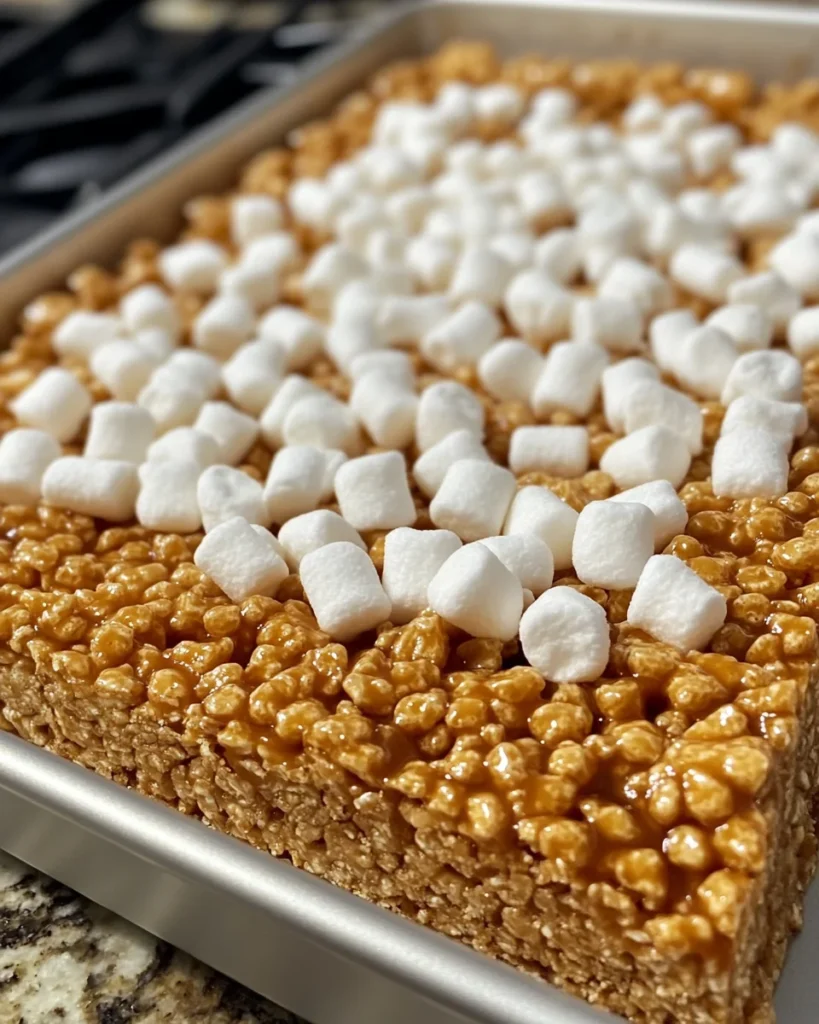
Okay, I need to talk to you about a snack that changed my whole relationship with marshmallows. Brown butter dulce de leche rice krispie treats sound fancy, but honestly? They’re ridiculously simple to make.
I grew up on the basic version, the one with just butter and cereal. It was fine. It did its job. But once I browned the butter and added a swirl of dulce de leche, I couldn’t go back.
This recipe takes maybe 30 minutes of hands-on time. It serves 12 people, or one very committed person over a rough weekend. No judgment here.
Prep time: 15 minutes. Cook time: 15 minutes. Cooling time: 30-60 minutes. Servings: 12 treats.
Why Brown Butter Changes Everything
Regular melted butter is fine. It’s fine! But have you ever tasted butter after it turns golden brown and starts smelling like toasted hazelnuts?
That’s the magic here. Browning butter breaks down the milk solids and creates a nutty, almost caramel-like flavor. It’s a five-minute trick that makes people think you trained at a culinary school.
IMO, this one step separates amateur rice krispie treats from the ones people actually remember. It costs nothing extra. It just takes patience and a watchful eye.
What You’ll Need: Ingredient Quantities
Here’s your shopping list. Nothing exotic, nothing that requires a specialty store trip.
- Unsalted butter: 1/2 cup (113g)
- Mini marshmallows: 10 oz (283g), plus 1 cup extra for gooey pockets if you’re feeling generous
- Vanilla extract: 1/2 teaspoon
- Rice Krispies cereal: 6 cups (175g)
- Dulce de leche: 1/2 can (roughly 7 oz)
- Ground cinnamon: 1 1/2 teaspoons (optional, but recommended)
- Sea salt: a pinch, for finishing
That’s it. Seven ingredients, and half of them are probably already in your pantry.
Browning the Butter Without Burning It
This is the step people rush, and rushing it ruins the whole treat. Slow down. Put on a podcast. Give the butter your full attention for five minutes.
The Process, Step by Step
Melt the butter in a light-colored saucepan over medium heat. A light pan matters here because it lets you actually see the color change instead of guessing.
The butter will foam first. That’s normal, don’t panic. Keep stirring gently and watch as the foam settles and tiny brown specks start forming at the bottom of the pan.
Once you smell something nutty and toasty, similar to popcorn or roasted nuts, pull the pan off the heat immediately. Butter goes from perfectly browned to burnt in about 15 seconds. Trust your nose here more than your eyes.
Common Mistakes That Ruin Brown Butter
A few things trip people up on their first try. Avoid these and you’ll nail it on attempt one.
- Using high heat, which burns the milk solids before the flavor develops
- Walking away from the stove, even for a minute
- Using a dark pan where you can’t see the color shift
- Forgetting that butter keeps cooking slightly after you remove it from heat
Pour the browned butter into your mixing pot right away. Don’t let it sit in the hot pan.
Making the Marshmallow Base
Now for the fun, sticky part. Add your marshmallows straight into the pot with the warm brown butter.
Stir over low heat until everything melts into a smooth, glossy mixture. This takes about three to four minutes. Add the vanilla extract and cinnamon now, stirring until fully combined.
Remove the pot from heat completely before adding your cereal. This step matters more than people think, because a still-hot pot keeps cooking the marshmallow and makes it stiff instead of stretchy.
Folding in the Cereal
Add your Rice Krispies cereal in two batches instead of dumping it all in at once. This might feel like an unnecessary extra step, but it genuinely helps distribute everything evenly.
Fold gently with a rubber spatula. Don’t stir aggressively like you’re mad at it. Aggressive stirring crushes the cereal and turns your crispy treat into a sad, dense brick.
If you’re adding that extra cup of mini marshmallows for gooey pockets, fold them in now, right at the very end. This keeps them from fully melting into the mixture.
Building the Dulce de Leche Layer
Here’s where the treats go from good to genuinely memorable. Let your dulce de leche sit out for 10-15 minutes so it softens and becomes spreadable.
Press half of your cereal mixture into a greased 9×13-inch pan first. Use a piece of parchment paper or a greased spatula to press it down evenly without smashing it flat.
Spread the softened dulce de leche over this base layer in an even coat. Work from the center outward with an offset spatula for the smoothest results.
Top with the remaining cereal mixture, pressing gently to seal everything together. Don’t press too hard, or you’ll lose that light, crispy texture you worked so hard to keep.
Cooling and Cutting
Patience is the hardest ingredient in this whole recipe. Let the pan sit at room temperature for 30-60 minutes before cutting.
Cutting too early means gooey, messy squares that fall apart. Nobody wants that, no matter how good it tastes. Use a sharp knife lightly greased or dipped in warm water for clean cuts.
Sprinkle a pinch of sea salt over the top right before serving. That little salty contrast against the caramel sweetness is honestly the whole point.
Storage Tips That Actually Work
These treats hold up well if you store them correctly. Here’s the breakdown so you’re not guessing.
- Room temperature: up to one week in an airtight container
- Refrigerated: up to two weeks, wrapped tightly in plastic
- Frozen: up to three months, with parchment paper between layers
If your treats lose their crispness, warm them at 300°F for three to five minutes. Let them cool slightly before eating so you don’t burn your mouth.
Fun Variations Worth Trying
Once you’ve made the base recipe once, feel free to get creative. This recipe is basically a blank canvas for texture and flavor experiments.
- Crushed pretzels for salty crunch
- Chopped pecans or walnuts for texture
- Espresso powder for a subtle mocha note
- Crushed peppermint for a holiday twist
- A drizzle of melted white chocolate on top
Have you ever tried swapping in graham crackers for half the cereal? It adds a completely different, slightly toasty crunch that pairs surprisingly well with the caramel.
Tools You’ll Actually Need
Nothing fancy required, just the basics done right.
- A heavy-bottomed, light-colored saucepan for browning butter
- A 9×13-inch baking pan
- A rubber spatula for folding
- An offset spatula for spreading the caramel layer
- Parchment paper or non-stick spray
That’s genuinely it. No candy thermometer, no stand mixer, no excuses.
Frequently Asked Questions
What makes these different from regular Rice Krispie treats? Brown butter adds a nutty, toasted flavor, and dulce de leche adds a rich caramel layer. Together they turn a basic snack into something bakery-worthy.
Is browning butter hard for beginners? Not really, it just requires attention. Stir constantly, watch for brown specks, and pull it off heat the second it smells nutty.
Can I make these ahead of time? Yes. They store well at room temperature for up to a week in an airtight container. Just keep parchment paper between layers.
Are there gluten-free options? Yes, look for certified gluten-free rice cereal, since regular Rice Krispies contain malt flavoring. The rest of the recipe stays exactly the same.
Why are my treats too hard or too dense? This usually happens from overcooking the marshmallow or pressing the mixture too firmly into the pan. Work quickly and press gently instead.
Can I freeze these treats? Absolutely, wrap them individually and freeze for up to three months. Thaw at room temperature for about 20 minutes before eating.
What kind of dulce de leche should I buy? Go for a thick, high-quality jarred or canned version rather than a thin caramel sauce. Thin sauces won’t hold their shape between the cereal layers.
Final Thoughts
Brown butter dulce de leche rice krispie treats prove that small tweaks make a massive difference. You’re using the same seven ingredients as a basic treat, just handled with a little more care.
Will they take slightly longer than the box recipe on the marshmallow bag? Sure. Is it worth the extra 15 minutes? Absolutely, without question.
Make a batch this weekend and see what happens. I’m willing to bet they disappear faster than you expect
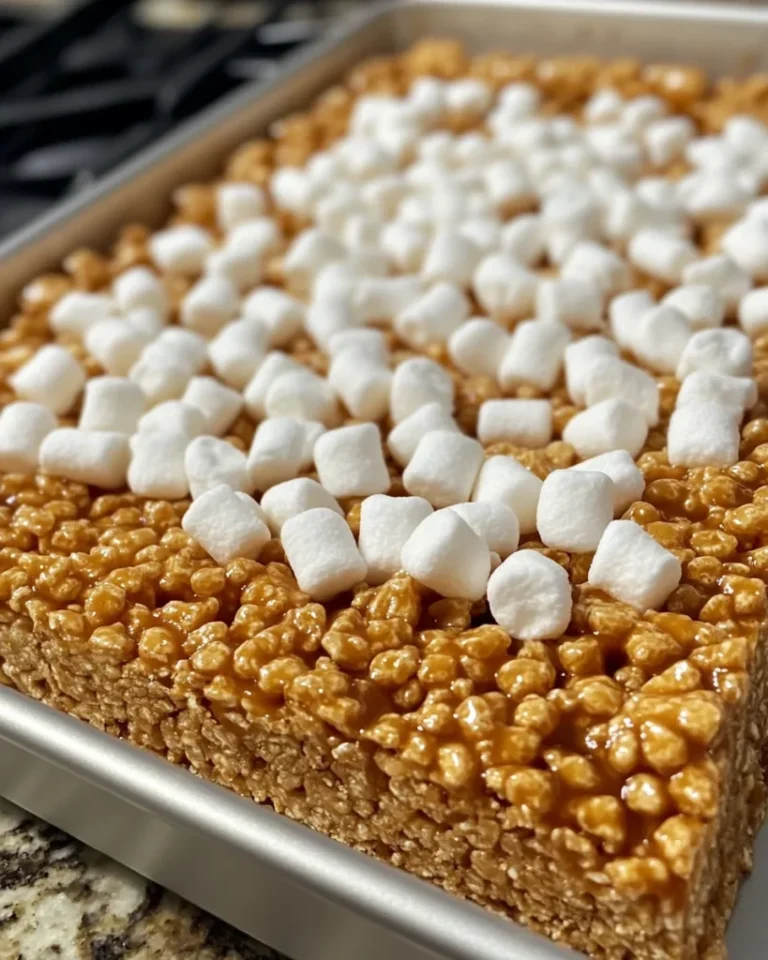
Brown Butter Dulce De Leche Rice Krispie Treats
Ingredients
Method
- Melt the butter in a light-colored saucepan over medium heat, stirring gently.
- Continue to stir until the butter foams and then browns, being careful not to burn it.
- Once it smells nutty and has brown specks, remove from heat immediately.
- Add the mini marshmallows to the browned butter pot and stir over low heat until melted.
- Stir in the vanilla extract and cinnamon until well combined.
- Remove from heat before adding the cereal.
- Gradually fold in the Rice Krispies cereal in two batches using a rubber spatula.
- If using the extra mini marshmallows, fold them in at the very end.
- Press half the cereal mixture into a greased 9x13-inch pan.
- Spread the softened dulce de leche over the base layer evenly.
- Top with the remaining cereal mixture, pressing gently.
- Allow the mixture to sit at room temperature for 30-60 minutes to cool.
- Cut into squares using a sharp knife greased or dipped in warm water.
- Sprinkle sea salt over the top before serving.




