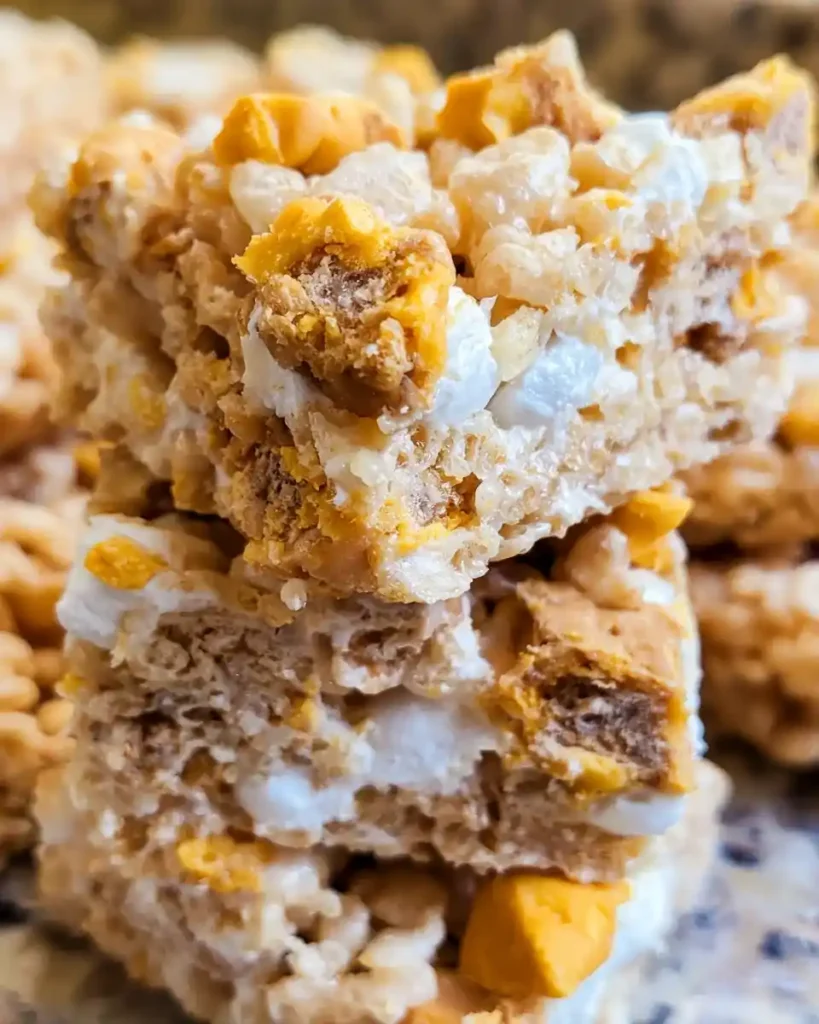
Regular rice krispie treats are fine. Butterfinger Krispie Treats are the upgrade nobody asked for but everybody needs. Crunchy peanut-buttery candy bits meet that classic gooey marshmallow base, and the result disappears off the plate faster than you can cut the next batch.
I started making these for school bake sales when plain krispie treats stopped cutting it. One batch with chopped Butterfingers mixed in, and suddenly I was the parent everyone asked for the recipe.
Servings: 16 bars Prep time: 10 minutes Cook time: 10 minutes Cool time: 1 hour Total time: About 1 hour 20 minutes
Why This Recipe Works So Well
Butterfinger bars bring a crunchy, peanut-buttery texture that regular rice krispie treats just don’t have on their own. That contrast between crispy cereal and crunchy candy keeps every bite interesting instead of one-note and chewy. Have you ever eaten a dessert that felt the same from the first bite to the last? This one avoids that completely.
The candy also melts slightly into the warm marshmallow mixture, creating little pockets of peanut butter flavor throughout. That’s not an accident; it’s basically the whole point. IMO this small swap turns a basic lunchbox treat into something people actually request by name.
Best of all, this recipe takes about as much effort as the original. No extra steps, no special equipment, just one smart ingredient swap that changes everything.
What You’ll Need
This recipe fills a 9×13-inch pan and cuts into sixteen generous bars. Here’s everything you’ll need to pull it off.
Ingredients
- 1/2 cup unsalted butter
- 10 ounces mini marshmallows, about 5 1/2 cups
- 1 teaspoon vanilla extract
- 6 cups rice krispie cereal
- 1 1/2 cups chopped Butterfinger candy bars, about 5 fun-size bars, divided
- a pinch of salt, optional
Fun-size Butterfinger bars work best here since they’re easy to chop into uniform pieces. Full-size bars work too, just expect a little more chopping. Either way, save a small handful of chopped candy to sprinkle on top for that bakery-style finish.
How to Make Butterfinger Krispie Treats
This recipe moves fast once the marshmallows start melting, so having everything prepped ahead makes a real difference. Here’s the full breakdown, step by step.
Step 1: Prep Your Pan First
Line a 9×13-inch pan with foil, leaving a little overhang on the sides for easy lifting later. Spray the foil generously with cooking spray so nothing sticks once the bars set. Set the pan aside within arm’s reach, since you won’t have time to dig for it once the marshmallow mixture is ready.
This step feels minor, but skipping it usually means fighting a sticky pan later. Prepping it now means your future self gets to enjoy the treats instead of scraping the pan.
Step 2: Melt the Butter and Marshmallows
Add the butter and mini marshmallows to a large microwave-safe bowl. Heat on 50% power in one-minute increments, stirring thoroughly after each round. This slower approach prevents scorched marshmallows, which trust me, ruin the whole batch instantly.
Keep heating and stirring until the mixture looks completely smooth with no marshmallow lumps left. It should look glossy and pourable, almost like thick syrup. This usually takes two to three rounds in the microwave, depending on how powerful yours runs.
Step 3: Stir in the Vanilla
Once your marshmallow mixture looks smooth, stir in the vanilla extract right away. The warm mixture releases that vanilla aroma instantly, and your kitchen starts smelling incredible at this exact moment. Stir just until combined; there’s no need to overwork it.
This small addition rounds out the sweetness and adds a little depth that plain marshmallow alone doesn’t have. Skip it if you’re in a rush, but honestly, it only takes a few seconds and makes a noticeable difference.
Step 4: Fold In the Cereal and Candy
Add the rice krispie cereal to the warm marshmallow mixture, followed by most of your chopped Butterfinger pieces, reserving a small handful for topping. Fold everything together using a sturdy spatula or wooden spoon. Work quickly here, since the mixture starts firming up as it cools.
Make sure every piece of cereal gets coated in that sticky marshmallow mixture. Uneven mixing means some bars turn out gooey while others fall apart, so take an extra minute to fold thoroughly. This is the messiest step, but it’s also the most important one.
Step 5: Press the Mixture Into the Pan
Pour the mixture into your prepared pan while it’s still warm and workable. Spray your hands lightly with cooking spray, then press the mixture down firmly and evenly across the entire pan. Firm, even pressing matters here, since loosely packed treats tend to crumble apart when you slice them later.
Work fairly quickly, since the mixture firms up as it cools and gets harder to press smoothly. Don’t pack it down too aggressively though, or the bars turn out dense instead of tender. A light, even press is exactly what you’re after.
Step 6: Add the Finishing Touch and Cool
Sprinkle the reserved chopped Butterfinger pieces over the top of the pressed mixture, pressing them lightly so they stick. This gives every bar that visible candy crunch right on top, not just hidden inside. It also makes the finished treats look intentional instead of thrown together.
Let the pan cool completely at room temperature, which usually takes about an hour. Resist the urge to slice early; warm treats fall apart, while cooled ones cut clean. Once fully set, lift the whole slab out using the foil overhang and slice into squares.
Tips for Success
- Melt the marshmallows slowly in short bursts to avoid scorching them.
- Spray your hands or a spatula with cooking spray before pressing the mixture down.
- Let the bars cool completely before slicing for clean, even edges.
- Use a sharp knife and wipe it between cuts for the neatest squares.
- Store in an airtight container to keep the texture soft and chewy.
Easy Swaps and Variations
- Stir in a few tablespoons of creamy peanut butter with the butter and marshmallows for extra richness.
- Drizzle melted chocolate over the sliced bars for an indulgent finishing touch.
- Add chopped pecans or almonds for extra crunch alongside the candy bits.
- Swap rice krispie cereal for a gluten-free crispy rice cereal if needed.
- Try Reese’s Peanut Butter Cups or Milky Way bars in place of Butterfinger for a different flavor twist.
What to Serve With Butterfinger Krispie Treats
A scoop of vanilla ice cream turns these bars into a full dessert in seconds. A tall glass of cold milk is the classic pairing, especially if you’re serving these to kids. Hot cocoa works nicely too, particularly during colder months.
For a party platter, cut the bars into smaller bite-sized pieces so people can grab one without committing to a full square. They go fast either way, but smaller pieces tend to stretch the batch further.
FAQs About Butterfinger Krispie Treats
What can I substitute for Butterfinger bars? Reese’s Peanut Butter Cups or Milky Way bars both work well as substitutes. Each brings its own flavor twist while keeping that sweet, crunchy candy element intact.
Can I make these ahead of time? Yes, these treats store well for several days in an airtight container. Keep an eye on humidity though, since overly humid environments can make the cereal go soft faster.
How should I store leftover treats? Store them in an airtight container at room temperature once fully cooled. Make sure they’re completely cool before sealing them up, or condensation can make them sticky.
Can I use a different cereal? Absolutely. Cornflakes or Special K both work as substitutes, though Rice Krispies give the most classic crunch and texture for this recipe.
Why did my treats turn out hard instead of chewy? Overcooking the marshmallow mixture or pressing the bars too firmly usually causes this. Stick to short microwave bursts and a gentle, even press for the softest results.
Can I freeze Butterfinger Krispie Treats? Yes, wrap individual bars tightly in plastic wrap and freeze for up to a month. Thaw at room temperature for about 20 minutes before eating.
Final Thoughts
Butterfinger Krispie Treats take a nostalgic classic and give it a candy-bar upgrade that’s genuinely hard to go back from once you’ve tried it. The crunchy cereal, gooey marshmallow, and peanut-buttery candy bits work together in a way that feels both familiar and exciting at the same time. Best of all, the whole thing comes together in about ten active minutes.
So grab a bag of Butterfingers next time you’re at the store, and give this one a shot. Fair warning though, once your family tries these, plain krispie treats might never make the cut again
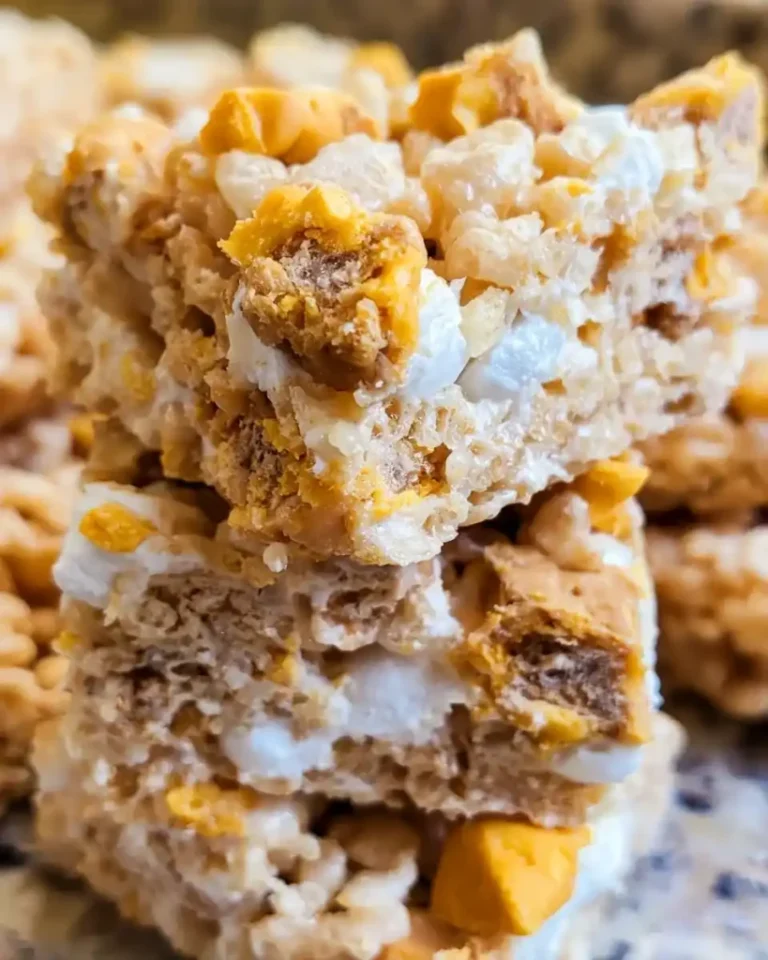
Butterfinger Krispie Treats
Ingredients
Method
- Line a 9x13-inch pan with foil, leaving overhang on the sides for easy lifting. Spray the foil generously with cooking spray.
- Add the butter and mini marshmallows to a large microwave-safe bowl and heat on 50% power in one-minute increments, stirring after each round.
- Once melted and smooth, stir in the vanilla extract.
- Fold in the rice krispie cereal and most of the chopped Butterfinger pieces, reserving a small handful for topping.
- Pour the mixture into the prepared pan and press down firmly and evenly across the entire pan.
- Sprinkle the reserved Butterfinger pieces over the top and press lightly so they stick.
- Let the pan cool completely at room temperature for about an hour before slicing into squares.



