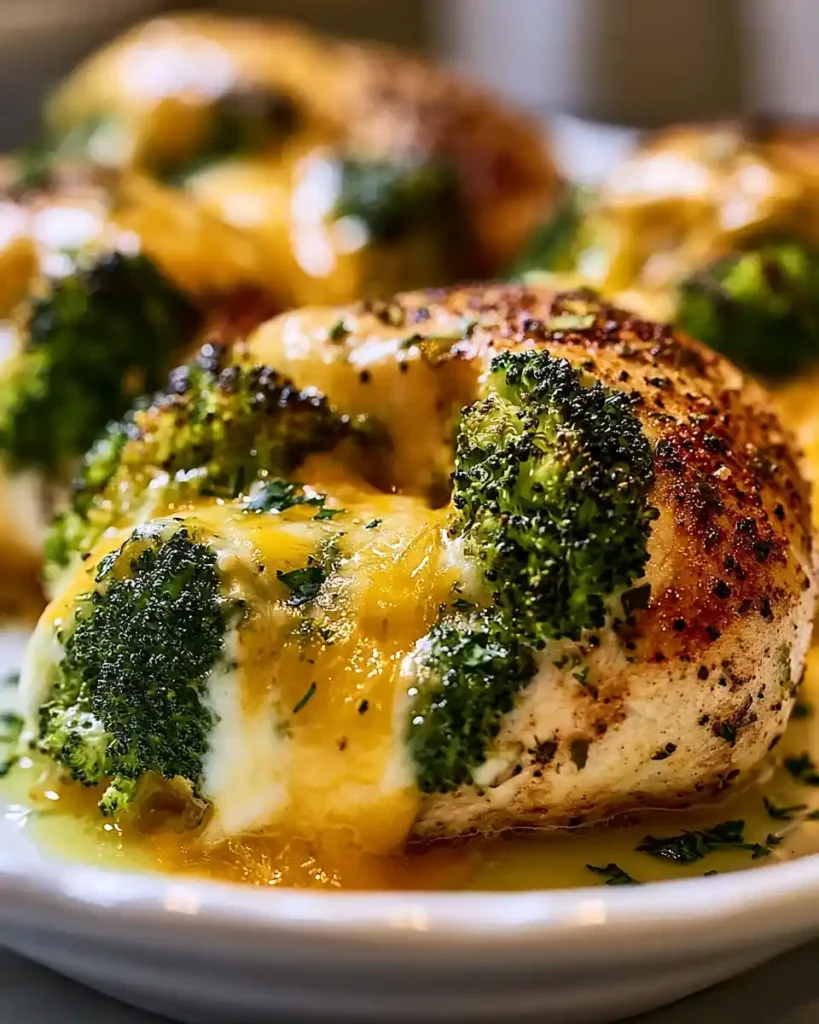
Bored of boring chicken breast? Same. These Cream Cheese And Broccoli Stuffed Chicken Breasts turn a plain protein into something you actually look forward to eating.
Servings: 4 Prep time: 15 minutes Cook time: 35 minutes Total time: 50 minutes
I started making this when I got tired of dry, flavorless chicken every week. One bite of that cheesy broccoli filling and I never went back. Even my picky eater cleaned her plate.
Why This Recipe Earns a Spot in Your Rotation
This isn’t just another stuffed chicken recipe you’ll forget about next week. It solves the real problem: boring, dry chicken breasts. Here’s why it works so well.
- Locks in moisture — stuffing keeps the chicken from drying out
- Sneaks in veggies — broccoli hides beautifully in that creamy filling
- Restaurant-style presentation — looks fancy, takes zero fancy skill
- Ready in under an hour — weeknight-friendly, no question
Have you ever noticed how a little filling makes chicken feel like a whole different meal? That’s exactly what happens here.
Ingredients You’ll Need
Nothing complicated. Just a short list of ingredients that pull real weight in flavor.
- 4 boneless, skinless chicken breasts
- 1 cup broccoli florets, finely chopped
- 4 ounces cream cheese, softened
- 1/2 cup shredded cheddar cheese
- 1/4 cup grated Parmesan cheese
- 1/2 teaspoon garlic powder
- 1/2 teaspoon onion powder
- Salt and pepper, to taste
- 2 tablespoons olive oil
That’s the whole list. FYI, softening the cream cheese ahead of time makes mixing this filling way easier.
How to Make Cream Cheese And Broccoli Stuffed Chicken Breasts
Let’s break this down slowly so nothing gets rushed. Stuffed chicken sounds intimidating, but honestly, it’s just a few simple moves in order.
Step 1: Preheat Your Oven Properly
Set your oven to 375°F before you touch anything else. A properly preheated oven cooks chicken evenly, which matters a lot when you’ve got filling inside. Give it the full ten minutes to reach temperature while you prep everything else.
Skipping this step and tossing chicken into a half-warm oven leads to uneven cooking. The outside can look done while the inside stays undercooked. Patience here pays off later.
Step 2: Cut a Pocket Into Each Breast
Lay a chicken breast flat on your cutting board. Using a sharp knife, slice horizontally into the thickest side to create a deep pocket. Go slow and careful so you don’t cut all the way through to the other side.
Repeat this with each chicken breast, wiping your knife between cuts if needed. This pocket is where all that creamy broccoli filling goes, so give yourself enough room to work with. A shallow cut means less filling fits inside.
Step 3: Mix Up That Creamy Filling
Grab a mixing bowl and add your chopped broccoli, softened cream cheese, cheddar, and Parmesan. Sprinkle in the garlic powder, onion powder, salt, and pepper. Stir everything together until fully combined.
Take your time mixing here. You want the broccoli evenly distributed through the cheese instead of clumped in one spot. A fork works fine, though a small spatula makes the job even easier.
Step 4: Stuff Each Chicken Breast
Now for the fun part. Spoon the filling generously into each pocket you cut earlier. Push it in gently with a spoon so it fills the space without tearing the chicken apart.
If filling starts spilling out the sides, don’t panic. Secure the opening with a toothpick or two to keep everything tucked inside while it cooks. This little trick saves you from losing filling in the skillet.
Step 5: Sear the Chicken First
Heat olive oil in an oven-safe skillet over medium-high heat. Once it’s shimmering, place your stuffed chicken breasts in carefully, seam-side up first. Sear for 3 to 4 minutes per side until you get a golden crust.
This step isn’t optional if you want real flavor. Searing locks in juices and builds that golden color you actually want to see on your plate. IMO, skipping the sear is the biggest mistake people make with stuffed chicken.
Step 6: Move It to the Oven
Once both sides are seared, transfer the entire skillet straight into your preheated oven. Bake for 25 to 30 minutes, checking the internal temperature toward the end. You’re aiming for 165°F at the thickest part of the chicken.
Every oven runs a little differently, so start checking around the 22-minute mark if yours tends to run hot. A meat thermometer takes the guesswork out completely, and honestly, it’s worth owning one.
Step 7: Let It Rest Before Cutting
Pull the skillet out once the chicken hits temperature. Let it rest for 5 minutes before slicing into it. I know the smell makes waiting torture, but resting keeps those juices inside instead of running out onto your cutting board.
Slice into it after resting and watch that cheesy broccoli filling spill out beautifully. This is the payoff moment, and it never gets old.
Tips for Getting It Right
A handful of small details separate good stuffed chicken from great stuffed chicken. Keep these in your back pocket.
- Pound thicker chicken breasts slightly for even cooking
- Season the outside of the chicken, not just the filling
- Don’t overstuff, or the filling pushes out during cooking
- Use a meat thermometer instead of guessing doneness
- Let the filling cool slightly before stuffing hot ingredients
Fun Variations to Try
Once you’ve nailed the basic version, switching things up keeps this recipe interesting.
- Spicy version — mix in diced jalapeños or a pinch of cayenne
- Herb boost — add fresh thyme, basil, or parsley to the filling
- Mushroom twist — stir in sautéed mushrooms for earthy depth
- Cheese swap — try mozzarella or pepper jack instead of cheddar
- Bacon lover’s version — fold in crumbled cooked bacon for extra richness
Why stop at one flavor combo when there are five worth trying? Rotate them through your meal plan and this dish never feels repetitive.
What to Serve With It
Round out this dish with sides that complement all that creamy, cheesy flavor.
- Roasted seasonal vegetables for color and crunch
- Herbed rice pilaf to soak up extra juices
- A crisp green salad with light vinaigrette
- A glass of Chardonnay or Pinot Noir alongside dinner
FAQs About Cream Cheese And Broccoli Stuffed Chicken Breasts
Can I use frozen broccoli instead of fresh? Yes, frozen works fine. Just thaw it completely and squeeze out excess water first, so your filling doesn’t turn watery.
How do I make this dish dairy-free? Swap the cream cheese and shredded cheeses for dairy-free alternatives. Cashew-based cream cheese and vegan shredded cheese both work well in this filling.
Can I prepare this ahead of time? Absolutely. Stuff the chicken breasts a day ahead, cover tightly, and refrigerate. Sear and bake them fresh right before serving.
How do I know when the chicken is fully cooked? Use a meat thermometer and check for 165°F at the thickest part. This guarantees safe, juicy chicken every single time.
What can I serve alongside this recipe? Roasted vegetables, rice pilaf, or a simple salad all pair beautifully. Pick whatever fits your mood and pantry that night.
Final Thoughts
Cream Cheese And Broccoli Stuffed Chicken Breasts turns an ordinary dinner into something worth looking forward to. It’s simple enough for a weeknight and impressive enough for guests.
Give it a try this week and watch how fast it disappears from the table. Once you slice into that cheesy center, you’ll wonder why you didn’t stuff your chicken sooner.
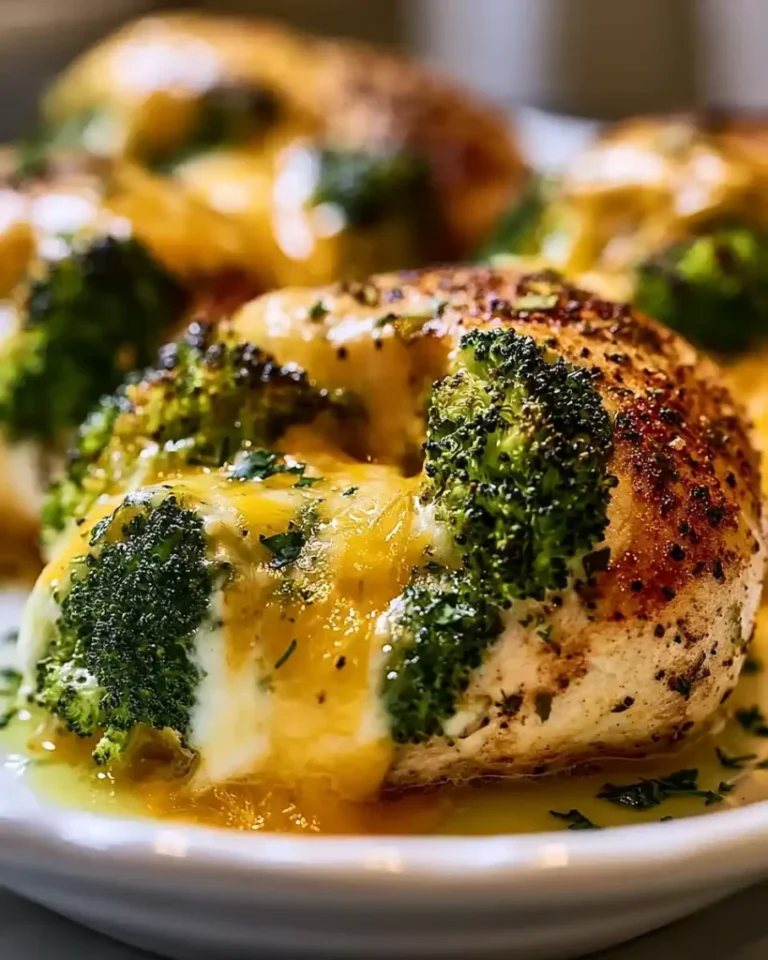
Cream Cheese And Broccoli Stuffed Chicken Breasts
Ingredients
Method
- Preheat your oven to 375°F (190°C).
- Using a sharp knife, carefully cut a pocket into each chicken breast.
- In a mixing bowl, combine chopped broccoli, softened cream cheese, cheddar, and Parmesan. Add garlic powder, onion powder, salt, and pepper, mixing until fully combined.
- Generously spoon the filling into each chicken pocket, securing openings with toothpicks if necessary.
- Heat olive oil in an oven-safe skillet over medium-high heat and sear chicken breasts for 3 to 4 minutes on each side until golden brown.
- Transfer the skillet to the preheated oven and bake for 25 to 30 minutes, checking for an internal temperature of 165°F (74°C).
- Remove the chicken from the oven and let it rest for 5 minutes before slicing to serve.



