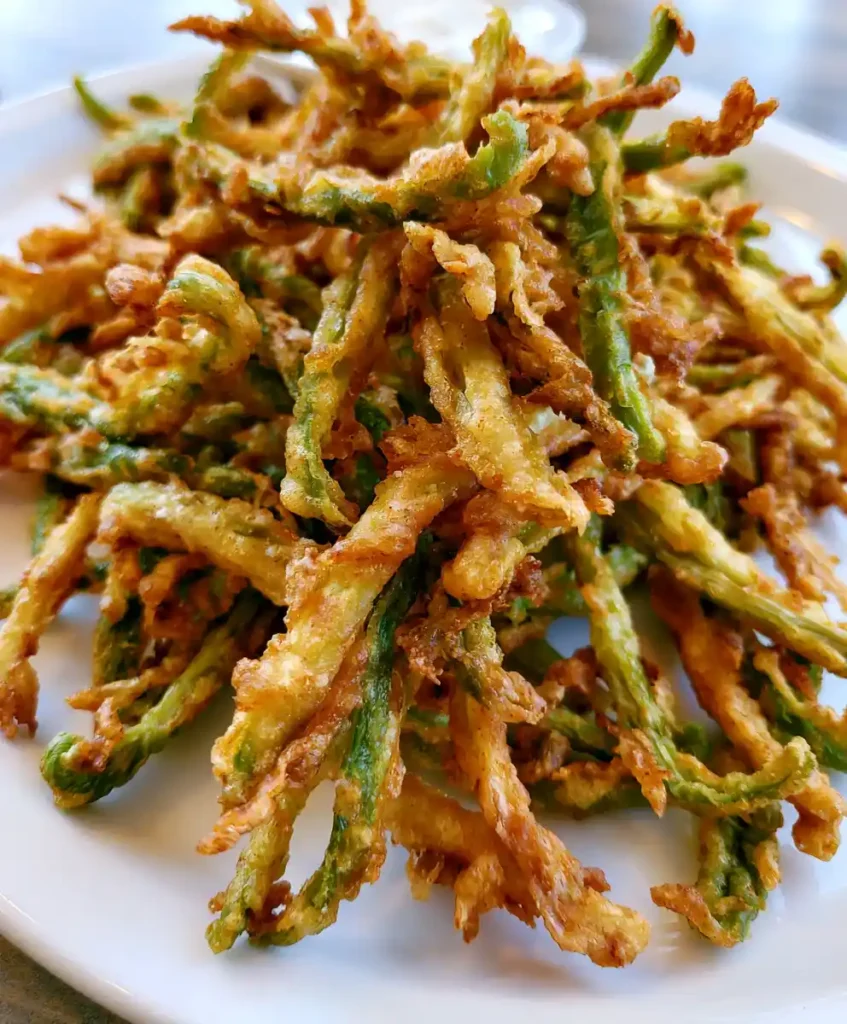
Bored of the same old fries and mozzarella sticks at snack time? Crispy Banana Pepper Fries just might fix that problem for good. I first made these on a whim when a jar of banana peppers sat in my fridge, unused and judging me. One bite in, and I knew this recipe deserved a permanent spot in my rotation.
Servings: 4 Prep Time: 15 minutes Cook Time: 15 minutes Total Time: 30 minutes
Why Crispy Banana Pepper Fries Deserve a Spot on Your Table
Ever wonder why breaded, fried peppers taste so much better than plain ones? The coating locks in moisture while creating a crunchy shell that contrasts beautifully with the pepper’s tangy bite. That combo of crispy and zesty is honestly addictive.
IMO, this snack works because it’s unexpected. The banana pepper’s mild heat and vinegary punch cuts through the richness of the breading in a way regular fries just can’t compete with. Once you try one, you’ll understand the hype immediately.
Ingredients You’ll Need
Nothing exotic here, just a handful of pantry staples and a jar of banana peppers. Here’s your shopping list:
- Banana peppers
- All-purpose flour
- Eggs
- Panko breadcrumbs
- Garlic powder
- Onion powder
- Paprika
- Kosher salt
- Black pepper
- Vegetable oil, for frying
Exact measurements are waiting for you in the recipe card at the bottom of this article. Nothing here requires a special trip to a gourmet grocery store, so you’re covered with what’s already in your kitchen.
How to Make Crispy Banana Pepper Fries
Let’s slow down and walk through this properly, because good breading technique makes all the difference. Rushing this step leads to soggy, uneven results. Patience here pays off in every crunchy bite.
Step 1: Prep the Banana Peppers
Start by slicing your banana peppers into thin rings, discarding the stems as you go. Pat each ring dry with a paper towel to remove excess moisture. This small step matters more than people realize.
Excess moisture is the enemy of crispy breading, plain and simple. Skipping this step often leads to a coating that slides right off during frying. Have you ever bitten into a fry with soggy breading? Not fun.
Step 2: Set Up Your Breading Station
Grab three shallow bowls, because organization saves you from a floury mess later.Set up three shallow bowls for the breading station. Fill the first with the all-purpose flour. In the second bowl, beat the eggs until they are smooth and lightly frothy, creating an even coating for the chicken.
In the third bowl, combine panko breadcrumbs with garlic powder, onion powder, paprika, kosher salt, and black pepper. This seasoned panko mixture is where all the flavor really lives. Stir it well so every crumb gets coated evenly.
Step 3: Bread Each Pepper Ring
Take a pepper ring and dredge it in flour first, shaking off any excess. Dip it next into the whisked eggs, letting extra drip away before moving on. Finally, press it into the seasoned panko mixture until fully coated.
Repeat this process for every single ring, no shortcuts allowed here. A three-step breading process creates the crunchiest possible coating, and skipping a step usually means a patchy, uneven fry. Set each finished ring aside on a plate or tray.
Step 4: Heat Your Oil Properly
Pour vegetable oil into a deep skillet or pot, filling it about an inch deep. Heat it over medium-high until it reaches around 350°F. Use a thermometer here instead of guessing, because oil temperature makes or breaks this recipe.
Too cool, and your fries absorb grease instead of crisping up nicely. Too hot, and the outside burns before the inside even warms through. FYI, that sweet spot really does matter more than most recipes let on.
Step 5: Fry in Small Batches
Carefully lower a handful of breaded pepper rings into the hot oil, avoiding overcrowding the pot. Fry for about 2 to 3 minutes, flipping once, until each ring turns a deep golden brown. Overcrowding drops the oil temperature and ruins the crisp factor.
Work in small batches, even if it feels slower than you’d like. Small batches keep the oil hot and the texture perfectly crunchy from start to finish. Trust the process here; it’s worth the extra few minutes.
Step 6: Drain and Serve While Hot
Once golden and crispy, remove each ring with a slotted spoon and place it on a paper towel-lined plate. This step drains excess oil, keeping your fries light instead of greasy. Let them rest for just a minute before diving in.
Serve them immediately while they’re still hot and crackling. Have you ever let fries sit too long and lost that perfect crunch? Don’t let that happen here; these taste best fresh from the oil.
Tips for Getting It Right Every Time
A handful of small habits separate mediocre fries from genuinely great ones. None of these require fancy equipment, just a little attention to detail.
- Pat peppers completely dry before breading to avoid sogginess
- Use a thermometer to monitor oil temperature accurately
- Fry in small batches to maintain consistent crispiness
- Season the panko generously; it’s your main flavor source
- Serve immediately for the best possible texture
Equipment That Makes This Easier
You really don’t need anything fancy sitting in your cabinets for this one. A few basics get the job done without any fuss.
- Three shallow bowls for the breading station
- A deep skillet or heavy pot for frying
- A cooking thermometer for accurate oil temperature
- A slotted spoon for easy removal
- Paper towels for draining excess oil
Fun Variations Worth Trying
Once you’ve mastered the basic recipe, why not switch things up a little? Small tweaks can completely transform the final result.
- Spicy Version: Add cayenne pepper to the panko mixture for extra heat
- Baked Option: Skip frying and bake at 425°F for a lighter version
- Air Fryer Method: Cook at 400°F for about 10 minutes, flipping halfway
- Cheesy Twist: Mix grated parmesan into the panko for a savory boost
- Extra Tangy: Use hotter pepper varieties for a bigger flavor kick
What to Serve Alongside It
These fries pair well with plenty of dips and sides, so pick based on your mood. A few combinations really shine above the rest.
- Creamy ranch dressing for dipping
- Spicy mayo for an extra kick
- A cold beer or fizzy soda
- Fresh veggie sticks for contrast
- A simple burger as the main event
FAQs About Crispy Banana Pepper Fries
Can I bake these instead of frying them? Yes, absolutely. Bake at 425°F on a wire rack for about 15 to 20 minutes, flipping halfway through for even crisping on both sides.
How spicy are banana peppers, really? They’re generally quite mild compared to jalapeños or other hot peppers. Their flavor leans more tangy and slightly sweet than genuinely spicy.
Can I prep these ahead of time? You can bread the pepper rings a few hours ahead and refrigerate them. Fry them fresh right before serving for the best crispy texture.
What dipping sauce works best with this recipe? Ranch dressing is a classic pairing, though spicy mayo or a tangy aioli also work beautifully. Choose based on how much heat you want alongside the tang.
Can I make Crispy Banana Pepper Fries in an air fryer? Yes, definitely. Cook at 400°F for roughly 10 minutes, flipping halfway through, for a lighter version with nearly the same satisfying crunch.
Final Thoughts
Crispy Banana Pepper Fries prove that snack time doesn’t have to be boring or predictable. They’re tangy, crunchy, and genuinely simple enough for a random weeknight craving. IMO, once you try these, plain fried pickles might start feeling a little one-note by comparison.
Give this recipe a real shot the next time you’re craving something crispy and different. The three-step breading process does the heavy lifting, and the hot oil handles the rest. Your snack game is about to get significantly more interesting
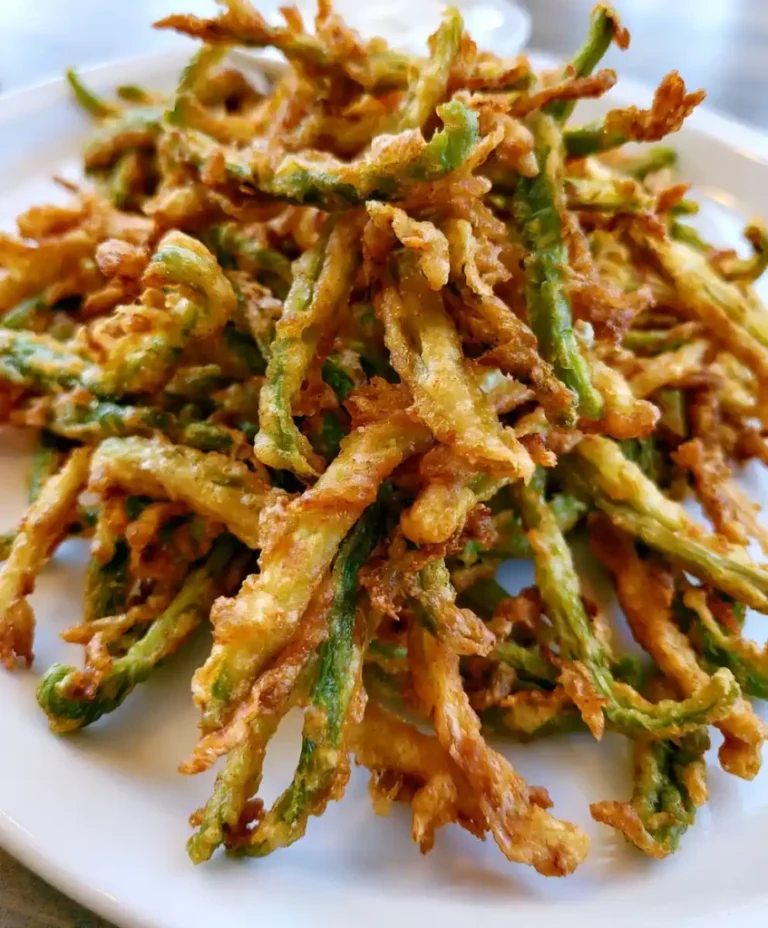
Crispy Banana Pepper Fries
Ingredients
Method
- Slice the banana peppers into thin rings, discarding the stems.
- Pat each ring dry with a paper towel to remove excess moisture.
- Set up three shallow bowls. Fill the first with all-purpose flour.
- In the second bowl, beat the eggs until smooth and lightly frothy.
- In the third bowl, combine panko breadcrumbs with garlic powder, onion powder, paprika, kosher salt, and black pepper.
- Dredge each pepper ring in flour, shaking off any excess.
- Dip it into the whisked eggs, letting extra drip away.
- Press it into the seasoned panko mixture until fully coated.
- Set each finished ring aside on a plate or tray.
- Heat vegetable oil in a deep skillet or pot to around 350°F.
- Carefully lower a handful of breaded pepper rings into the hot oil, avoiding overcrowding.
- Fry for about 2 to 3 minutes, flipping once, until golden brown.
- Remove each ring with a slotted spoon and place on a paper towel-lined plate to drain excess oil.
- Serve immediately while still hot and crunchy.



