Ever stared at a bucket of elderberries and wondered what to do with them? I did, and the answer turned out to be a jar, some vodka, and a lot of patience. This Elderberry Liqueur recipe gives you a deep purple, smooth sipper with almost no effort.
I made my first batch after a neighbor dropped off way too many berries. I expected a mess. Instead, I got a bottle my friends still ask about, and you can get the same result.
Quick recipe facts:
- Prep time: about 20 minutes
- Infusing time: at least 1 month
- Resting time: 3 to 5 days after bottling
- Servings: about 6 cups, which pours roughly 24 small glasses of 2 ounces each
Why You Will Love This Elderberry Liqueur
Homemade elderberry liqueur tastes rich, fruity, and a little earthy. It has a deep berry flavor with a bright citrus note from the lemon. Store-bought bottles rarely come close, IMO.
The method is also refreshingly simple. You do not need special equipment or a chemistry degree. You need a clean jar, a strainer, and enough self-control to leave the jar alone for a month.
What Does It Taste Like?
Think dark berries with a hint of wine-like depth. The sweetener rounds off the sharp edge of the vodka. The lemon rind adds a fresh, aromatic finish.
Have you ever tasted blackcurrant liqueur? Elderberry sits nearby, but it feels a bit more mellow and floral. I sip it slowly, because it deserves that.
Elderberry Liqueur Ingredients and Quantities
This recipe uses only four ingredients. Each one has a clear job, so nothing here is filler. Here is exactly how much you need:
- 4 cups fresh elderberries, for deep berry flavor, natural color, and fruity aroma
- 4 cups vodka, as the base spirit that pulls flavor out of the berries
- 1 lemon rind, for bright citrus aroma that balances the rich berries
- 1 to 2 cups sugar or honey, to sweeten the liqueur and smooth the alcohol
Choosing the Right Elderberries
Pick ripe, dark blue-black berries only. Green or red berries are unripe, and they can upset your stomach. Leaves, stems, and twigs also cause trouble, so remove every bit of them.
FYI, raw elderberries can cause nausea in some people. Many home makers simmer the berries briefly before infusing to play it safe. If you feel unsure, do some research or ask an experienced forager before you start.
Picking Your Vodka
You do not need a top-shelf bottle. A clean, mid-range vodka works beautifully because the berries do most of the talking. I skip the cheapest stuff, though, since harsh vodka stays harsh.
Standard 80-proof vodka gives a balanced result. Higher-proof vodka extracts flavor faster but tastes hotter. Why fight the alcohol when you can just pick a smoother one?
Sugar or Honey?
Sugar gives a clean, straightforward sweetness. Honey adds a floral, slightly rich note. I use honey when I plan to sip the liqueur neat and sugar when I plan to mix it.
Start with 1 cup and add more later. You can always sweeten more, but you cannot take sweetness back. That lesson cost me one syrupy batch.
Equipment You Need
Keep the gear list short. You probably own most of this already.
- A large, clean glass jar with a tight lid
- A fine strainer or cheesecloth
- A clean bowl or pitcher for straining
- A funnel
- Sealable glass bottles for storage
How to Make Elderberry Liqueur, Step by Step
Follow these steps in order. I explain each one in plain words so you never wonder what comes next. The whole process feels slow, but your hands-on time stays tiny.
Step 1: Clean and Prep the Berries
Pull the elderberries off their stems. A fork works well here. Run the tines down the stem and the berries fall right off.
Rinse the berries in cool water. Pick out any leaves, green berries, or bits of stem. Take your time here, because this step protects both flavor and safety.
Step 2: Fill the Jar
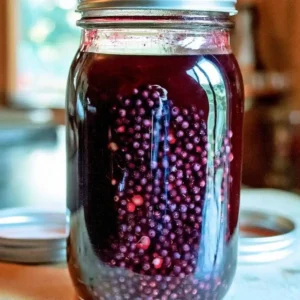
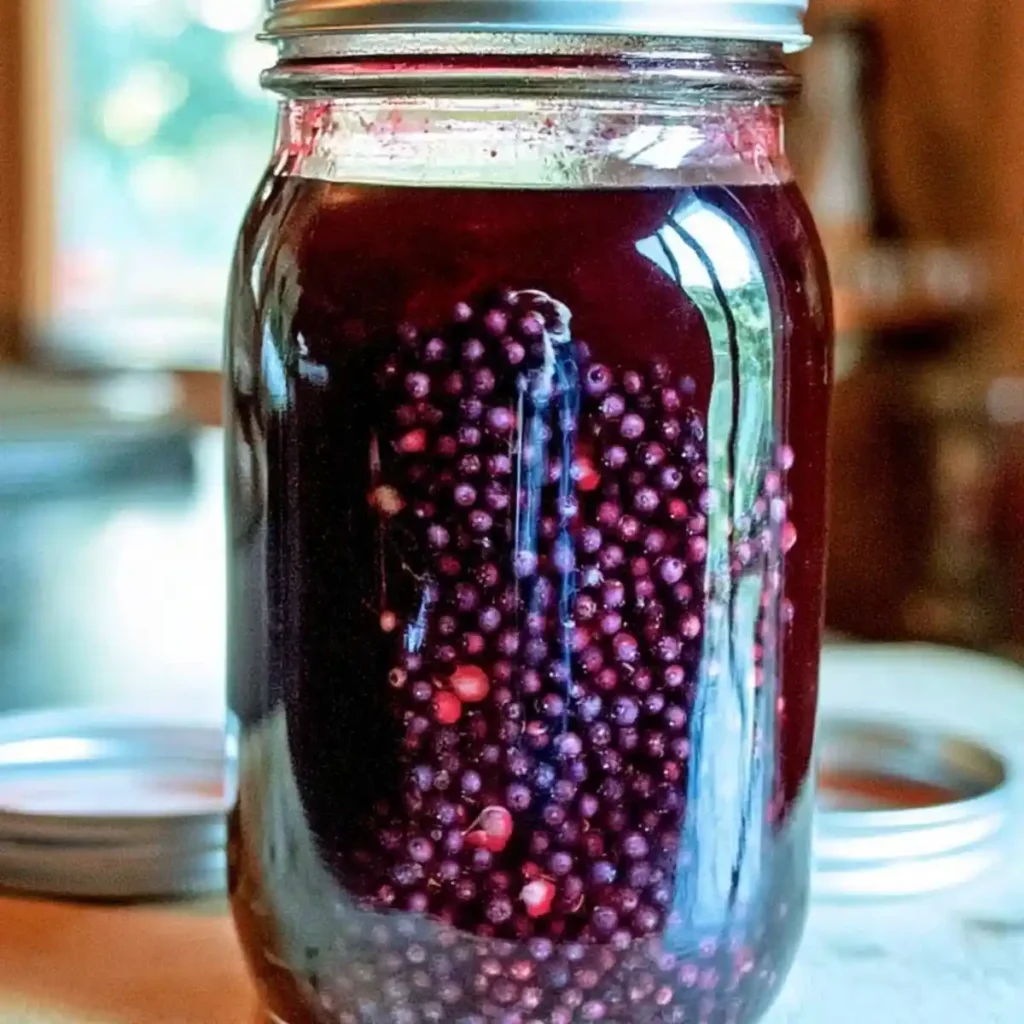
Place the clean berries into your glass jar. Pour in the vodka until the berries sit fully under the liquid. Berries that poke above the surface can spoil.
If the berries float, press them down with a clean spoon. You want every berry soaking. That contact pulls out the color and flavor.
Step 3: Add the Lemon Rind
Peel the lemon in wide strips. Avoid the white pith, because it tastes bitter and will ruin the batch. A vegetable peeler works better than a knife for this job.
Drop the strips into the jar. They add a bright, aromatic lift that balances the heavy berry flavor. Give the jar a gentle swirl.
Step 4: Seal and Wait
Close the lid tightly. Store the jar in a cool, dark place, such as a pantry or a cupboard. Leave it there for at least one month.
Waiting feels hard. I shake the jar gently once a week, which makes me feel productive. Sunlight fades the color, so keep the jar out of the light.
Step 5: Check the Infusion
After a few weeks, open the jar and take a small sip. Look at the color and taste the flavor. The liquid should look deep purple and taste clearly of berries.
Want a stronger flavor and darker color? Let it steep longer. Some batches need six weeks, and that is perfectly fine.
Step 6: Strain the Mixture
Set a fine strainer or cheesecloth over a clean bowl. Pour the mixture through slowly. The berries stay behind while the liquid passes through.
Press the berries lightly to squeeze out extra liquid. Do not squeeze too hard, or you push bitter bits and cloudy sediment into your liqueur. For a clearer result, strain a second time.
Step 7: Sweeten to Taste
Add your sugar or honey a little at a time. Stir until it dissolves completely. Taste after each addition.
Sugar dissolves faster if you stir patiently. Honey blends best when you warm it slightly first. Stop when the liqueur tastes smooth and balanced, not sugary.
Step 8: Bottle and Rest
Pour the finished liqueur into clean glass bottles or jars. Seal them tightly. Let the bottles rest for a few more days before serving.
This rest lets the sweetener blend with the alcohol. The flavors mellow and come together. Trust me, the wait pays off.
How to Serve Elderberry Liqueur
You can serve this liqueur in plenty of ways. Here are my favorites:
- Neat or on ice: Sip it slowly after dinner.
- In tea: Add a splash to hot black tea on a cold night.
- With sparkling wine: Top a spoonful with bubbly for a quick cocktail.
- Over dessert: Pour it over vanilla ice cream or cheesecake.
Which one will you try first? I vote for the ice cream, but I never claimed to have willpower.
Storage Tips
Store the finished liqueur in a cool, dark place. Keep the bottles tightly sealed. Alcohol preserves the drink well, so it can last a year or longer.
The flavor often improves with age. I hide a bottle at the back of the pantry each year. Future me always says thanks.
Elderberry Liqueur Recipe FAQs
Can I use dried elderberries instead of fresh?
Yes, you can. Dried berries pack more concentrated flavor, so use less. Start with about 1 1/2 cups and adjust to taste.
How long does it take to make elderberry liqueur?
Plan for about 20 minutes of prep, one month of infusing, and a few days of resting. Most of that time is waiting, not working.
Can I make it without sugar?
You can skip the sweetener, but the result tastes sharp and strong. Honey or sugar smooths the alcohol and brings out the fruit. Even a small amount makes a big difference.
Do I need to remove the stems?
Yes, always. Stems and leaves can cause stomach upset, and they add bitter flavors. Strip every berry from its stem before you start.
Can I use a different alcohol?
Yes. Brandy or rum adds warmth and depth. Vodka keeps the flavor clean and lets the berries shine, which is why I use it.
Why did my liqueur turn cloudy?
Cloudiness usually comes from squeezing the berries too hard or skipping a second strain. Let the liqueur settle, then strain it again through cheesecloth. The taste stays fine either way.
Final Thoughts
An Elderberry Liqueur recipe does not get much easier than this. You clean the berries, cover them with vodka, add lemon rind, and wait. Then you strain, sweeten, and let the bottle rest.
Ready to start? Grab a jar and find some ripe berries. In a month, you will pour yourself a glass and wonder why you ever bought the store version. Cheers!