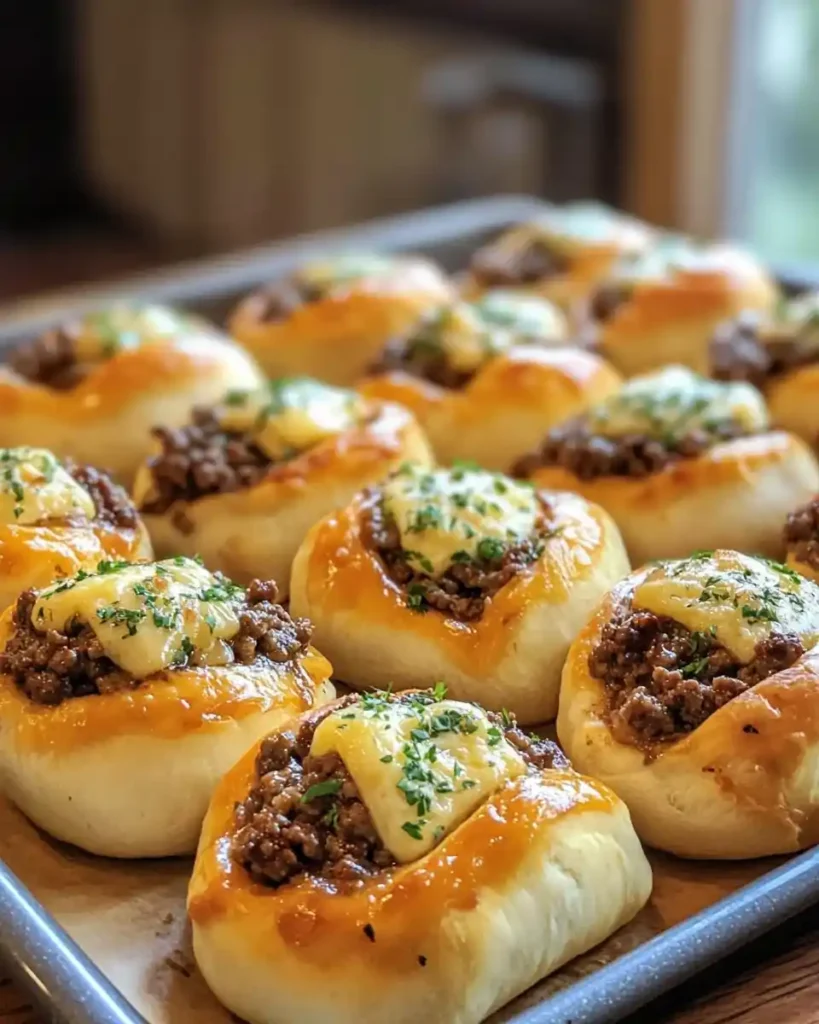
Craving a cheeseburger but hate the mess? These garlic parmesan cheeseburger bombs solve that problem in one bite-sized package. They’re ridiculously easy, and yes, they disappear fast.
Servings: 12 bombs | Prep Time: 20 minutes | Cook Time: 18 minutes | Total Time: 38 minutes
I made these for a game day once, thinking I’d have leftovers for lunch the next day. I did not. My friends inhaled them before halftime, and I’ve made a double batch ever since.
Why Garlic Parmesan Cheeseburger Bombs Are Worth Your Time
Have you ever wanted a cheeseburger you could eat with one hand? That’s exactly what these bombs deliver. Biscuit dough wraps around seasoned beef and melty cheese, then gets brushed with garlic butter and parmesan.
I’ve tried a lot of party appetizers over the years. Most require way more effort than they’re worth. These skip that problem entirely, since the dough does most of the heavy lifting for you.
FYI, these also reheat well, so don’t feel guilty making extra. IMO that’s half the reason to double the recipe from the start.
Ingredients You’ll Need
Grab these before you start, since juggling ingredient hunts mid-recipe never ends well.
- 1 pound ground beef
- 1 small onion, finely diced
- 2 cloves garlic, minced
- 1 tablespoon ketchup
- 1 teaspoon mustard
- Salt and black pepper, to taste
- 12 small cubes of cheddar or mozzarella cheese
- 1 can (16 ounces) refrigerated biscuit dough
- 1/4 cup unsalted butter, melted
- 2 cloves garlic, minced, for the topping
- 2 tablespoons grated parmesan cheese
- 1 teaspoon dried parsley
Want to make these your own? Toss in chopped pickles, bacon bits, or a few dashes of hot sauce. A blend with a little fat, like 80/20 ground beef, keeps the filling juicy instead of dry.
How to Make Garlic Parmesan Cheeseburger Bombs
None of these steps are complicated, but a little patience goes a long way here. Rushing the assembly is how filling ends up leaking all over your baking sheet.
Step 1: Cook the Beef Filling
Set a skillet over medium heat and add the ground beef along with the diced onion. Break the beef apart with a wooden spoon as it cooks, stirring every minute or so. This keeps the meat from clumping into one giant patty instead of crumbles.
Cook everything for five to seven minutes, until the beef turns fully brown and the onion softens. Drain off any excess grease at this point, since a greasy filling makes the dough soggy fast. Stir in the ketchup, mustard, minced garlic, salt, and pepper.
Let the mixture cool for about five minutes before moving to the next step. Warm filling against raw dough is a recipe for a soggy, sad bomb. Patience pays off here, I promise.
Step 2: Flatten and Fill the Dough
Open your can of biscuit dough and separate it into individual pieces. Use your fingers or a rolling pin to flatten each piece into a circle about four inches wide. Don’t worry about making them perfect; slightly uneven edges still seal just fine.
Spoon a small amount of the beef mixture into the center of each dough circle. Add one cube of cheese directly on top of the beef. Resist the urge to overfill, since too much filling causes the dough to burst open in the oven.
Step 3: Seal and Shape Each Bomb
Gather the edges of the dough up and over the filling, pinching them together firmly at the top. Roll each sealed piece gently between your palms to form a smooth ball. A tight seal here matters more than almost any other step in this recipe.
Place each bomb seam-side down onto a parchment-lined baking sheet. Keep a little space between each one, since they puff up slightly while baking. Repeat this process until all the dough circles are filled and sealed.
Step 4: Make the Garlic Butter Topping
Melt the butter in a small bowl or saucepan over low heat. Stir in the minced garlic, grated parmesan, and dried parsley until fully combined. This mixture is what gives the bombs that golden, savory finish everyone asks about.
Brush the garlic butter generously over the top of each assembled bomb. Don’t be shy here; more butter means more flavor and a better golden color once baked. Save any extra for brushing again right after baking.
Step 5: Bake Until Golden
Preheat your oven to 375°F, or 190°C, before the bombs go in. Slide the baking sheet onto the middle rack once the oven reaches temperature. Bake for 15 to 18 minutes, checking around the 15-minute mark.
You’ll know they’re done when the tops turn deep golden brown and the dough looks fully puffed. Every oven runs a little differently, so keep an eye on them near the end. Let the bombs cool for a few minutes before serving.
A Few Honest Tips Before You Bake
Making these repeatedly taught me a few things the recipe card never mentions. Here’s what actually makes a difference.
- Cool the filling first. Warm beef against raw dough guarantees a soggy bottom.
- Seal tightly. A loose seam is basically an invitation for cheese to escape.
- Don’t skip the garlic butter. It’s not optional; it’s the whole personality of the dish.
- Watch the bake time closely. Golden brown is the goal, not deep brown.
Are these bombs going to replace an actual cheeseburger? Not really, and that’s not the point. They’re a fun, shareable spin that works better for parties anyway.
Storage and Reheating
Store leftover bombs in an airtight container in the fridge for up to three days. Reheat them in the oven or air fryer for a few minutes to bring back that crisp exterior. The microwave works too, though the dough loses a bit of its crunch :/
These freeze wonderfully if you want to prep ahead. Assemble the bombs, freeze them on a baking sheet until solid, then transfer to a freezer bag. Bake straight from frozen, adding a few extra minutes to the cook time.
Frequently Asked Questions
Can I use ground turkey or chicken instead of beef? Yes, both work well as leaner substitutes. Add a little extra seasoning since leaner meats tend to taste milder than beef.
What if I don’t have biscuit dough on hand? Crescent roll dough or homemade pizza dough both work as substitutes. Just watch the bake time closely, since thinner dough browns faster.
Can I assemble these ahead of time? Absolutely. Prepare the filling and assemble the bombs, then refrigerate them until you’re ready to bake. This makes party prep far less stressful.
How do I store and reheat leftovers? Keep them in an airtight container in the fridge for up to three days. Reheat in the oven or air fryer to keep the exterior crisp instead of soft.
What dipping sauces go best with these? Ketchup, ranch, and marinara all work nicely. A spicy garlic aioli also pairs surprisingly well with the parmesan flavor.
Final Thoughts
Garlic parmesan cheeseburger bombs hit that sweet spot between comfort food and party snack. They’re simple enough for a weeknight but impressive enough for a crowd. Make a batch this weekend, and don’t be surprised when the whole tray vanishes before you get a second one.
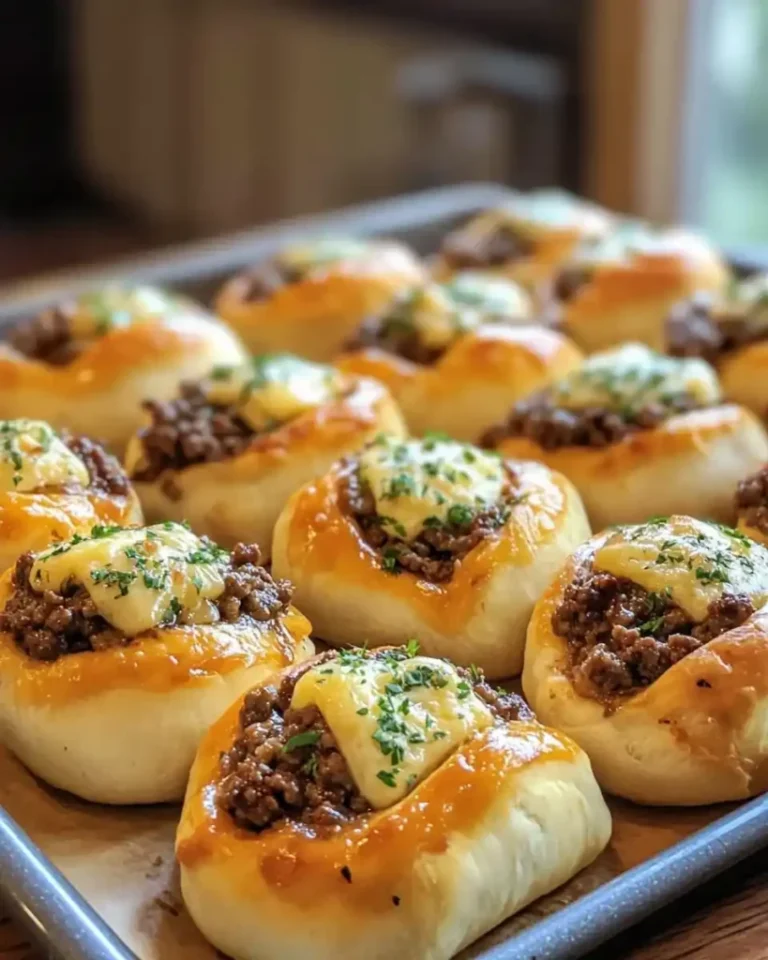
Garlic Parmesan Cheeseburger Bombs
Ingredients
Method
- Set a skillet over medium heat and add the ground beef along with the diced onion. Cook for 5-7 minutes until the beef is fully brown and the onion softens.
- Drain off any excess grease, then stir in the ketchup, mustard, minced garlic, salt, and pepper. Let the mixture cool for about 5 minutes.
- Open the can of biscuit dough and separate it into individual pieces. Flatten each piece into a circle about 4 inches wide.
- Spoon a small amount of the beef mixture into the center of each dough circle, and add one cube of cheese on top.
- Gather the edges of the dough and pinch them together to seal. Roll each sealed piece gently to form a smooth ball.
- Place each bomb seam-side down onto a parchment-lined baking sheet with space between them.
- Melt the butter in a small bowl and stir in the minced garlic, grated parmesan, and dried parsley.
- Brush the garlic butter mixture over the top of each bomb generously.
- Preheat the oven to 375°F (190°C). Bake the bombs for 15 to 18 minutes until golden brown.
- Let the bombs cool for a few minutes before serving.




