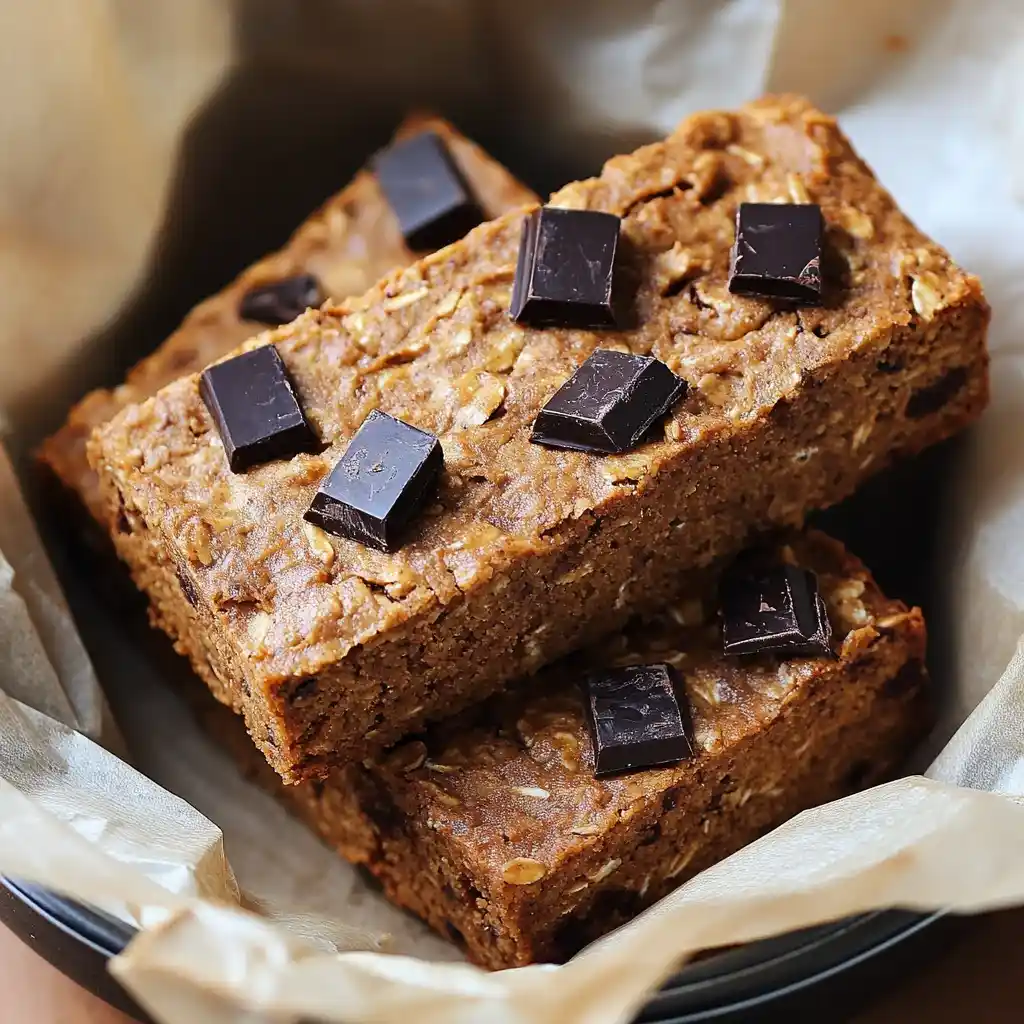
Overripe bananas sitting on your counter, judging you silently? Turn them into Dark Chocolate Peanut Butter Banana Bread Energy Bars instead of tossing them out. I started making these when my afternoon energy crashes got out of hand, and now I keep a batch stashed at all times.
Servings: 12 bars Prep time: 10 minutes Bake time: 22 minutes Total time: 32 minutes, plus cooling
Why These Energy Bars Actually Work
Most store-bought energy bars taste like cardboard with a marketing budget. Have you ever read the ingredient list on those things? This recipe skips the mystery additives and sticks to real food: bananas, peanut butter, oats, and dark chocolate.
The combination isn’t random either. Bananas bring natural sweetness and moisture, peanut butter adds protein and staying power, and dark chocolate makes the whole thing feel like a treat instead of a chore. IMO, that balance is exactly why these bars outperform anything wrapped in plastic at the gas station.
What You’ll Need for Dark Chocolate Peanut Butter Banana Bread Energy Bars
You probably have most of this already sitting in your kitchen. That’s part of the appeal here.
- ripe bananas, mashed — 3 medium (about 1 1/2 cups)
- peanut butter, creamy or crunchy — 1 cup
- honey or maple syrup — 1/3 cup
- vanilla extract — 1 teaspoon
- oat flour — 2 cups
- ground cinnamon — 1 teaspoon
- salt — 1/4 teaspoon
- dark chocolate chunks — 1 cup
Allergic to peanuts? Swap in almond butter or sunflower seed butter without changing anything else about the recipe.
How to Make Dark Chocolate Peanut Butter Banana Bread Energy Bars
This recipe breaks into six manageable steps. None of them require any special baking background, so relax.
Step 1: Preheat the Oven and Prep Your Pan
Set your oven to 350 degrees Fahrenheit and give it time to fully heat up before baking. While it warms, line an 8-inch square baking pan or a standard loaf pan with parchment paper, leaving a little overhang on the sides. That overhang works like handles, making it much easier to lift the finished bars out later without wrestling with the pan.
Skipping the parchment paper usually means fighting with stuck bars afterward. Trust me, a few extra seconds now saves you a headache later. If you don’t have parchment paper, a light coating of oil or butter on the pan works as a backup.
Step 2: Mash the Bananas and Mix the Wet Ingredients
Peel your ripe bananas and mash them thoroughly in a large mixing bowl using a fork or potato masher. You want a mostly smooth consistency here, since large chunks of banana create uneven texture in the finished bars. The riper the bananas, the sweeter and more flavorful your bars turn out.
Add the peanut butter, honey or maple syrup, and vanilla extract directly into the mashed bananas. Whisk everything together until the mixture looks smooth, creamy, and fully combined. This step forms the flavorful base that holds the entire recipe together.
Step 3: Stir In the Dry Ingredients
Sprinkle the oat flour, cinnamon, and salt directly over the wet mixture in the same bowl. Stir everything together using a spatula or wooden spoon, folding gently rather than beating vigorously. Overmixing at this stage toughens the texture, so stop as soon as no dry streaks of flour remain visible.
The batter should look thick and slightly sticky once combined, similar to a dense cookie dough. If it seems too wet, add an extra tablespoon of oat flour at a time until it firms up slightly. This dough-like consistency is exactly what holds the bars together after baking.
Step 4: Fold In the Dark Chocolate Chunks
Add the dark chocolate chunks into the batter and fold them in gently with a spatula. Distribute them evenly throughout the mixture so every bar gets a fair share of chocolate. Nobody wants to bite into an energy bar and find zero chocolate, right?
Save a small handful of chocolate chunks aside if you want to sprinkle extra on top before baking. This little touch makes the finished bars look more polished without any additional effort. It’s a small detail, but it makes a noticeable difference in presentation.
Step 5: Spread the Mixture Into the Pan
Transfer the batter into your prepared pan and use a spatula to press it down into an even layer. Take your time here, since uneven thickness leads to some bars baking faster than others. Press firmly into the corners of the pan so the edges bake at the same rate as the center.
Smooth the top surface as much as possible for a clean, professional finish. Scatter your reserved chocolate chunks across the top if you saved any earlier. This final layer melts slightly during baking, creating an appealing marbled look.
Step 6: Bake, Cool, and Slice
Place the pan in your preheated oven and bake for 20 to 24 minutes. Check for doneness by looking for golden edges and a center that feels firm rather than wobbly when lightly pressed. Every oven runs a little differently, so start checking around the 20-minute mark.
Remove the pan from the oven and let it cool directly in the pan for at least 15 minutes. Once slightly cooled, lift the bars out using the parchment overhang and transfer them to a wire rack to finish cooling completely. Slicing warm bars usually results in a crumbly mess, so patience pays off here.
Use a sharp knife to cut the cooled slab into 12 even bars. For the cleanest cuts, chill the bars in the refrigerator for 20 minutes before slicing. This extra chill firms up the chocolate chunks and makes for much neater edges.
Tips That Make a Real Difference
- Use very ripe bananas. The brown-spotted ones give you the best sweetness and moisture.
- Don’t skip the cooling step. Warm bars fall apart the moment you try to slice them.
- Chill before slicing for cleaner, bakery-style edges.
- Store bars in an airtight container to keep them fresh throughout the week.
- Taste your batter before baking. Adjust sweetness with an extra drizzle of honey if needed.
Equipment You’ll Want on Hand
- Large mixing bowl for combining wet and dry ingredients
- Fork or potato masher for mashing bananas
- 8-inch square pan or standard loaf pan
- Parchment paper for easy removal
- Sharp knife for slicing finished bars
Variations Worth Trying
- Nutty crunch: Fold in chopped walnuts or almonds for extra texture and protein.
- Seed power: Stir in chia seeds or flaxseeds for added fiber.
- Fruit fusion: Mix in dried cranberries or raisins for a chewy, sweet contrast.
- Vegan swap: Use maple syrup instead of honey and confirm your chocolate is dairy-free.
- Protein boost: Add a scoop of protein powder, adjusting the wet ingredients slightly to keep the right consistency.
Serving Ideas for Dark Chocolate Peanut Butter Banana Bread Energy Bars
Pair a bar with a dollop of Greek yogurt for extra protein at breakfast. Slice fresh strawberries or banana on the side for a refreshing contrast. A warm cup of coffee alongside one of these bars makes a pretty solid mid-afternoon reset.
Frequently Asked Questions
Can I use regular flour instead of oat flour? Yes, all-purpose flour works as a substitute in a pinch. The texture turns out slightly less nutty and a bit denser, but the bars still hold together well.
How long do these energy bars last? Stored in an airtight container at room temperature, these bars stay fresh for about a week. Freeze them for longer storage, up to three months.
Can I make these bars nut-free? Absolutely. Swap the peanut butter for sunflower seed butter, and you’ll get the same texture and staying power without any nuts.
What’s the best way to slice the bars cleanly? Chill the fully cooled bars in the refrigerator for about 20 minutes before cutting. A sharp knife wiped clean between cuts also helps keep the edges neat.
Can I add protein powder to this recipe? Yes, stir in a scoop of your favorite protein powder along with the dry ingredients. You may need to add a splash of milk if the batter turns out too thick.
Do I need to refrigerate these bars? Not necessarily, though refrigeration extends their freshness and keeps the chocolate chunks firmer. Room temperature storage works fine for about a week.
Final Thoughts
Dark Chocolate Peanut Butter Banana Bread Energy Bars turn overripe bananas into a snack that actually earns its “energy bar” name. Real ingredients, minimal prep, and a chocolate-studded payoff make this recipe worth the 32 minutes it takes. Bake a batch this week, and watch how fast they disappear from your counter.
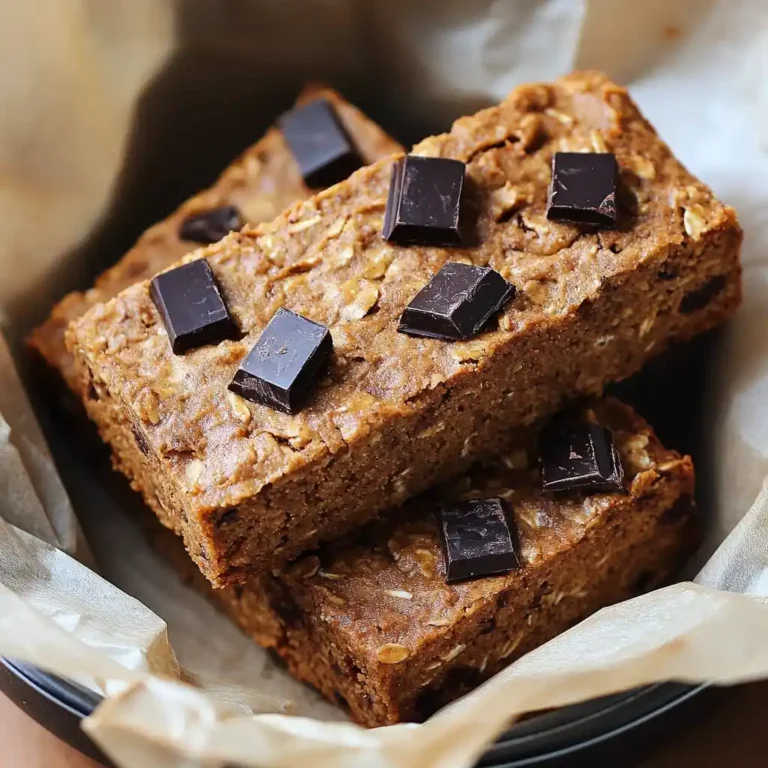
Dark Chocolate Peanut Butter Banana Bread Energy Bars
Ingredients
Method
- Preheat the oven to 350 degrees Fahrenheit and line an 8-inch square baking pan or a standard loaf pan with parchment paper.
- Mash the ripe bananas in a large mixing bowl until mostly smooth.
- Add peanut butter, honey or maple syrup, and vanilla extract to the mashed bananas and whisk until smooth.
- Sprinkle oat flour, cinnamon, and salt over the wet mixture and stir gently until combined, forming a thick, slightly sticky batter.
- Fold in dark chocolate chunks, distributing them evenly throughout the batter.
- Transfer the batter to the prepared pan, pressing it down into an even layer.
- Bake for 20 to 24 minutes, checking for golden edges and firmness in the center.
- Cool in the pan for at least 15 minutes before lifting out and transferring to a wire rack.
- Once completely cooled, slice into 12 even bars using a sharp knife.
- Chill the bars in the refrigerator for 20 minutes before slicing for cleaner edges.
Notes
Dark Chocolate Peanut Butter Banana Bread Energy Bars
Ingredients
Method
- Preheat the oven to 350 degrees Fahrenheit and line an 8-inch square baking pan or a standard loaf pan with parchment paper.
- Mash the ripe bananas in a large mixing bowl until mostly smooth.
- Add peanut butter, honey or maple syrup, and vanilla extract to the mashed bananas and whisk until smooth.
- Sprinkle oat flour, cinnamon, and salt over the wet mixture and stir gently until combined, forming a thick, slightly sticky batter.
- Fold in dark chocolate chunks, distributing them evenly throughout the batter.
- Transfer the batter to the prepared pan, pressing it down into an even layer.
- Bake for 20 to 24 minutes, checking for golden edges and firmness in the center.
- Cool in the pan for at least 15 minutes before lifting out and transferring to a wire rack.
- Once completely cooled, slice into 12 even bars using a sharp knife.
- Chill the bars in the refrigerator for 20 minutes before slicing for cleaner edges.




