Servings: 24 cookies Prep Time: 15 minutes Cook Time: 10 minutes Total Time: 25 minutes
Craving something soft, chewy, and loaded with crunch? Peanut Butter Butterfinger Cookies are exactly the treat you didn’t know you needed, and I’ve been low-key obsessed with them since my first batch.
I started making these after raiding a Halloween candy stash for leftover Butterfinger bars. What started as a way to use up candy turned into one of my most requested cookie recipes ever.
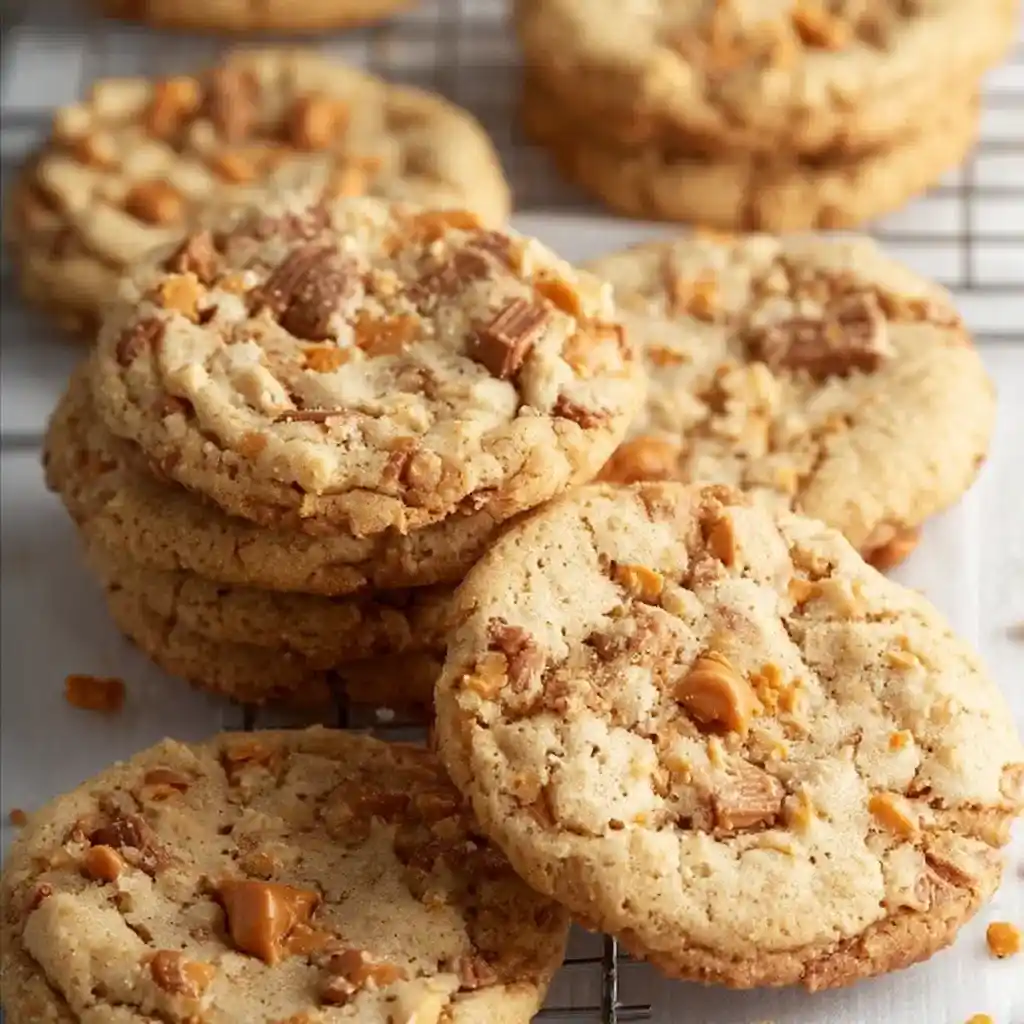
This recipe combines a thick peanut butter cookie base with peanut butter chips and crushed candy bar pieces. Ever bite into a cookie that’s soft in the middle and crunchy in random spots? That contrast is exactly why these work so well.
Why Peanut Butter Butterfinger Cookies Are So Addictive
Peanut butter cookies are already a classic, so why mess with a good thing? Because crushed Butterfinger bars add a crunchy, toffee-like texture that a plain peanut butter cookie simply can’t offer.
The combination of peanut butter chips and candy pieces creates little pockets of flavor in every bite. IMO, that textural contrast between soft dough and crunchy candy is what separates these from your average cookie.
These cookies also stay thick instead of spreading thin, which gives them that satisfying bakery-style presence. Have you ever bitten into a flat, sad cookie and wondered where it all went wrong? This recipe avoids that entirely.
What You’ll Need for Peanut Butter Butterfinger Cookies
Here’s your complete shopping list. Simple baking staples plus a few Butterfinger bars.
- 1 cup butter, softened
- 1 cup granulated sugar
- 1 cup light brown sugar
- 1 ½ cups creamy peanut butter
- 2 large eggs
- 1 teaspoon vanilla extract
- 3 cups all-purpose flour
- 1 teaspoon baking soda
- 1 cup peanut butter chips
- 1 cup chopped Butterfinger candy bars, about 3 bars
Ten ingredients standing between you and a serious cookie upgrade.
How to Make Peanut Butter Butterfinger Cookies
Step 1: Preheat the Oven and Prep Your Pans
Set your oven to 350°F and give it plenty of time to fully preheat before baking. Line your baking sheets with parchment paper or a silicone baking mat so nothing sticks later.
This small prep step saves you from fighting stuck cookies off a bare metal pan. Trust me, that’s a battle nobody wins gracefully.
Step 2: Cream the Butter, Sugars, and Peanut Butter
In a large mixing bowl, combine your softened butter, granulated sugar, brown sugar, and peanut butter. Beat everything together until the mixture turns light, fluffy, and noticeably paler in color.
This creaming process takes a few minutes, so don’t rush it by stopping too early. Properly creamed butter and sugar creates the fluffy texture that makes these cookies soft instead of dense.
Step 3: Add the Eggs and Vanilla
Crack in your two large eggs along with the vanilla extract. Mix everything until fully combined and smooth, scraping down the sides of the bowl if needed.
The mixture should look glossy and uniform at this point, with no streaks of egg visible. That smoothness matters for how evenly the dough bakes later.
Step 4: Combine the Dry Ingredients
In a separate bowl, whisk together the all-purpose flour and baking soda. Mixing these separately first ensures the baking soda distributes evenly throughout the dough instead of clumping in one spot.
Skipping this step can leave you with random bitter patches from unevenly distributed baking soda. A quick whisk now saves you from that annoying surprise later.
Step 5: Bring the Dough Together
Gradually add the flour mixture into your wet ingredients, mixing as you go. Add it in a few batches rather than all at once, this keeps the flour from puffing up everywhere and making a mess.
Keep mixing until a thick, sturdy dough forms. It should hold together well and feel dense, definitely not runny or overly soft at this stage.
Step 6: Fold In the Peanut Butter Chips and Butterfinger Pieces
Gently fold in your peanut butter chips and chopped Butterfinger candy pieces using a spatula or wooden spoon. Mix just until everything distributes evenly throughout the dough.
Overmixing at this stage can crush the candy pieces too finely, so a gentle folding motion works best. You want visible chunks of Butterfinger scattered throughout, not a uniform candy paste.
Step 7: Scoop and Shape the Dough
Using a cookie scoop or spoon, portion out one to two tablespoons of dough per cookie. Roll each portion into a ball between your palms for a nice, even shape.
Place the dough balls onto your prepared baking sheet, leaving enough space between each one. They’ll spread slightly while baking, so crowding them now leads to cookies fusing together later.
Step 8: Bake Until Set but Soft
Slide the baking sheet into your preheated oven and bake for nine to eleven minutes. You’re looking for edges that look set while the centers still appear slightly soft and underbaked.
FYI, pulling them out a touch early is always better than overbaking. They’ll continue firming up as they cool, so trust the process even if they look a little jiggly at first.
Step 9: Cool and Add a Finishing Touch
Let the cookies rest on the baking sheet for a few minutes before transferring them to a wire rack. This brief resting period helps them set without falling apart during the move.
While they’re still warm, press a few extra Butterfinger pieces or peanut butter chips onto the tops if you want. That little extra touch makes them look bakery-fresh and adds one more layer of crunch.
Tips for the Best Results
- Don’t overbake, pull cookies while centers still look soft.
- Fold candy gently to keep visible chunks instead of crushed bits.
- Space dough balls apart so cookies don’t merge while baking.
- Chill the dough for an hour if you want extra thick, bakery-style cookies.
Storage and Reheating Tips
These cookies stay fresh at room temperature in an airtight container for up to five days. If you want them to last longer, refrigerate them for up to ten days instead.
Freezing works great too, whether baked or unbaked. Freeze finished cookies in a sealed freezer bag for up to three months, or freeze the raw dough balls and bake fresh whenever a craving hits.
Want that just-baked gooey texture again? A quick ten-second zap in the microwave brings back that soft, warm center almost instantly.
Fun Variations to Try
Looking to switch things up? These twists are worth trying:
- Chocolate chip boost: Add a cup of semi-sweet chocolate chips for extra richness.
- Reese’s swap: Replace Butterfinger with chopped Reese’s cups for a peanut butter double-down.
- Crunchy upgrade: Use crunchy peanut butter instead of creamy for extra texture.
- Oatmeal twist: Fold in a cup of oats for a heartier, chewier bite.
- Stuffed style: Place a whole Butterfinger piece in the center of each dough ball before baking.
Frequently Asked Questions
Why are my cookies turning out dry? Overbaking is the usual culprit, pull them out while the centers still look soft.
Can I freeze the cookie dough? Yes, scoop the dough into balls and freeze them for up to three months.
Do I need to chill the dough before baking? It’s not required, but chilling helps create thicker, bakery-style cookies.
Can I use natural peanut butter instead of regular? Yes, though it may slightly change the texture and how much the cookies spread.
Why didn’t my cookies spread very much? This recipe is intentionally designed to stay thick, so minimal spreading is completely normal.
Can I substitute a different candy bar? Absolutely, Snickers, Reese’s, or Milky Way bars all work well in place of Butterfinger.
Final Thoughts
Peanut Butter Butterfinger Cookies deliver everything you want in a homemade cookie, rich peanut butter flavor, chewy texture, and unexpected pockets of candy crunch. They come together fast and disappear even faster.
Bake a batch this weekend and see how long they actually last on your counter 🙂 Spoiler alert, probably not very long once people catch a whiff of that peanut butter smell.



