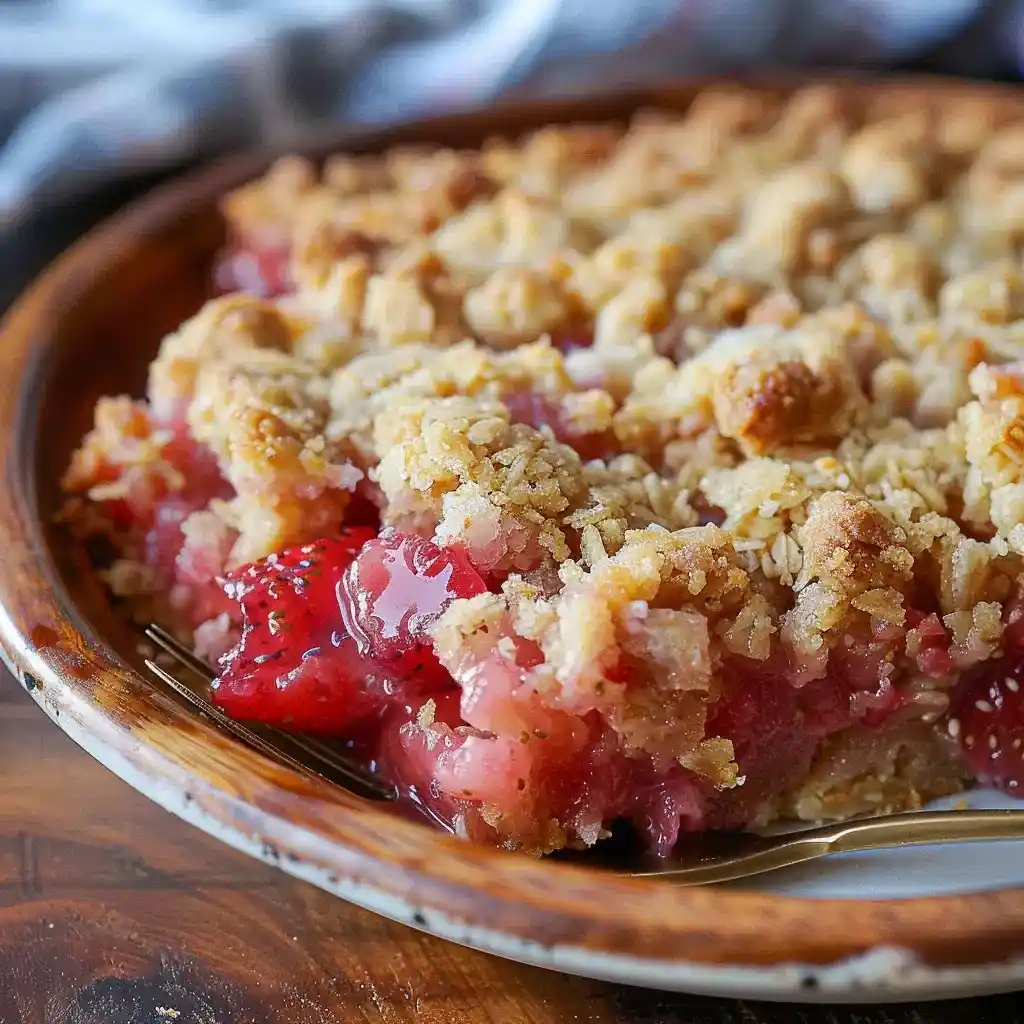
Some desserts play it safe. This Strawberry Rhubarb Crunch doesn’t. It throws sweet strawberries and tangy rhubarb into one pan and lets them fight it out under a buttery oat topping.
I grew up watching my grandma make a version of this every June, and honestly, nothing else tastes quite like early summer to me. This recipe is my spin on hers.
Servings: 12 Prep time: 10 minutes Cook time: 30 minutes Total time: 40 minutes
Why Strawberry Rhubarb Crunch Deserves a Permanent Spot in Your Recipe Rotation
Have you ever tasted something so perfectly balanced that you forget to talk mid-bite? That’s this crunch.
The tartness of rhubarb keeps the sweetness of strawberries in check, and the buttery oat layer ties everything together. IMO, that contrast is exactly what makes fruit crisps so addictive in the first place.
What You’ll Need
I like recipes that don’t demand a specialty grocery run, and this one delivers. Everything here comes from a normal supermarket, no weird substitutions required.
For the fruit filling:
- Chopped strawberries
- Sliced and chopped fresh rhubarb (frozen works too)
- Sugar
- Cinnamon
- Cornstarch
- Kosher salt
- Orange juice
For the crust and topping:
- All-purpose flour
- Old-fashioned oats
- Light brown sugar
- Melted butter
Full measurements sit at the bottom of this article, ready for whenever you’re ready to actually start baking instead of just reading about it.
A Quick Note on Ingredients
Fresh rhubarb gives the best texture, but frozen rhubarb works in a pinch. Just thaw it first and drain off any extra liquid, or your filling turns watery instead of thick and jammy.
Cornstarch does the heavy lifting here, thickening the fruit juices as everything bakes. Skip it, and you’ll end up with a soupy filling that soaks straight through your crust.
Let’s Make This Strawberry Rhubarb Crunch
Grab your mixing bowls, because this recipe comes together fast. I’ll walk you through every step so nothing turns out soggy, burnt, or otherwise disappointing.
Step 1: Preheat Your Oven
Set your oven to 400°F and let it fully heat before your pan goes in. A properly preheated oven matters more than people think, since it helps that oat topping turn golden instead of pale and soft.
Step 2: Prepare the Fruit Mixture
In a large mixing bowl, combine your chopped strawberries and rhubarb. Add the sugar, cinnamon, kosher salt, and cornstarch directly into the bowl with the fruit.
Stir everything together until the fruit gets evenly coated. You want every piece touched by that sugar-cornstarch mixture, so take an extra minute here instead of rushing through it.
Pour in the orange juice and give the mixture one more good stir. Set this bowl aside while you move on to the crust, letting the flavors mingle a bit as everything sits.
Step 3: Build the Crust and Topping
Grab a separate mixing bowl and combine the flour, oats, and brown sugar. Whisk these dry ingredients together until they look evenly distributed, with no clumps of brown sugar hiding anywhere.
Pour in the melted butter and stir until everything comes together into a crumbly, slightly clumpy texture. This mixture does double duty, forming both your crust and your topping in one step.
Step 4: Press the Crust
Butter a 9×13 inch baking pan thoroughly, making sure to coat the corners. Take about half of your oat mixture and press it firmly into the bottom of the pan to form an even crust layer.
Use your fingers or the bottom of a measuring cup to pack it down. A firm, even crust holds together better once baked and gives you cleaner slices later.
Step 5: Add the Fruit Filling
Pour your prepared fruit mixture over the pressed crust. Spread it out evenly using a spatula, making sure the fruit reaches every corner of the pan.
Have you ever skipped spreading evenly and regretted it later? Trust me, uneven fruit distribution means some slices end up dry while others turn into fruit soup.
Step 6: Add the Topping
Sprinkle the remaining oat mixture evenly over the top of the fruit layer. Don’t press it down this time, since a loose, crumbly topping bakes up crispier than a compacted one.
Cover the fruit as evenly as you can, leaving small gaps here and there. Those gaps let steam escape while baking, which actually helps the topping crisp up nicely.
Step 7: Bake to Golden Perfection
Slide the pan into your preheated oven and bake for 30 to 35 minutes. You’re watching for a golden brown crust on top and bubbling fruit around the edges.
Every oven runs a little differently, so start checking around the 28-minute mark. A toothpick inserted into the center should come out clean when the filling’s fully set.
Step 8: Cool Before Serving
Pull the pan out and let it rest for 15 to 20 minutes before slicing. This cooling window lets the filling firm up slightly so your slices hold together instead of collapsing into a puddle.
Waiting is hard when your kitchen smells this good, I know. But trust me, that short rest makes a real difference in how clean your slices come out.
Serving Suggestions
Warm, straight from the oven, is my favorite way to eat this. But it’s genuinely great cold too, which honestly makes it a pretty low-maintenance dessert.
- Classic combo: Top with a scoop of vanilla ice cream for that hot-cold contrast
- Elegant touch: Add a dollop of whipped cream and a dusting of cinnamon
- Breakfast remix: Serve leftovers alongside Greek yogurt for a sweeter morning meal
- Parfait style: Layer with whipped cream and fresh berries in a glass
Why limit this to dessert only? A little creativity turns leftovers into a totally different meal.
Storage Tips
Leftovers store beautifully, which makes this a solid make-ahead option for busy weeks. Here’s how to keep it fresh:
- Refrigerator: Store in an airtight container for 3 to 4 days
- Reheating: Warm individual portions in the oven or microwave to restore crispiness
- Freezer: Wrap slices tightly in plastic and foil, then freeze for later
Thaw frozen portions in the fridge overnight before reheating. It tastes nearly as good as fresh, which feels like a small kitchen miracle honestly.
Fun Variations to Try
Once you’ve mastered the base recipe, feel free to experiment. I’ve tested a few of these myself, and they all bring something worthwhile to the table.
- Nutty crunch: Add chopped pecans or almonds to the oat topping
- Citrus boost: Mix orange or lemon zest into the fruit filling
- Coconut twist: Sprinkle shredded coconut over the topping before baking
- Berry bonanza: Toss in blueberries or raspberries with the strawberries and rhubarb
Ever tried a splash of orange liqueur in the fruit mixture? It adds a subtle depth that makes this dessert feel a little fancier without much extra effort.
Frequently Asked Questions
Can I use frozen strawberries and rhubarb? Yes, just thaw them first and drain any excess liquid before mixing.
Can I reduce the sugar content? You can adjust it to taste, though less sugar changes the flavor and texture slightly.
How do I know when it’s done baking? Look for a golden crust and bubbling fruit around the edges of the pan.
Can I make this ahead of time? Absolutely, prepare it in advance and store it in the refrigerator until you’re ready to reheat.
Can I use quick oats instead of old-fashioned oats? You can, though the topping turns out a bit less textured and hearty.
Can I freeze leftovers? Yes, wrap portions tightly in plastic and foil before freezing for later.
Can I use a different fruit combination? Definitely, swap in whatever’s in season for your own version of this crunch.
Wrapping It Up
This Strawberry Rhubarb Crunch nails that sweet-tart balance every good summer dessert needs. Between the jammy fruit filling and crispy oat topping, every bite delivers exactly the contrast you’re craving.
So grab some rhubarb while it’s in season and give this one a try 🙂 Once that first warm, bubbling slice hits your plate, you’ll understand why this recipe has stuck around in my kitchen for years.
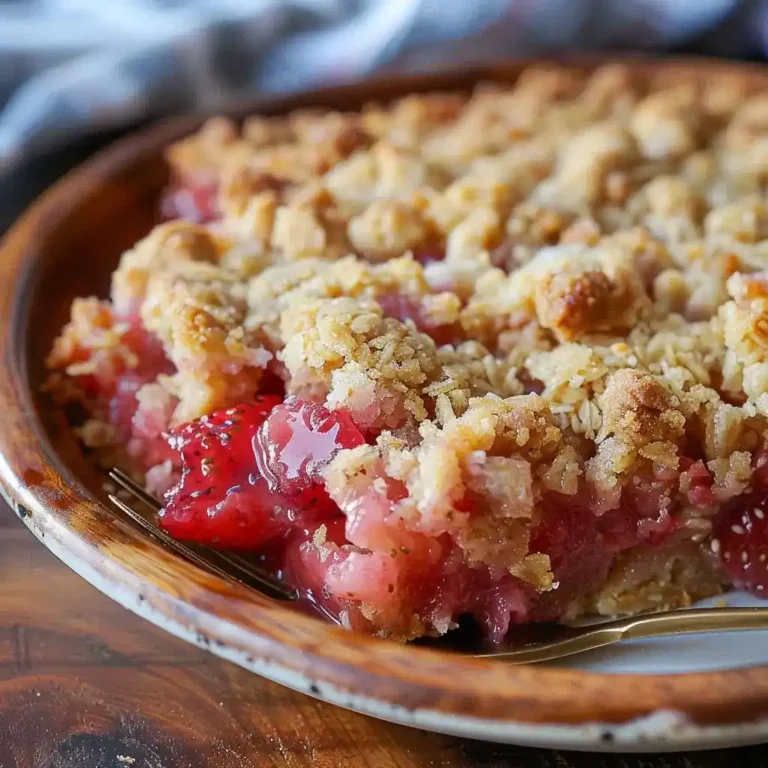
Strawberry Rhubarb Crunch
Ingredients
Method
- Preheat your oven to 400°F (200°C) and let it fully heat.
- In a large mixing bowl, combine the chopped strawberries and rhubarb. Add sugar, cinnamon, kosher salt, and cornstarch.
- Stir until the fruit is evenly coated, then pour in the orange juice and stir again. Set aside.
- In a separate bowl, whisk together the flour, oats, and brown sugar until evenly distributed.
- Pour in the melted butter and stir until crumbly.
- Butter a 9x13 inch baking pan and press half of the oat mixture into the bottom to form a crust.
- Spread the prepared fruit mixture evenly over the crust.
- Sprinkle the remaining oat mixture over the top without pressing down.
- Bake for 30 to 35 minutes or until golden brown and bubbling.
- Let cool for 15 to 20 minutes before slicing.




