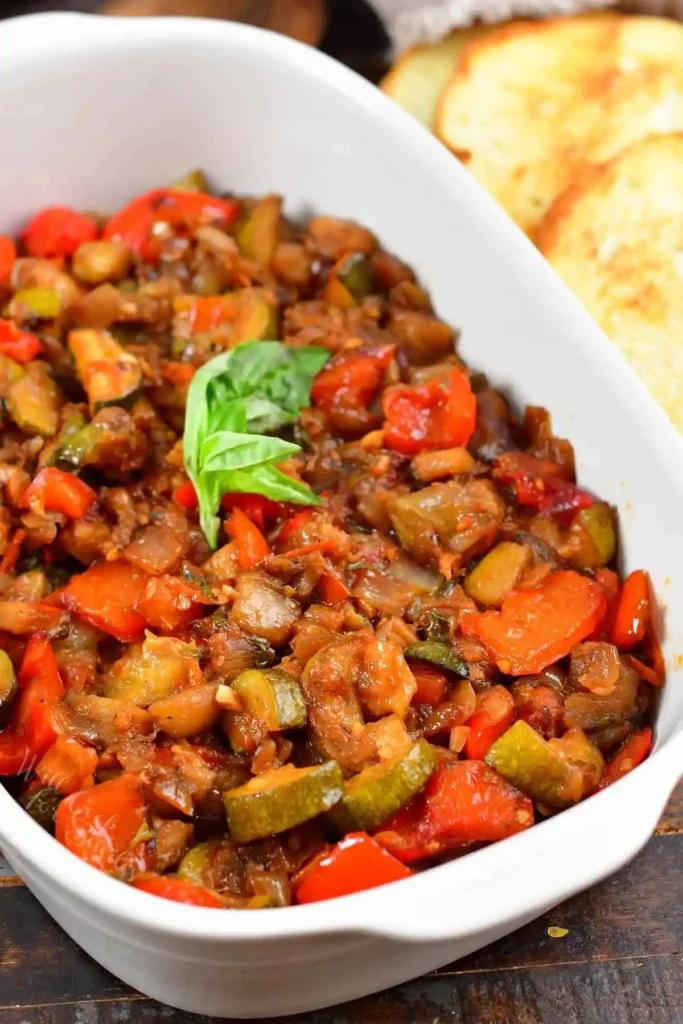
Forget what that animated rat movie taught you. This ratatouille recipe has nothing to do with a rodent chef and everything to do with silky, roasted vegetables bursting with flavor. If you’ve got a pile of end-of-summer vegetables sitting around, this dish is exactly what they deserve.
Servings: 6 Prep Time: 45 minutes (includes sweating the eggplant) Cook Time: 45 minutes Total Time: About 1 hour 30 minutes
I’ll be honest, this recipe takes some patience. It’s not a fifteen-minute weeknight throw-together, but the payoff makes every extra minute worth it. Have you ever eaten a dish that tasted better because you actually put effort into it? This is that dish.
What Exactly Is Ratatouille?
Ratatouille comes from Nice, France, born from hardworking farmers celebrating their harvest with whatever vegetables they had on hand. It’s a rustic vegetable stew, not some fussy fine-dining creation. The magic here is simplicity, with vegetables, olive oil, and herbs doing all the heavy lifting.
This dish carries real history behind it, and that context makes it more fun to cook. Farmers didn’t have time for complicated techniques, and neither do most of us. IMO, that’s exactly why this recipe still holds up centuries later.
What You’ll Need for This Ratatouille Recipe
Here’s your full shopping list for this recipe. Everything on it should be easy to find at any grocery store or farmers market.
- Eggplant, 1 medium, peeled and chopped
- Zucchini, 2 medium, chopped
- Tomatoes, 3 medium, diced
- Red bell pepper, 1, chopped
- Yellow onion, 1 medium, chopped
- Garlic, 3 cloves, minced
- Fresh basil, 2 tablespoons, chopped
- Fresh thyme, 1 teaspoon
- Dried oregano, 1/2 teaspoon
- Balsamic vinegar, 2 tablespoons
- Extra virgin olive oil, 1/4 cup, plus more as needed
- Salt and pepper, to taste
Feel free to swap in summer squash or mushrooms if that’s what’s overflowing in your garden. This recipe forgives substitutions pretty easily, which honestly makes it even more fun to cook.
Picking the Right Eggplant
Eggplant makes or breaks this dish, so choosing a good one matters. Look for these signs at the store:
- Smooth, shiny skin with no dull or wrinkled patches.
- Heavy for its size, which usually signals freshness.
- Smaller size, since smaller eggplants tend to taste sweeter with thinner skin and fewer seeds.
Press a finger gently against the skin to test for ripeness. If it leaves a slight imprint that springs back, you’ve got a good one.
Why Sweating Your Eggplant Actually Matters
Eggplant has a reputation for bitterness, and sweating it with salt helps pull that bitterness out. Here’s the short version: salt draws out moisture, and that moisture carries away some of the harsher flavors.
Modern eggplants aren’t nearly as bitter as older varieties used to be. That means you don’t need hours of sweating like older recipes suggest. About thirty minutes does the job just fine, and forgetting this step entirely won’t ruin your dish either.
Equipment You’ll Need
This recipe starts on the stovetop and finishes in the oven, so your pan choice matters here. Grab one of these:
- A cast iron skillet, which handles both stovetop and oven heat beautifully.
- Any oven-safe, heavy-bottomed pan with a metal handle.
- A regular skillet plus a casserole dish, if you need to transfer everything before baking.
Never put a pan with a wooden or plastic handle into the oven. That’s a mistake you only make once, and trust me, it’s not a fun one.
How to Make Ratatouille, Step by Step
Let’s walk through this recipe slowly so nothing gets rushed or skipped. Taking your time here genuinely makes a noticeable difference in the final flavor.
Step 1: Prepare and Sweat the Eggplant
Peel your eggplant and chop it into even, bite-sized pieces. Place the pieces into a colander set over a large bowl or your sink. Sprinkle generously with salt, toss with your hands to coat every piece, and let it sit for at least thirty minutes.
Step 2: Pat the Eggplant Dry
Once your thirty minutes are up, grab some paper towels and pat each piece of eggplant completely dry. This removes the moisture the salt pulled out, along with a good chunk of the bitterness. While you’re at it, wash and chop your remaining vegetables into similarly even pieces.
Step 3: Preheat Your Oven
Set your oven to 400 degrees Fahrenheit while you continue prepping. Getting the oven ready early means no waiting around once your vegetables finish cooking on the stovetop. Cutting your vegetables into consistent sizes now pays off later, since everything roasts evenly together.
Step 4: Sauté the Eggplant First
Heat about a quarter cup of olive oil in your cast iron skillet over medium to medium-high heat. Add the eggplant and sauté for a few minutes, just until it turns golden and starts to soften. Eggplant soaks up oil fast, so drizzle in more if the pan starts looking dry.
Step 5: Remove the Eggplant and Set It Aside
Once your eggplant looks golden and slightly softened, transfer it into a separate bowl. Don’t worry about cooking it all the way through yet, since it finishes cooking later in the oven. Set it aside while you move on to the remaining vegetables.
Step 6: Sauté the Remaining Vegetables
In the same skillet, add your zucchini, bell pepper, onion, and tomatoes. Sauté these together over medium heat, stirring occasionally, until they start to soften and pick up some color. Add a splash more olive oil if the pan feels too dry at any point.
Step 7: Add Garlic and Herbs
Push your sautéed vegetables to the edges of the pan, creating a small empty well in the center. Add your minced garlic, fresh basil, fresh thyme, and dried oregano directly into that well. Let the garlic and herbs sauté for about thirty seconds, just until fragrant.
Step 8: Deglaze with Balsamic Vinegar
Pour the balsamic vinegar directly into the pan and let it simmer for a few seconds. Stir everything together, scraping up any flavorful bits stuck to the bottom of the pan. Add your reserved eggplant back in, stirring gently to combine everything evenly.
Step 9: Transfer to the Oven
Leave the pan uncovered and slide it into your preheated oven. Roast for 20 to 25 minutes, until the vegetables look golden and slightly caramelized around the edges. The oven finishes the cooking process that the stovetop started, deepening all those roasted flavors.
Step 10: Rest, Then Serve
Pull the pan out of the oven and let it rest for a few minutes before serving. This short rest lets the flavors settle and makes serving easier without everything sliding around. Serve warm, or even cold if that’s more your style.
Storing and Reheating Leftovers
Leftover ratatouille keeps beautifully in an airtight container in the refrigerator for up to three days. Want to stock up for later? Freeze cooled ratatouille in an airtight freezer bag or container for up to three months, squeezing out as much air as possible first.
Thaw frozen ratatouille slowly in the refrigerator overnight rather than rushing it at room temperature. Reheat individual portions in the microwave, or use a sauté pan over medium-low heat for a slightly better texture. Either method works fine depending on how much time you’ve got.
Frequently Asked Questions
What does “ratatouille” actually mean? The word comes from French slang meaning to toss or stir roughly, which fits since the dish combines multiple chopped vegetables together. It has no connection whatsoever to the animated movie many people think of first.
What’s the secret to good ratatouille? Sautéing each vegetable separately before combining them makes a real difference in flavor development. Skipping this step and just tossing everything into one pot together often results in mushy, less flavorful vegetables.
How do I serve ratatouille? Serve it warm as a side dish, or spoon it over crusty bread, rice, or pasta for a heartier meal. It also works wonderfully as a light main dish on its own with a slice of fresh bread.
Can I make ratatouille ahead of time? Yes, this dish actually tastes even better the next day once the flavors have had time to meld together. Make it a day ahead and simply reheat gently before serving.
Is ratatouille served hot or cold? Both work depending on personal preference and the season. Many people enjoy it warm in cooler months and cold or room temperature during hot summer days.
Final Thoughts on This Ratatouille Recipe
This ratatouille recipe takes a bit of time, but the layered, roasted flavor makes every step worth it. Sweating the eggplant, sautéing vegetables in stages, and finishing everything in the oven builds a depth you just can’t rush. Once you taste it, that time investment starts making a whole lot more sense.
Give yourself an afternoon, put on some music, and let this dish come together slowly. Your kitchen will smell incredible, and you might just forget all about that little animated rat entirely.
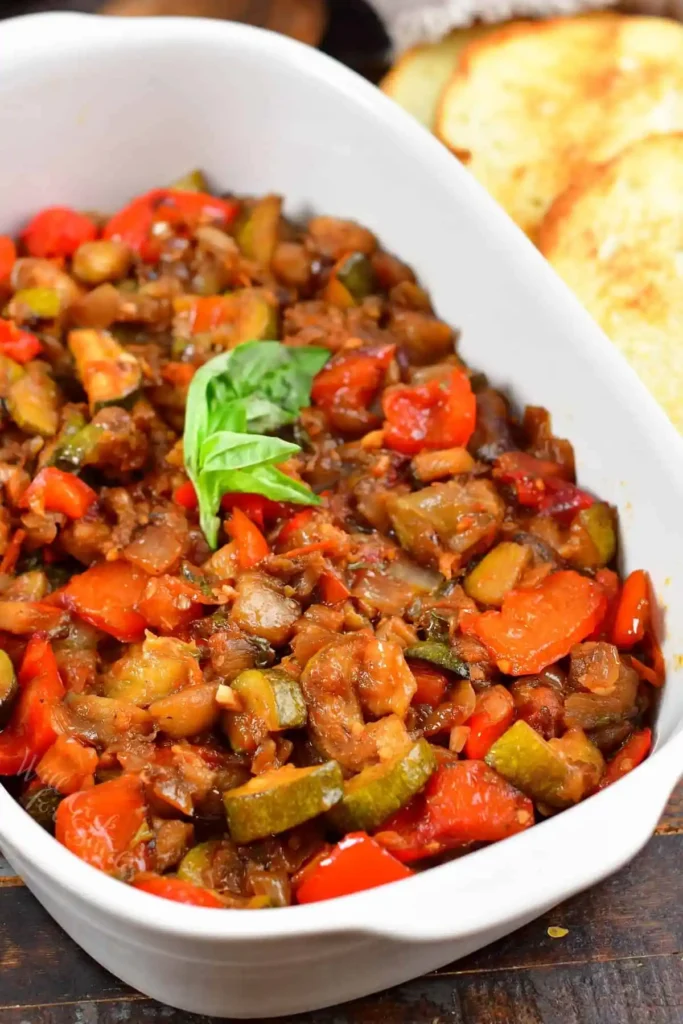
Ratatouille
Ingredients
Method
- Peel and chop the eggplant into even, bite-sized pieces. Sprinkle generously with salt and let it sit in a colander for at least 30 minutes.
- After 30 minutes, pat the eggplant dry with paper towels.
- Wash and chop the remaining vegetables into even pieces.
- Preheat your oven to 400 degrees Fahrenheit.
- Heat olive oil in a cast iron skillet over medium heat. Sauté the eggplant until golden and slightly softened, about a few minutes.
- Remove the eggplant and set aside. In the same skillet, add zucchini, bell pepper, onion, and tomatoes. Sauté until softened and colored.
- Push vegetables to the edges and add garlic, basil, thyme, and oregano into the center. Sauté until fragrant for about 30 seconds.
- Deglaze with balsamic vinegar, stirring to combine and scraping the pan.
- Return the eggplant to the skillet, mix thoroughly, and transfer to the oven.
- Roast uncovered for 20-25 minutes until vegetables are golden and caramelized.
- Let the dish rest for a few minutes before serving.