
Okay, real talk: I wasn’t ready for how good this Butterfinger Cake would be. One bite and I forgot every other dessert I’ve ever loved. Sorry, chocolate chip cookies, you’ve been replaced.
Servings: 12 slices Prep time: 20 minutes Cook time: 35 minutes Total time: Roughly 1 hour, plus chilling
This cake takes a boxed cake mix and turns it into something that tastes like you spent all day slaving in the kitchen. IMO, that’s the best kind of recipe there is.
What Exactly Is Butterfinger Cake?
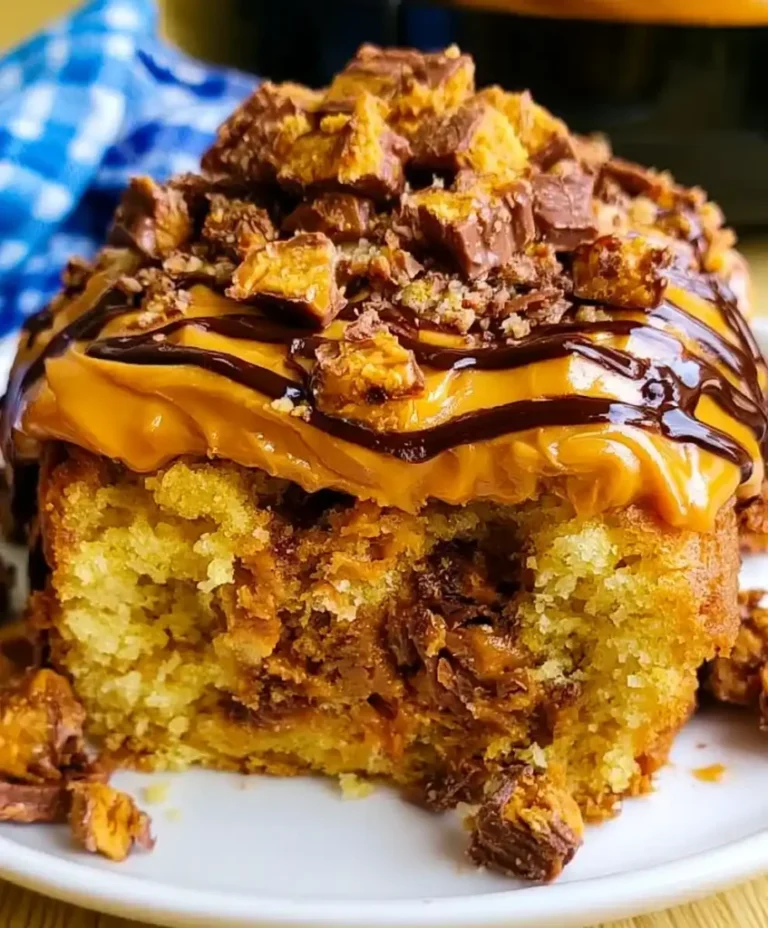
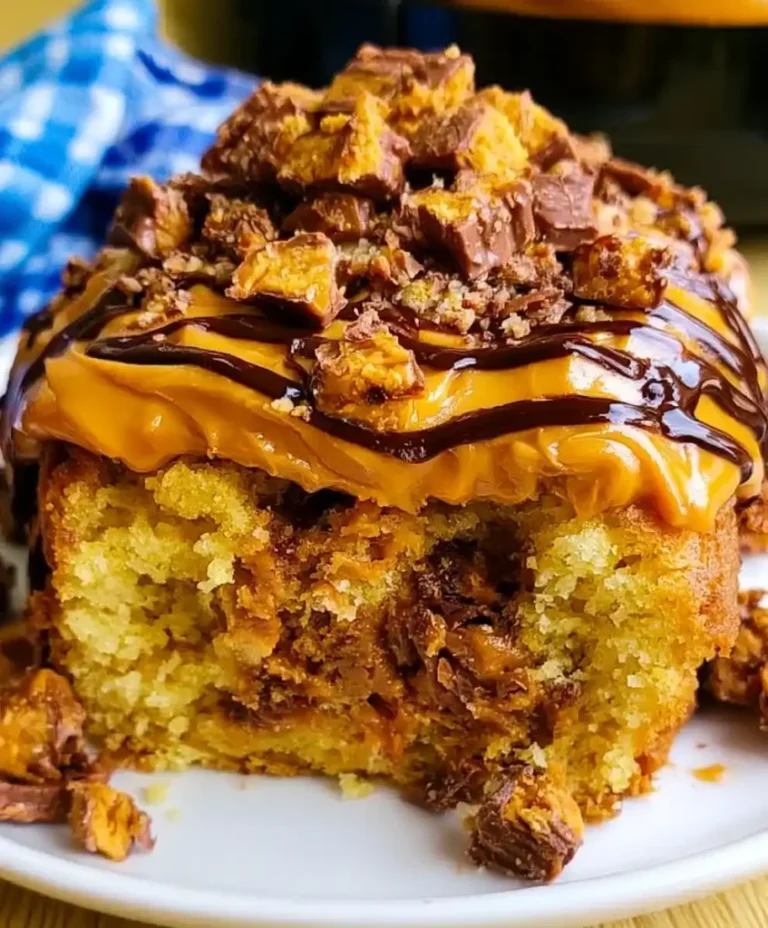
Picture a moist chocolate or yellow cake, poked full of holes, then soaked in caramel and sweetened condensed milk. Now pile on crushed Butterfinger candy bars and whipped topping. That’s the whole deal.
It’s technically a “poke cake,” which sounds oddly aggressive for something so sweet. But trust me, poking that cake is the most satisfying part of the whole process.
Why This Recipe Works So Well
Have you ever wondered why some cakes taste dry no matter how careful you are? The poking-and-soaking method fixes that problem completely. Every single bite stays soft, gooey, and packed with flavor.
The peanut butter crunch from the candy bars plays against the sweet caramel perfectly. It’s salty, sweet, crunchy, and creamy all at once. Honestly, I don’t know how one dessert manages to hit every craving at the same time.
Ingredients You’ll Need
Here’s everything required to pull this off. Nothing fancy, nothing hard to find, just a quick grocery run away.
For the cake:
- 1 box chocolate or yellow cake mix (plus ingredients listed on the box, typically eggs, oil, and water)
- 1 can (14 oz) sweetened condensed milk
- 1 jar (12 oz) caramel ice cream topping
- 8 oz whipped topping, thawed
- 6 to 8 fun-size Butterfinger bars, crushed
For garnish:
- Extra crushed Butterfinger pieces
- A drizzle of extra caramel sauce, if you’re feeling generous
That’s it. No obscure ingredients, no trips to three different stores. Just simple stuff that somehow adds up to pure magic.
How to Make Butterfinger Cake (Step by Step)
Let’s slow this down and walk through it together, because rushing a good dessert is basically a crime.
Step 1: Bake the Cake
Prepare your cake mix exactly as the box instructs, using the eggs, oil, and water it calls for. Pour the batter into a greased 9×13 inch baking pan, spreading it evenly with a spatula so it bakes level.
Bake according to the package directions, usually somewhere around 28 to 32 minutes. Test it with a toothpick in the center; if it comes out clean, your cake is ready to move to the next stage.
Let the cake rest for about 10 minutes once it comes out of the oven. This matters more than people realize, because a cake that’s too hot won’t hold the caramel properly.
Step 2: Poke Those Holes
Grab the handle end of a wooden spoon, or honestly just a regular fork if that’s easier. Poke holes all over the top of the warm cake, spacing them about an inch apart.
Don’t be shy here. The more holes you make, the more caramel goodness soaks into every single bite later on.
Step 3: Pour On the Sweetness
In a small bowl, stir together the sweetened condensed milk and caramel topping until fully combined. Slowly pour this mixture over the entire cake, making sure it settles down into all those holes you just created.
Take your time with this part. Pouring too fast means the caramel pools on top instead of soaking through, and nobody wants a cake with dry spots underneath all that glaze.
Step 4: Chill Everything Out
Cover the pan with plastic wrap or foil and pop it in the refrigerator for at least 2 hours. Overnight works even better if you have the patience, which honestly, who does when cake is involved?
This chilling step lets everything set and gives the flavors time to really come together. Skipping it means a messier, soupier cake, so resist the urge to rush.
Step 5: Top It Off
Once chilled, spread the whipped topping evenly across the entire cake. Use a spatula and take your time so it looks nice and smooth, or don’t, because it’s getting devoured either way.
Sprinkle the crushed Butterfinger pieces generously over the top. If you want to go extra, add one more drizzle of caramel sauce right before serving.
Step 6: Slice and Serve
Cut into squares and serve chilled straight from the fridge. This cake genuinely tastes better cold, so don’t feel bad about eating it as a midnight snack 🙂
Tips for the Best Butterfinger Cake
- Crush candy bars while frozen. They break apart cleanly instead of turning into sticky mush in your hands.
- Use room-temperature ingredients for the cake batter to help it bake evenly.
- Don’t skip the chill time. I tried rushing this once, and it was a soupy, delicious mess. Delicious, but still a mess.
- Swap chocolate for yellow cake mix if you prefer a milder base that lets the Butterfinger flavor shine.
- Store leftovers covered in the fridge for up to four days, if it even lasts that long in your house.
Fun Variations to Try
Bored of the classic version? Here are a few twists worth experimenting with:
- Swap Butterfinger bars for Snickers or Reese’s for a different candy profile.
- Add a layer of chocolate pudding underneath the whipped topping for extra richness.
- Mix chopped peanuts into the whipped topping for added crunch and texture.
- Use dulce de leche instead of caramel sauce for a slightly deeper flavor.
Frequently Asked Questions
Can I make Butterfinger Cake ahead of time? Yes, and honestly, it tastes even better the next day. Prepare it up to 24 hours in advance and keep it covered in the fridge until you’re ready to serve.
Can I freeze this cake? You can, though the whipped topping texture changes slightly after thawing. Freeze the cake before adding the whipped topping for best results, then add that layer fresh once thawed.
What’s the best cake mix to use? Chocolate cake mix gives a richer flavor, while yellow cake mix lets the peanut butter candy stand out more. Both work great, so it really comes down to personal preference.
Why did my caramel pool on top instead of soaking in? This usually happens when the cake wasn’t warm enough when poked, or the holes weren’t deep enough. Make sure to poke firmly and pour the caramel mixture slowly for the best soak-through.
Can I use homemade whipped cream instead of whipped topping? Absolutely, though homemade whipped cream is less stable and may deflate faster. If using it, serve the cake within a day for the best texture.
Final Thoughts
Butterfinger Cake proves that simple ingredients can create something seriously unforgettable. Between the caramel-soaked cake, crunchy candy, and fluffy topping, every slice feels like a little celebration. Give it a try this weekend, and don’t be surprised when everyone asks for the recipe.
Butterfinger Cake
Ingredients
Method
- Prepare your cake mix exactly as the box instructs, using the eggs, oil, and water it calls for. Pour the batter into a greased 9×13 inch baking pan, spreading it evenly with a spatula.
- Bake according to package directions, usually around 28 to 32 minutes. Test with a toothpick; if it comes out clean, your cake is ready.
- Let the cake rest for about 10 minutes once it comes out of the oven.
- Use the handle end of a wooden spoon or a regular fork to poke holes all over the top of the warm cake, spacing them about an inch apart.
- In a small bowl, stir together the sweetened condensed milk and caramel topping until fully combined. Slowly pour this mixture over the entire cake, ensuring it settles into the holes.
- Cover the pan with plastic wrap or foil and refrigerate for at least 2 hours, or overnight for best results.
- Spread the whipped topping evenly across the cake. Sprinkle crushed Butterfinger pieces generously over the top.
- Add a drizzle of caramel sauce right before serving, if desired.
- Cut into squares and serve chilled directly from the fridge.
Notes
Butterfinger Cake
Ingredients
Method
- Prepare your cake mix exactly as the box instructs, using the eggs, oil, and water it calls for. Pour the batter into a greased 9×13 inch baking pan, spreading it evenly with a spatula.
- Bake according to package directions, usually around 28 to 32 minutes. Test with a toothpick; if it comes out clean, your cake is ready.
- Let the cake rest for about 10 minutes once it comes out of the oven.
- Use the handle end of a wooden spoon or a regular fork to poke holes all over the top of the warm cake, spacing them about an inch apart.
- In a small bowl, stir together the sweetened condensed milk and caramel topping until fully combined. Slowly pour this mixture over the entire cake, ensuring it settles into the holes.
- Cover the pan with plastic wrap or foil and refrigerate for at least 2 hours, or overnight for best results.
- Spread the whipped topping evenly across the cake. Sprinkle crushed Butterfinger pieces generously over the top.
- Add a drizzle of caramel sauce right before serving, if desired.
- Cut into squares and serve chilled directly from the fridge.




