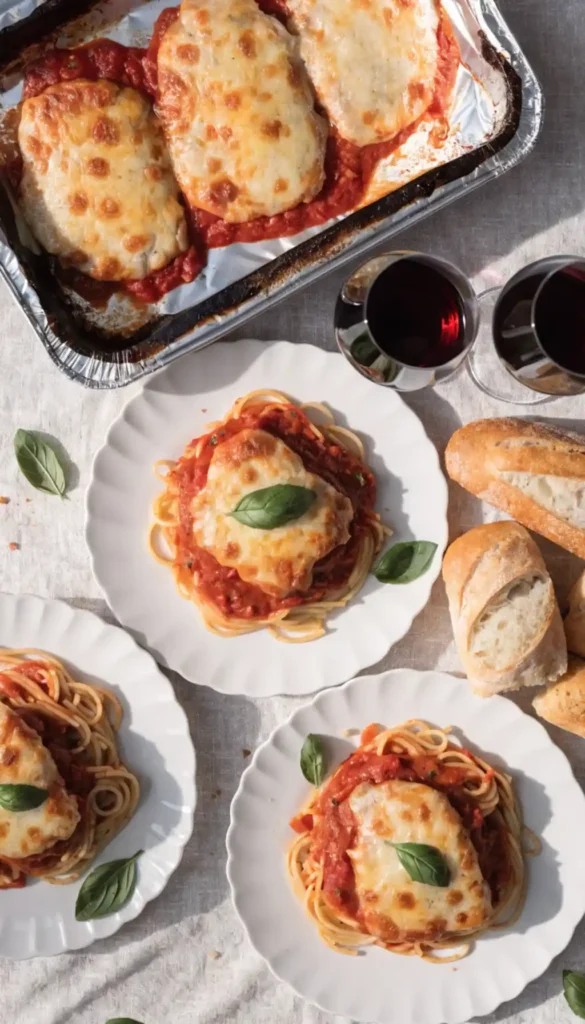
Restaurant chicken parm costs $18 and arrives lukewarm with rubbery cheese. This Chicken Parmesan Recipe delivers crispy, golden cutlets topped with marinara and melted mozzarella that tastes better than any Italian chain restaurant.
I avoided making this thinking it required professional kitchen skills and multiple pans. Then I tried it and laughed at how straightforward it was. Now it’s my go-to impressive dinner that actually takes minimal effort for maximum flavor.
Prep Time: 20 minutes
Cook Time: 25 minutes
Total Time: 45 minutes
Servings: 4 servings
Why This Recipe Works
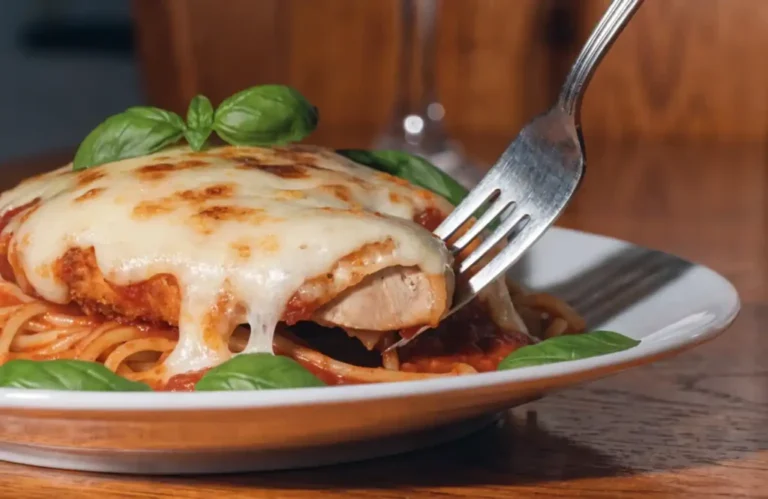
Here’s what makes Homemade Chicken Parmesan special—the three-part breading creates incredibly crispy coating that stays crunchy even under sauce and cheese.
Pounding chicken breasts thin ensures quick, even cooking. Thick breasts cook unevenly—dry edges, raw centers. Thin cutlets cook perfectly in minutes.
Broiling the cheese at the end creates bubbly, golden top. This step separates restaurant-quality from home-cooked attempts.
What Makes Great Chicken Parm
The Italian-American Classic
Chicken Parmesan isn’t actually Italian—it’s Italian-American invention. Immigrants adapted veal parmesan using affordable chicken.
The dish became American comfort food staple. Every Italian restaurant serves it. Now it’s as American as apple pie.
The combination of crispy chicken, tangy marinara, and melted cheese creates universal appeal. Everyone loves this dish.
Key Components
Perfect chicken parm requires crispy coating, juicy chicken, good sauce, and quality cheese. Each element matters equally.
Skimp on any component and the dish suffers. Use good mozzarella, decent marinara, and proper breading technique.
IMO, the crispy coating is what separates great from mediocre. Master the breading and you’ve won half the battle.
Ingredients You’ll Need
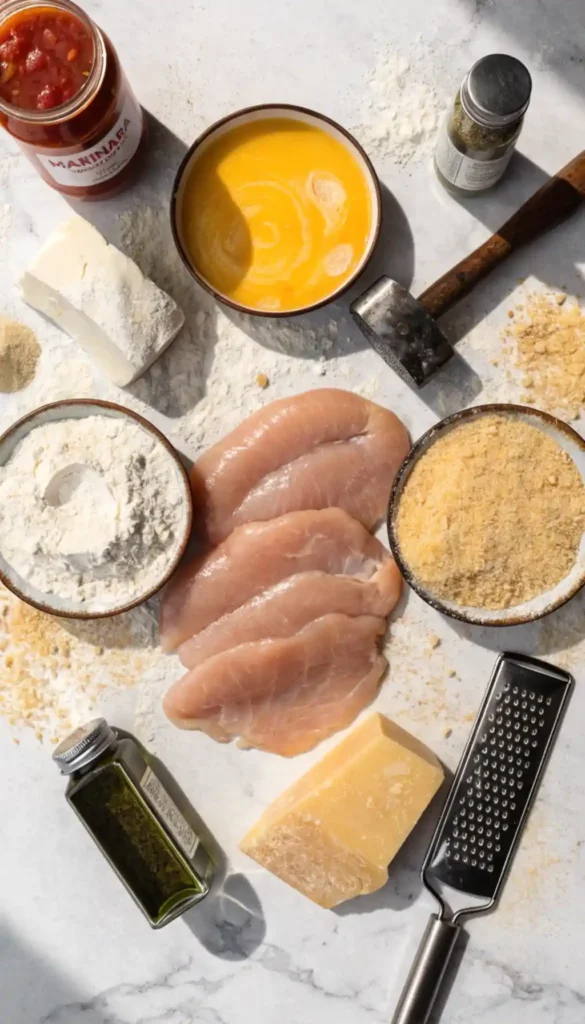
For the Chicken
These create tender, crispy cutlets. Don’t skip pounding the chicken.
- 4 boneless, skinless chicken breasts (about 2 pounds)
- 1 cup all-purpose flour
- 2 large eggs, beaten
- 1 and 1/2 cups Italian breadcrumbs
- 1/2 cup grated Parmesan cheese
- 1 teaspoon garlic powder
- 1 teaspoon dried Italian seasoning
- Salt and black pepper to taste
- 1/2 cup vegetable oil for frying
For Assembly
These complete the classic chicken parm experience. Fresh mozzarella melts better than pre-shredded.
- 2 cups marinara sauce (homemade or quality jarred)
- 1 and 1/2 cups shredded mozzarella cheese
- 1/2 cup grated Parmesan cheese
- Fresh basil for garnish (optional)
- Cooked pasta for serving
Equipment Needed
You need standard kitchen tools plus meat mallet. Nothing complicated.
- Meat mallet or rolling pin
- Plastic wrap
- 3 shallow bowls for breading
- Large skillet
- Baking sheet
- Tongs
- Paper towels
Preparing the Chicken
Pounding Technique
Place chicken breasts between two sheets of plastic wrap. This prevents mess and sticking.
Pound with flat side of meat mallet until about 1/2 inch thick. Use even, firm strokes.
Start from center and work outward. Creates uniform thickness for even cooking.
Don’t pound too thin or chicken shreds. Not thick enough and it cooks unevenly.
Seasoning
Season both sides of pounded chicken with salt and pepper. Don’t be shy—proper seasoning is crucial.
Let chicken sit at room temperature for 10 minutes while you set up breading station.
Room temperature chicken cooks more evenly than cold chicken straight from fridge.
Setting Up Breading Station
Three-Bowl System
Place flour in first shallow bowl. Season with salt and pepper.
Beat eggs in second bowl. Add tablespoon of water—this helps coating stick better.
Combine breadcrumbs, Parmesan, garlic powder, and Italian seasoning in third bowl. Mix thoroughly.
Line up bowls: flour, egg, breadcrumb mixture. This assembly line makes breading efficient.
FYI, organization here saves time and prevents messy chaos. Trust the process.
Breading Process
The Technique
Dredge chicken in flour, coating both sides. Shake off excess.
Dip in egg wash, letting excess drip off. Too much egg creates gloppy coating.
Press into breadcrumb mixture, coating thoroughly. Press firmly so crumbs adhere.
Flip and coat other side. Press breadcrumbs into chicken with your palm.
Place breaded cutlets on clean plate. Don’t stack—they stick together.
Let rest for 5-10 minutes. This helps coating set and prevents it from falling off during frying.
Frying the Chicken
Heating the Oil
Heat oil in large skillet over medium-high heat. You need about 1/4 inch depth.
Test temperature by dropping breadcrumb in oil. It should sizzle immediately.
Too hot burns coating before chicken cooks. Too cool creates greasy, soggy chicken.
Medium-high heat is sweet spot. The oil should shimmer but not smoke.
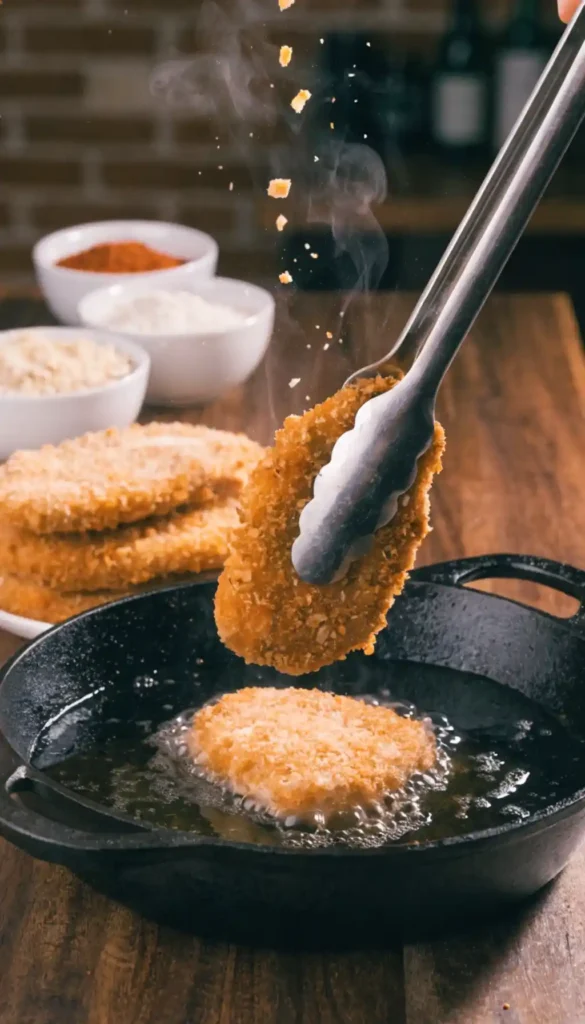
Cooking
Carefully place cutlets in hot oil. Don’t crowd pan—cook in batches if necessary.
Cook for 3-4 minutes per side until golden brown. The breading should be deep golden, not pale.
Flip only once. Constant flipping prevents proper browning.
Transfer cooked chicken to paper towel-lined plate. This drains excess oil.
The chicken should be cooked through—165°F internal temperature. Thin cutlets cook quickly.
Assembling and Baking
Preparing Baking Sheet
Preheat oven to 425°F (220°C). High heat creates bubbly cheese topping.
Arrange fried cutlets on baking sheet. Space them slightly apart.
Adding Sauce and Cheese
Spoon marinara sauce over each cutlet. Use about 1/2 cup per chicken breast.
Don’t drown chicken in sauce. Too much makes coating soggy.
Top each with generous mozzarella and sprinkle of Parmesan. Pile it on—cheese is life.
Broiling
Bake for 8-10 minutes until cheese melts. Then switch to broil.
Broil for 2-3 minutes until cheese bubbles and browns in spots. Watch constantly—it burns quickly.
The cheese should be golden with some darker spots. These charred bits taste amazing.
Remove immediately when cheese reaches perfection. Let rest for 5 minutes before serving.
Serving Suggestions
Classic Presentation
Serve over spaghetti with extra marinara. This is traditional and perfect.
Garnish with fresh basil and grated Parmesan. The herbs add brightness.
Provide crusty bread for sopping up sauce. No sauce should go to waste.
Alternative Sides
Serve with Caesar salad for lighter meal. The crisp greens balance rich chicken.
Garlic bread is classic pairing. Because more carbs never hurt anyone.
Roasted vegetables add color and nutrition. Broccoli or green beans work well.
Storage and Reheating
Refrigerator Storage
Store breaded, uncooked chicken for up to 24 hours before frying. Great for meal prep.
Store cooked chicken parm for up to 3 days. Keep in airtight container.
Freezer Instructions
Freeze breaded, uncooked cutlets for up to 3 months. Freeze on baking sheet, then transfer to bag.
Fry from frozen, adding 2-3 minutes to cooking time.
Freeze fully assembled chicken parm for up to 2 months. Reheat in 350°F oven.
Reheating
Reheat in 350°F oven for 15-20 minutes until warmed through and cheese bubbles.
Microwave works but creates soggy coating. Oven maintains crispiness better.
Variations Worth Trying
Chicken Parmesan Using Chicken Tenders
Use tenders for faster cooking and easier portion control. Kids love these.
Baked Version
Skip frying. Bake breaded chicken at 400°F for 20 minutes, then add sauce and cheese.
Creates lighter version. Not quite as crispy but still delicious.
Grilled Chicken Parmesan
Grill seasoned chicken, then top with sauce and cheese. Finish under broiler.
Pork or Veal
Use pork cutlets or veal for traditional variations. Same technique applies.
Common Mistakes to Avoid
Not Pounding Chicken
Thick breasts cook unevenly. Always pound to uniform thickness.
Wet Coating
Excess egg or not pressing breadcrumbs firmly creates coating that falls off.
Crowding the Pan
Too many cutlets lowers oil temperature. Creates steaming instead of frying.
Too Much Sauce
Drowning chicken makes coating soggy. Use moderate amount.
Why Homemade Beats Restaurant
Restaurant chicken parm costs $15-20 per serving. Homemade costs about $3 per serving.
You control quality of ingredients. Use good cheese, decent sauce, fresh chicken.
Restaurant versions often use frozen, pre-breaded chicken. Homemade is infinitely fresher.
Your kitchen smells amazing. That’s worth the effort alone.
Perfect for Family Dinners
This Easy Chicken Dinner feeds four people generously. Everyone loves it.
Kids devour chicken parm. The familiar flavors appeal to picky eaters.
Impressive enough for dinner guests but simple enough for weeknight cooking.
One of those Simple Dinner Recipes With Chicken that becomes regular rotation.
Budget-Friendly Meal
Chicken breasts cost $6-8. Other ingredients are pantry staples. Total cost is about $12 for four servings.
Way cheaper than takeout or restaurant. Better quality too.
Serve with inexpensive pasta. Creates complete meal that won’t break budget.
FAQ Section
Can I use chicken tenders?
Yes. Chicken tenders work great for Chicken Parmesan Using Chicken Tenders. They cook faster—about 2-3 minutes per side.
Can I bake instead of fry?
Yes. Spray breaded chicken with cooking spray. Bake at 400°F for 20 minutes, flipping halfway. Less crispy but healthier.
What’s the best mozzarella?
Fresh mozzarella melts beautifully but can be watery. Low-moisture mozzarella is better for this. Shred your own—pre-shredded contains anti-caking agents.
Can I make this ahead?
Bread chicken up to 24 hours ahead. Store in fridge. Fry when ready to serve. Or fully prepare and reheat.
Why is my coating falling off?
Chicken too wet, didn’t press breadcrumbs firmly, or oil not hot enough. Make sure chicken is dry and coating is pressed on well.
Final Thoughts
There you have it—everything you need to make incredible Chicken Parmesan Recipe that rivals any Italian restaurant. This Best Chicken Parm Recipe proves restaurant favorites are totally achievable at home.
The combination of crispy coating, juicy chicken, and melted cheese creates Chicken Dinner Recipes For Family Main Dishes perfection. Simple technique makes success guaranteed. So grab that meat mallet and preheat that oil—your best Easy Chicken Breast Recipes adventure is about to begin.
Chicken Parmesan
Ingredients
Method
- Pound chicken breasts between two sheets of plastic wrap until about 1/2 inch thick.
- Season both sides of the pounded chicken with salt and pepper. Let sit at room temperature for 10 minutes.
- Set up a breading station: first bowl with flour seasoned with salt and pepper, second bowl with beaten eggs, and third bowl with breadcrumbs mixed with Parmesan, garlic powder, and Italian seasoning.
- Dredge chicken in flour, dip in egg wash, then press into breadcrumb mixture, ensuring thorough coating.
- Let breaded cutlets rest on a plate for 5-10 minutes before frying.
- Heat oil in a large skillet over medium-high heat until shimmering.
- Cook chicken cutlets for 3-4 minutes per side until golden brown. Transfer to paper towel-lined plate to drain excess oil.
- Preheat oven to 425°F (220°C). Arrange fried cutlets on a baking sheet.
- Spoon marinara sauce over each cutlet and top with mozzarella and Parmesan.
- Bake for 8-10 minutes until cheese melts, then broil for 2-3 minutes until bubbly and golden.
- Let rest for 5 minutes before serving.