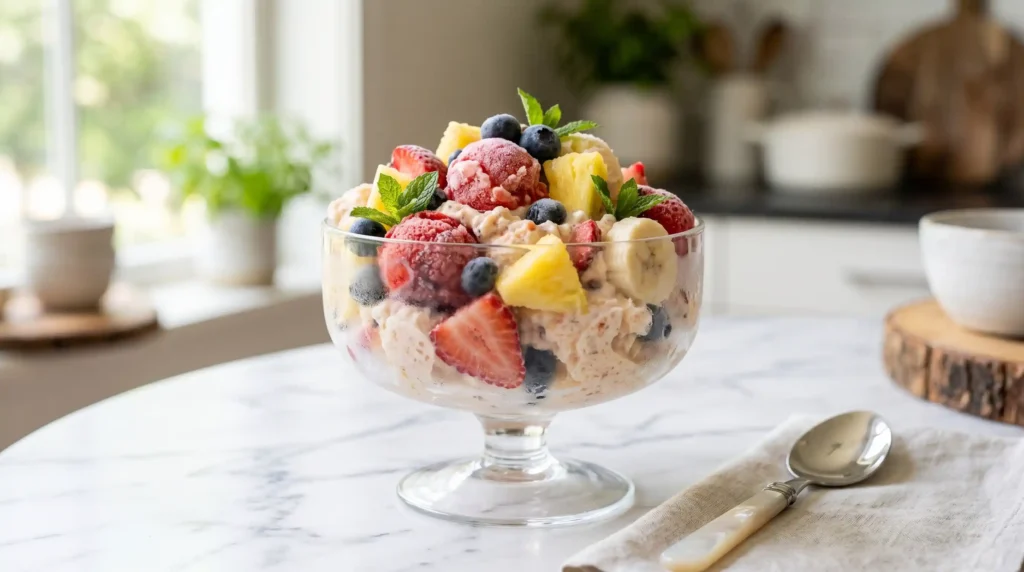
Let’s be honest — most desserts take forever and somehow still disappoint. But a Frozen Fruit Salad? It’s stupid easy, gorgeous, and tastes like summer in every single bite. I made this for a backyard gathering once, and people acted like I’d catered it professionally. Spoiler: I hadn’t.
Servings: 8 | Prep Time: 15 minutes | Freeze Time: 4 hours | Total Time: 4 hours 15 minutes
What Even Is a Frozen Fruit Salad?
If you’ve never had one, you’re genuinely missing out. A Frozen Fruit Salad is a creamy, fruity, semi-frozen dessert that sits somewhere between a sorbet and a fruit dip — but better than both. It’s served scooped, like ice cream, but packed with real fruit.
Think of it as the dessert that requires zero baking, zero fancy equipment, and zero stress. You basically mix, freeze, and scoop. That’s it. FYI, this is also one of those rare recipes that actually tastes better the next day.
Ingredients You’ll Need
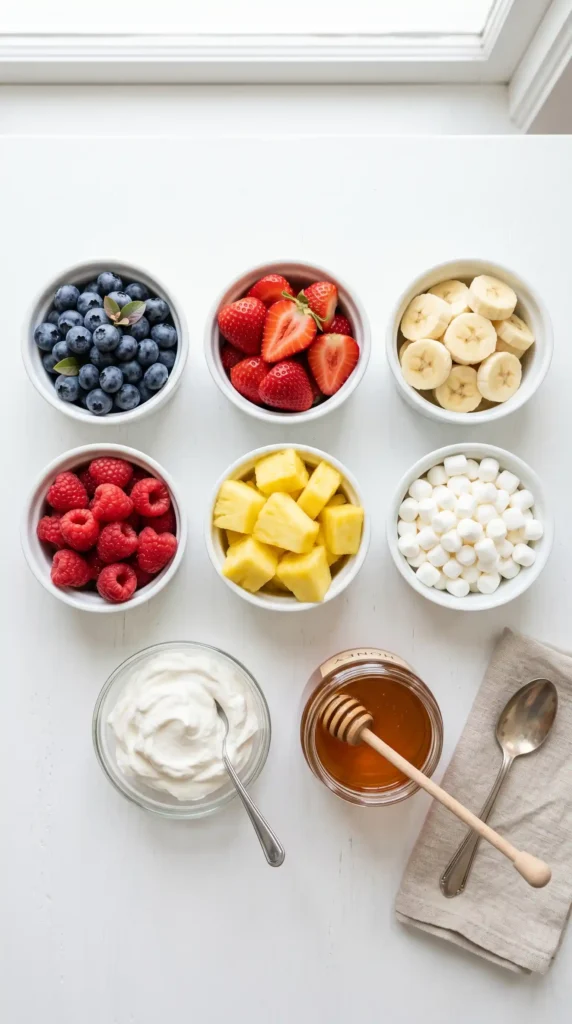
Here’s everything that goes into this beauty. Simple, fresh, and nothing weird.
- 2 cups mixed berries (strawberries, blueberries, raspberries — your call)
- 1 cup diced pineapple (fresh or canned, both work great)
- 1 cup sliced bananas (about 2 medium bananas)
- 1 cup mini marshmallows
- 1 cup whipped topping (like Cool Whip or homemade)
- 1/4 cup honey
No obscure ingredients. No trips to three different stores. Just real, recognizable stuff that comes together beautifully.
How to Make Frozen Fruit Salad
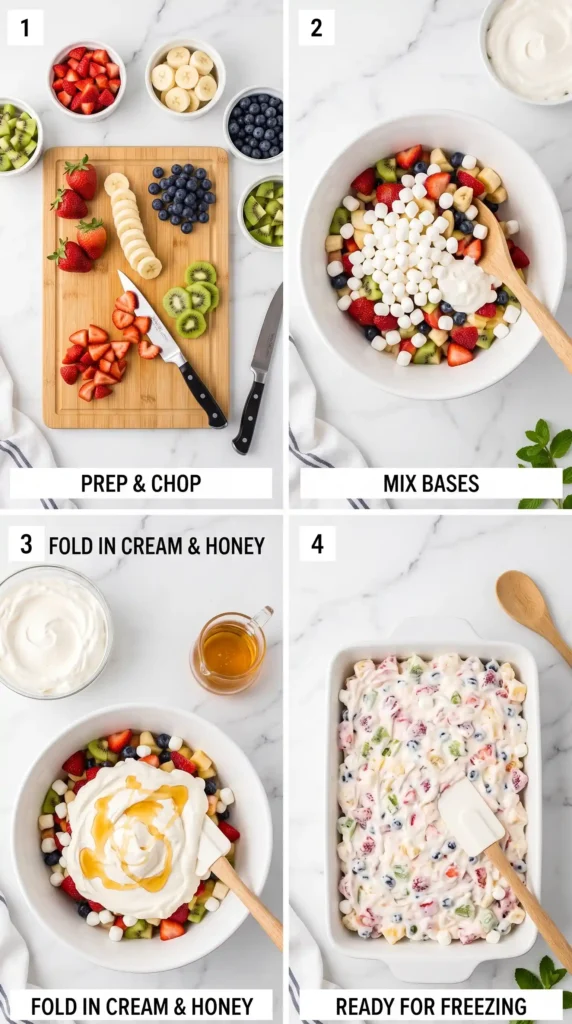
Step 1: Prep Your Fruit
Start by washing all your berries thoroughly. Pat them dry with a paper towel — excess water will make your salad icy rather than creamy. Nobody wants crunchy ice crystals ruining their dessert experience. 🙂
Dice the pineapple into small, bite-sized chunks. Slice the bananas into rounds about half an inch thick. Uniform sizing matters here — it ensures every spoonful gets an even mix of fruit in each bite. Takes two extra minutes, totally worth it.
Step 2: Combine the Fruit and Marshmallows
Grab your largest mixing bowl — seriously, go bigger than you think you need. Toss in the mixed berries, diced pineapple, sliced bananas, and mini marshmallows all at once. Give everything a gentle stir with a rubber spatula or wooden spoon.
Be gentle with the bananas and softer berries. You want them mixed, not mashed. The marshmallows will soften slightly once frozen, giving the whole thing a pillowy, creamy texture throughout. Don’t rush this step — you want the fruit evenly distributed.
Step 3: Make the Creamy Honey Mixture
In a separate medium bowl, add the whipped topping and honey. Stir them together slowly and steadily until they’re fully combined and silky smooth. The honey adds a natural sweetness and helps the mixture freeze to a scoopable — not rock-solid — consistency.
Taste the mixture before adding it to your fruit. Want it sweeter? Add a tiny drizzle more honey. Prefer it lighter? You’re already good to go. This is your recipe — adjust it to what you love.
Step 4: Fold Everything Together
Pour the honey-whipped topping mixture directly over the fruit and marshmallow bowl. Now, using your spatula, gently fold — not stir — everything together. Folding keeps the fruit intact and makes sure the creamy coating wraps around every single piece.
Work your way from the bottom of the bowl upward, rotating as you go. You should see a beautiful, glossy, creamy mixture with colorful fruit peeking through. Stop folding once everything is just coated — over-mixing will break down the fruit.
Step 5: Transfer to Your Baking Dish
Pour or spoon the mixture into a 9×13 inch baking dish. Spread it out evenly using the back of your spatula so the depth is consistent throughout the dish. Even depth = even freezing, which means every scoop comes out the same perfect texture.
Smooth the top as flat as you can get it. This also makes it easier to cover with plastic wrap without the wrap sticking to the surface. Cover the dish tightly — you don’t want freezer odors sneaking into your dessert.
Step 6: Freeze for at Least Four Hours
Slide the covered dish into your freezer and let it do its thing for a minimum of four hours. Overnight is even better if you can plan ahead. The longer it freezes, the cleaner and more satisfying each scoop will be.
Resist the urge to peek and poke at it every hour. Trust the process. The freezer is working hard so you don’t have to. When the four hours are up, check the center — it should feel firm but not like a brick.
Step 7: Scoop and Serve
Pull the dish from the freezer about five minutes before serving. This brief rest at room temperature makes scooping dramatically easier. Use an ice cream scoop or large spoon to serve generous portions into bowls or onto plates.
Serve immediately — Frozen Fruit Salad softens quickly, especially in warm weather. If you’re serving at a party or outdoor event, keep the dish on a bed of ice to maintain that perfect frozen texture longer.
Tips to Make It Even Better
Want to level up your Frozen Fruit Salad? Here are a few quick wins:
- Add cream cheese: Beat 4 oz of softened cream cheese into the whipped topping before mixing with honey. It adds richness and helps it hold its shape longer.
- Use frozen fruit: Frozen mixed berries work perfectly here and eliminate any prep time. Just thaw them slightly before folding in.
- Try different fruits: Peaches, mangoes, kiwi, or grapes all work brilliantly. IMO, mango is the underrated MVP of this recipe.
- Make it in muffin tins: Spoon the mixture into lined muffin tins for individual frozen servings. Way easier to serve at parties.
- Skip the marshmallows: If you’re not a marshmallow fan, simply leave them out. The texture will be slightly less pillowy but still delicious.
Why This Recipe Works So Well
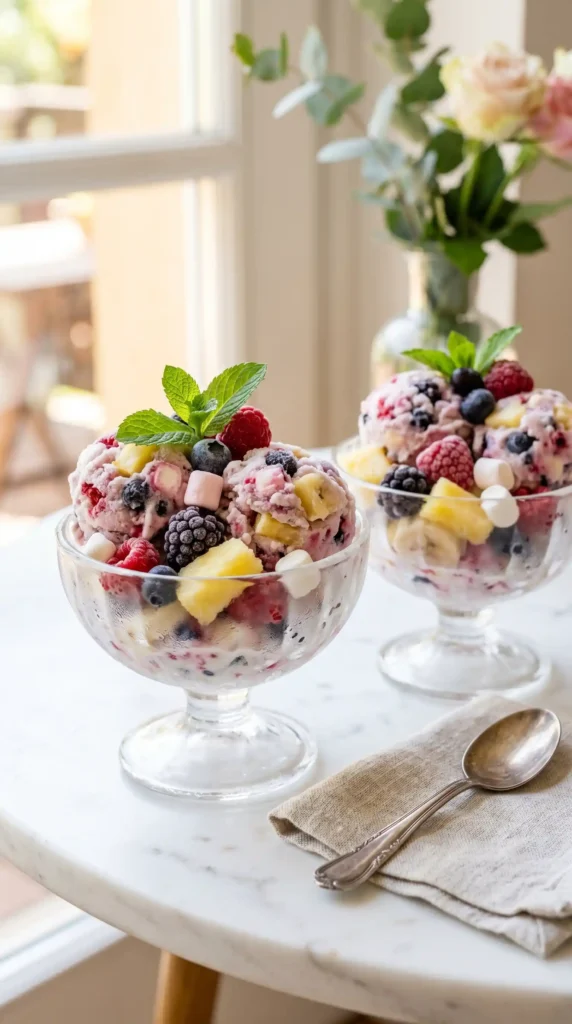
Have you ever wondered why some frozen desserts taste flat and others taste incredible? It comes down to balancing sweetness, creaminess, and texture. This recipe nails all three without overcomplicating anything.
The honey keeps the mixture from freezing rock-solid, meaning you actually get a scoop — not a chisel situation. The marshmallows add chewiness that contrasts perfectly with the firm, icy fruit. And the whipped topping binds everything together with a lightness that feels indulgent but isn’t heavy.
Storing Your Frozen Fruit Salad
Leftover Frozen Fruit Salad stores well for up to two weeks in the freezer. Just cover the dish tightly with plastic wrap or transfer scoops into an airtight container. The texture stays consistent throughout the storage period — no weird ice crystal buildup if it’s properly sealed.
To serve from frozen storage, let it sit on the counter for five to eight minutes first. This brings it back to that perfect scoopable state without turning it soupy.
Frequently Asked Questions
Q1: Can I make Frozen Fruit Salad ahead of time? Absolutely — this recipe is actually perfect for making ahead. You can prepare it up to two weeks in advance and keep it covered in the freezer. Just pull it out a few minutes before serving and you’re set.
Q2: Can I use fresh whipped cream instead of whipped topping? Yes, you can! Whip heavy cream to stiff peaks and use it in place of store-bought whipped topping. It works beautifully, though the texture may be slightly softer once frozen.
Q3: What fruits work best in Frozen Fruit Salad? Berries, pineapple, peaches, bananas, and mangoes all freeze wonderfully. Avoid high-water fruits like watermelon — they turn icy and watery rather than creamy when frozen.
Q4: How long does Frozen Fruit Salad need to freeze? A minimum of four hours is required, but overnight freezing gives the best results. The center needs enough time to firm up completely for clean, satisfying scoops.
Q5: Can I make this recipe dairy-free? Yes! Use a dairy-free whipped topping (like coconut whipped cream) and you’ve got a completely dairy-free version. The taste is slightly different but still absolutely delicious.
Final Thoughts
A good Frozen Fruit Salad is one of those recipes you’ll come back to every summer without fail. It’s quick, it’s crowd-pleasing, and — let’s be real — it makes you look like a much more impressive host than you probably are. No judgment here.
Give it a shot this weekend. You’ve got nothing to lose and a whole lot of delicious frozen bites to gain.
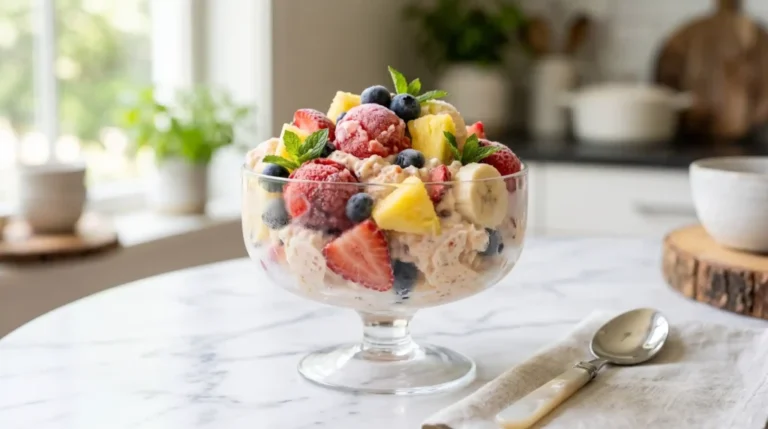
Frozen Fruit Salad
Ingredients
Method
- Wash all berries thoroughly and pat them dry with a paper towel to avoid ice crystals.
- Dice the pineapple into small chunks and slice the bananas into rounds.
- In a large mixing bowl, combine mixed berries, diced pineapple, sliced bananas, and mini marshmallows. Stir gently.
- In a separate medium bowl, mix the whipped topping and honey until smooth.
- Taste the mixture and adjust sweetness with honey if needed.
- Pour the honey-whipped topping mixture over the fruit and gently fold everything together.
- Transfer the mixture to a 9x13 inch baking dish and smooth it out evenly.
- Cover the dish tightly and freeze for at least four hours or overnight for best results.
- Remove the dish from the freezer about five minutes before serving for easier scooping.
- Scoop the salad into bowls or onto plates and serve immediately.



