Servings: 12 danishes | Prep Time: 20 minutes | Bake Time: 18-22 minutes | Total Time: About 45 minutes
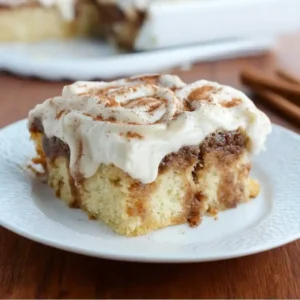
Let me ask you something — have you ever taken a bite of something so good it stopped you mid-sentence? That is exactly what happened to me the first time I made the King’s Hawaiian Cheesecake Danish recipe.
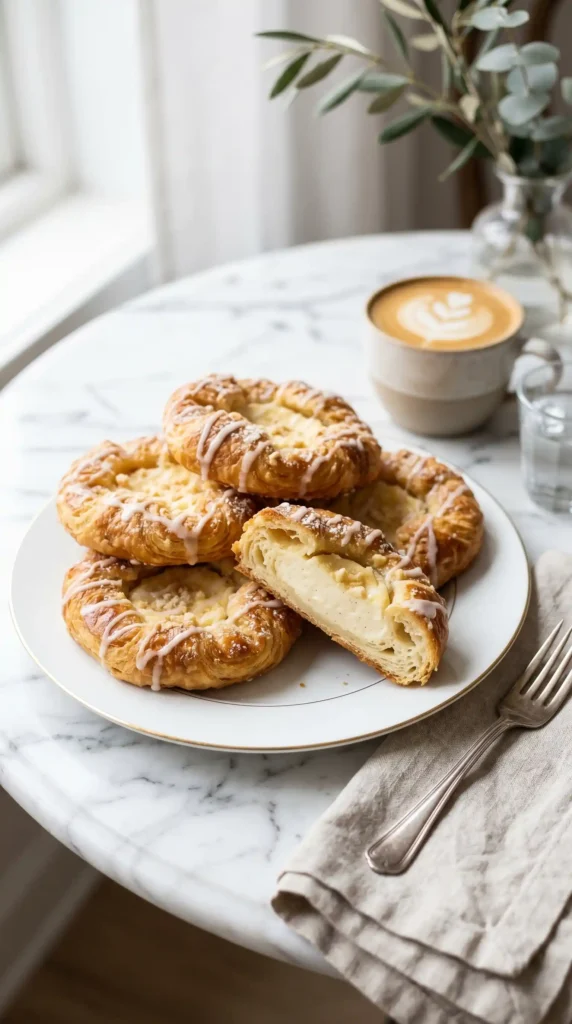
King’s Hawaiian rolls are already dangerously delicious on their own. But when you stuff them with creamy cheesecake filling and bake them golden? Game over. You will not share these willingly, FYI.
This recipe is simple, quick, and absolutely crowd-pleasing. Whether you are making them for brunch, a bake sale, or just a Tuesday that deserves a treat, these danishes deliver every single time.
What Makes King’s Hawaiian Rolls Perfect for This Recipe
Not all bread is created equal, and King’s Hawaiian rolls prove that. They carry a signature sweetness that pairs beautifully with rich cheesecake filling. That soft, pillowy texture? It just melts in your mouth.
The slight sweetness in the roll complements the tangy cream cheese filling without overpowering it. You get a balance that store-bought croissants or puff pastry simply cannot replicate. Trust me, I have tried both.
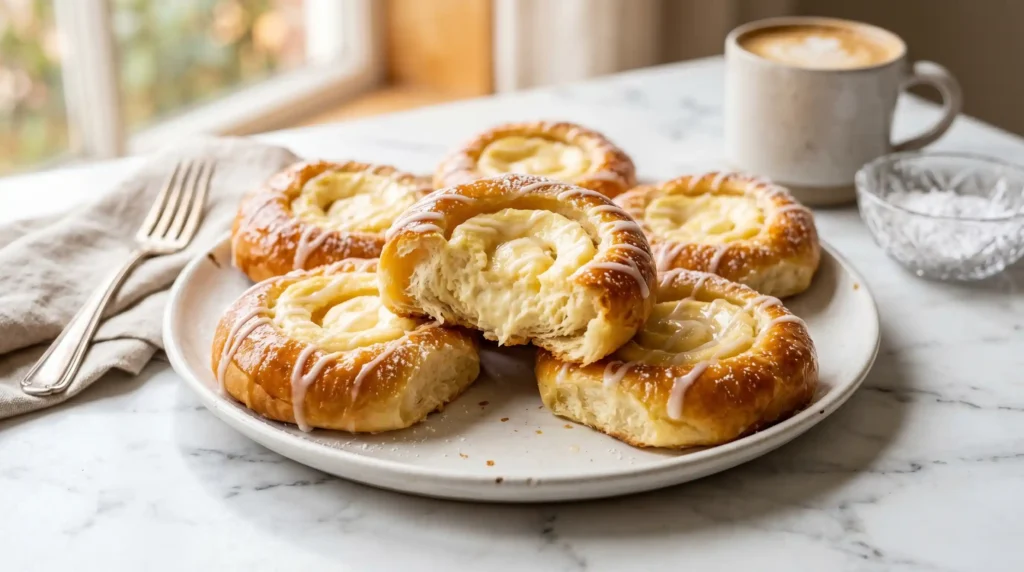
King’s Hawaiian Cheesecake Danish works so well because the roll itself acts like the perfect vessel. It holds the filling, browns beautifully in the oven, and stays soft even after cooling.
Ingredients You Need
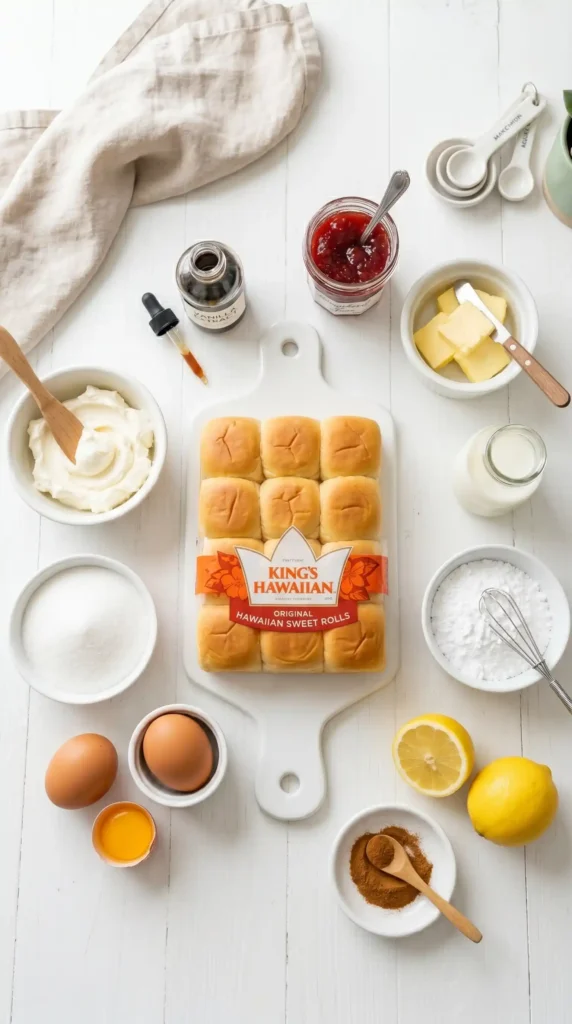
Here is the full ingredient list with exact quantities. Nothing fancy, nothing hard to find — just solid pantry staples working together.
For the Danish Base
- 1 package (12 count) King’s Hawaiian Original Hawaiian Sweet Rolls
- 4 tablespoons unsalted butter, melted
- 2 tablespoons granulated sugar
- 1/2 teaspoon ground cinnamon
For the Cheesecake Filling
- 8 oz (1 block) cream cheese, softened to room temperature
- 1/3 cup granulated sugar
- 1 large egg yolk
- 1 teaspoon pure vanilla extract
- 1 tablespoon fresh lemon juice
For the Topping (Optional but Recommended)
- 1/2 cup powdered sugar
- 2 tablespoons whole milk
- 1/2 teaspoon vanilla extract
- 1/4 cup strawberry or raspberry jam for dolloping
How to Make the King’s Hawaiian Cheesecake Danish — Step by Step
Alright, let us walk through this together. I am going to give you every detail so you nail it on the first try. No guesswork, no stress.
Step 1: Preheat and Prep Your Pan
Start by preheating your oven to 350 degrees Fahrenheit. While it heats up, line a standard baking sheet with parchment paper or lightly grease a 9×13-inch baking pan with non-stick cooking spray.
Using parchment paper makes cleanup a breeze and prevents the sugary filling from sticking to the pan. It is a small step that saves you a lot of scrubbing later.
Step 2: Prepare the Rolls
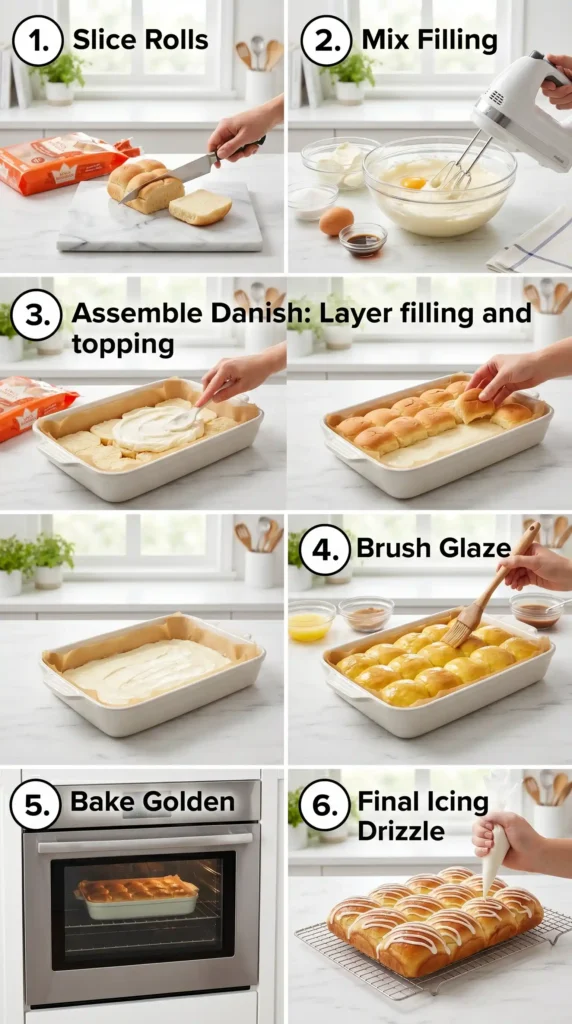
Without separating the rolls, slice the entire slab of King’s Hawaiian rolls horizontally through the middle — like you are making a giant slider bun. You want one flat top half and one flat bottom half.
Place the bottom half into your prepared baking pan. Make sure it fits snugly in there. This bottom layer becomes the base that holds all that glorious cheesecake filling inside.
In a small bowl, mix together the melted butter, 2 tablespoons of granulated sugar, and cinnamon. Brush half of this cinnamon butter mixture evenly over the bottom layer of rolls. This step adds an amazing caramelized sweetness to the base.
Step 3: Make the Cheesecake Filling
This is the star of the show, so let us make it right. In a medium mixing bowl, add the softened cream cheese. It must be at room temperature — cold cream cheese will be lumpy and stubborn, so do not skip that step.
Using a hand mixer or a sturdy whisk, beat the cream cheese until it becomes smooth and fluffy, about 1 to 2 minutes. Then add the 1/3 cup of granulated sugar and beat again until fully combined and creamy.
Next, mix in the egg yolk. This helps the filling set and gives it that classic cheesecake richness without being too dense. Add the vanilla extract and fresh lemon juice, then beat everything together one more time until silky smooth.
Taste the filling at this point. IMO, the lemon juice is what takes it from good to extraordinary — it brightens everything up and keeps the richness from feeling too heavy.
Step 4: Assemble the Danish
Spread the cheesecake filling evenly over the buttered bottom layer of rolls. Use a spatula or the back of a spoon to create an even layer that covers every inch of the surface all the way to the edges.
If you are using jam, add small dollops of strawberry or raspberry jam on top of the cheesecake layer right now. Use about 1/4 cup total and space the dollops evenly so every bite gets a little fruity sweetness.
Carefully place the top half of the rolls back on top of the filling. Press down gently and evenly so the layers come together without squishing out the filling. Then brush the remaining cinnamon butter mixture all over the top surface of the rolls.
Step 5: Bake to Golden Perfection
Place the pan into your preheated 350-degree oven. Bake for 18 to 22 minutes, or until the tops of the rolls are a deep golden brown and the filling has set. You will know it is ready when the kitchen smells absolutely incredible.
Check the rolls at the 18-minute mark. Every oven is different, and the last thing you want is over-baked rolls that have dried out. The tops should look golden and slightly crisp while the inside stays soft and tender.
Remove the pan from the oven and let the rolls rest for at least 5 to 10 minutes before adding the glaze. This resting time allows the cheesecake filling to firm up slightly, making them much easier to cut and serve.
Step 6: Make the Glaze and Finish
While the rolls rest, whisk together the powdered sugar, milk, and vanilla extract in a small bowl until you get a smooth, pourable glaze. The consistency should be thick enough to coat a spoon but thin enough to drizzle easily.
Drizzle the glaze generously over the top of the warm rolls in a back-and-forth motion. Do not be shy here — the glaze adds the final touch of sweetness and makes them look absolutely bakery-worthy.
Let the glaze set for about 3 to 5 minutes, then use a sharp knife to cut along the natural lines of the rolls. Serve them warm for the best experience. Have you ever smelled fresh-from-the-oven cheesecake danish? Pure joy.
Pro Tips for the Best Results
A few small adjustments can take this recipe from great to absolutely unforgettable. Here is what I have learned from making these multiple times.
- Room temperature cream cheese is non-negotiable. Cold cream cheese creates lumps that do not mix out no matter how long you beat it.
- Do not overbake. Check at 18 minutes. Golden tops with a soft center is exactly what you want.
- Add fruit for variety. Blueberry jam, cherry preserves, or even fresh sliced strawberries work beautifully on top of the filling.
- Serve same day. These are best fresh out of the oven or within a few hours of baking.
- Double the batch. Seriously. Make two pans. One will be gone before you know it.
How to Store and Reheat
If you somehow have leftovers (unlikely, but possible), store the danishes in an airtight container in the refrigerator for up to 3 days. The cream cheese filling means they need to stay cold.
To reheat, pop them in the microwave for 15 to 20 seconds or warm them in a 300-degree oven for about 5 minutes. They will not be quite as fresh as day one, but they are still absolutely delicious.
Avoid freezing these danishes. The cream cheese filling does not freeze and thaw well — it becomes watery and loses that creamy texture that makes this recipe so good.
Fun Variations to Try
Once you master the base King’s Hawaiian Cheesecake Danish recipe, you can start experimenting. Here are a few variations that work really well.
- Nutella Danish: Spread a thin layer of Nutella on the bottom roll layer before adding the cheesecake filling. Rich, chocolatey, and over-the-top delicious.
- Peach Danish: Use peach preserves and add a pinch of nutmeg to the cheesecake filling for a warm, summery twist.
- Lemon Danish: Double the lemon juice in the filling and add a teaspoon of lemon zest. Drizzle with a lemon glaze instead of vanilla.
- Cinnamon Swirl Danish: Mix 2 tablespoons of brown sugar with 1 teaspoon of cinnamon and sprinkle it directly on top of the cream cheese layer before adding the top rolls.
Frequently Asked Questions
Can I make King’s Hawaiian Cheesecake Danish the night before?
You can assemble the rolls and filling the night before, cover the pan with plastic wrap, and refrigerate overnight. Brush the tops with butter right before baking. The fresh-baked texture is always better than reheated, so baking the morning of serving is ideal.
What can I use instead of cream cheese?
Mascarpone cheese works as a great substitute. It has a slightly milder, creamier flavor. Ricotta is another option, but the texture will be less smooth. Stick with full-fat versions for the richest results.
Can I use a different flavor of King’s Hawaiian rolls?
Absolutely. King’s Hawaiian makes honey wheat and savory butter rolls that work well in this recipe too. The original sweet rolls remain the best match for the cheesecake filling, but experimenting is always fun.
Why is my cheesecake filling runny?
This usually happens when the cream cheese is too cold or when too much liquid is added. Make sure your cream cheese is fully softened before mixing, and measure the lemon juice carefully. Do not skip the egg yolk — it helps the filling set during baking.
Can I make this recipe gluten-free?
Unfortunately, King’s Hawaiian rolls are not gluten-free. You would need to find a gluten-free sweet roll option at a specialty grocery store. The cheesecake filling itself is naturally gluten-free, so the swap is just for the bread.
Final Thoughts
The King’s Hawaiian Cheesecake Danish recipe is one of those rare finds that looks impressive but takes almost no effort. Soft, sweet rolls, creamy tangy filling, a drizzle of glaze — it hits every single note perfectly.
Whether you are feeding a crowd at brunch or treating yourself on a slow Sunday morning, this recipe delivers every time. It is the kind of bake that makes people stop mid-conversation and reach for a second piece. So go ahead — grab that pack of King’s Hawaiian rolls and get baking. You have got everything you need to make something truly delicious. And yes, you absolutely deserve it

King’s Hawaiian Cheesecake Danish
Ingredients
Method
- Preheat your oven to 350°F (175°C) and line a standard baking sheet with parchment paper.
- Slice the entire slab of King's Hawaiian rolls horizontally through the middle without separating them.
- Place the bottom half of the rolls into the prepared baking pan.
- Mix together the melted butter, 2 tablespoons of sugar, and cinnamon in a small bowl, and brush half of this mixture over the bottom layer of rolls.
- In a medium mixing bowl, beat the softened cream cheese until smooth and fluffy.
- Add the 1/3 cup of granulated sugar and mix until fully combined.
- Mix in the egg yolk, vanilla extract, and lemon juice until smooth.
- Spread the cheesecake filling over the buttered bottom layer of rolls.
- Dollop the jam on top of the cheesecake filling if desired.
- Place the top half of the rolls back on top, press gently, and brush the remaining cinnamon butter mixture over the top.
- Bake the pan in the preheated oven for 18-22 minutes, or until the tops are golden brown.
- Let the danishes rest for 5-10 minutes before adding the glaze.
- Make the glaze by whisking together the powdered sugar, milk, and vanilla extract until smooth.
- Drizzle the glaze over the warm rolls and let it set for 3-5 minutes before slicing.