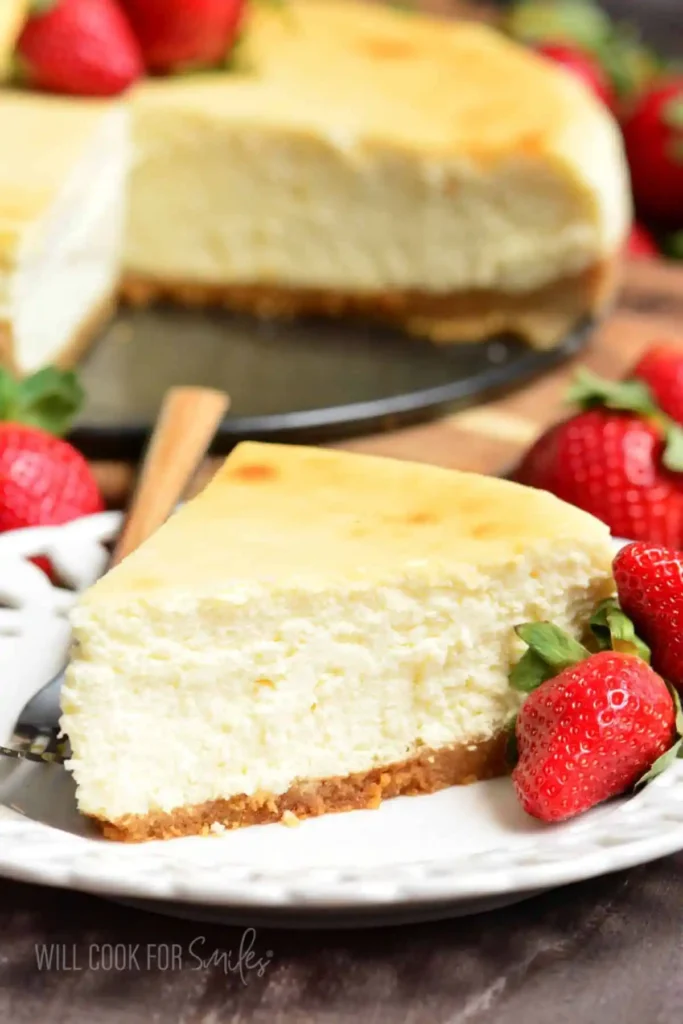
Ever bitten into a cheesecake so smooth it felt illegal? That’s what this New York Style Cheesecake recipe delivers. I’ve made this one more times than I can count, and it still gets the same reaction every time.
Servings: 12 slices Prep time: 30 minutes Bake time: 85–90 minutes Chill time: 6 hours (overnight is better) Total time: About 8 hours, mostly hands-off
What Makes New York Style Cheesecake Different
Regular cheesecake sticks to cream cheese, eggs, and sugar. This version adds heavy cream and sour cream, and that’s the whole secret to its dense, rich texture.
Have you ever wondered why bakery cheesecake tastes so much richer than homemade versions? Now you know. That extra fat content changes everything.
FYI, this style got famous thanks to old-school NYC delis and bakeries. Decades later, home bakers are still trying to recreate that exact texture, and this recipe gets you there.
What You’ll Need
Here’s everything this New York Style Cheesecake recipe calls for. Nothing exotic, just proper technique.
For the Crust
- 2 cups graham cracker crumbs
- 1/4 cup granulated sugar
- 1/2 cup unsalted butter, melted
For the Cheesecake Filling
- 32 ounces cream cheese, softened
- 1 1/4 cups granulated sugar
- 4 large eggs
- 1/2 cup sour cream
- 1/2 cup heavy cream
- 1 tablespoon vanilla extract
- 2 tablespoons cornstarch
Choosing the Right Pan and Ingredients
Not every pan is cut out for cheesecake duty. So what actually matters here?
A 9-inch springform pan is non-negotiable for this recipe. It lets you release the sides cleanly without destroying that gorgeous smooth top you worked so hard for.
Room-temperature cream cheese matters more than people think. Cold cream cheese refuses to blend smoothly, and you’ll end up with lumps no amount of mixing will fix.
How to Make New York Style Cheesecake, Step by Step
Let’s slow this down and go through the whole process properly. Cheesecake rewards patience, so don’t rush any of this.
Step 1: Prep Your Springform Pan
Wrap the outside of your springform pan tightly in two to three layers of aluminum foil. This step matters because the pan sits in a water bath later, and a leaky pan means a soggy crust.
Spray the inside of the pan lightly with nonstick spray. This makes releasing the finished cheesecake so much easier down the line.
Step 2: Build the Crust
In a mixing bowl, combine the graham cracker crumbs, sugar, and melted butter until the mixture looks like wet sand. Pour it into your prepared pan.
Use the bottom of a measuring cup to press the crust firmly across the base and slightly up the sides. Pack it in tight, because a loose crust crumbles the moment you slice into it.
Step 3: Beat the Cream Cheese
In a large mixing bowl, beat the softened cream cheese on medium-high speed until smooth and fluffy, about two to three minutes. Scrape down the sides of the bowl, then beat for another minute.
Why bother scraping so often? Because unmixed cream cheese hiding at the bottom of the bowl turns into lumps that no amount of later mixing will fix.
Step 4: Add Sugar and Eggs
Slowly pour in the sugar while the mixer runs, then add the eggs one at a time. Beat just until each egg disappears into the batter before adding the next.
Adding eggs one at a time keeps the batter from overmixing. Overmixed batter traps too much air, and that air causes cracks once the cheesecake bakes.
Step 5: Mix in the Remaining Ingredients
Add the sour cream, heavy cream, and vanilla extract, and beat on medium-high speed until fully combined. Lower the mixer speed and beat in the cornstarch until it disappears into the batter.
The cornstarch might seem like an odd addition, but it stabilizes the filling and helps prevent that dreaded sunken center. Don’t skip it.
Step 6: Pour and Prepare for Baking
Pour the cheesecake batter over your prepared crust and spread it evenly with a spatula. Preheat your oven to 325°F while you get your water bath ready.
Place a large roasting pan in the oven, then set your foil-wrapped springform pan inside it. Carefully pour hot water into the roasting pan until it reaches about halfway up the sides of the springform.
Step 7: Bake Low and Slow
Bake the cheesecake for 85 to 90 minutes. The center should look set but still have a slight jiggle, similar to gelatin rather than liquid batter.
Once done, turn off the oven and crack the door open halfway. Let the cheesecake rest inside for 10 minutes before removing it. This gradual cooldown helps prevent cracking on top.
Step 8: Cool and Chill
Remove the foil and let the cheesecake cool on the counter for about an hour. Run a butter knife gently around the edge to loosen it from the pan sides, but don’t remove it yet.
Cover the pan with plastic wrap and refrigerate for at least six hours, though overnight gives you the best texture. IMO, this waiting period is the hardest part of the whole recipe 🙂
Topping Options for New York Style Cheesecake
This cheesecake tastes fantastic plain, but toppings take it up a notch. Here are a few worth trying:
- Homemade strawberry sauce – cooked down with sugar and a splash of lemon juice
- Fresh whipped cream – light and simple, always a crowd-pleaser
- Chocolate or fudge drizzle – for when you want something richer
- Caramel or dulce de leche – a sweet, buttery finish
- Fresh berries – a fast, no-cook option that adds brightness
How to Freeze Cheesecake
Wondering if this cheesecake freezes well? It absolutely does, as long as you skip the toppings before freezing.
- Run a greased knife around the pan edge and remove the sides.
- Freeze the cheesecake on its base for about an hour to firm up.
- Wrap it tightly in two to three layers of plastic wrap, then a layer of foil.
- Label it with the date and freeze for up to three months.
- Thaw slowly in the refrigerator overnight before serving.
Frequently Asked Questions
Why bake cheesecake in a water bath? A water bath keeps the oven’s heat gentle and even, which prevents the cheesecake from cracking or drying out around the edges.
How do I know when the cheesecake is done? The edges should look set while the center still holds a slight jiggle. It firms up completely once it chills in the refrigerator.
What’s a good springform pan for cheesecake? Look for a 9-inch pan with a tight-sealing latch. A sturdy, well-reviewed pan prevents leaks during the water bath step.
Can I make this cheesecake ahead of time? Yes, and honestly, you should. This cheesecake tastes even better after a full day in the fridge, so making it a day ahead works perfectly.
Why did my cheesecake crack on top? Cracks usually come from overmixing, baking at too high a temperature, or cooling too fast. Skipping the water bath is another common culprit.
Can I use low-fat cream cheese? You can, but the texture won’t be as rich or smooth. Full-fat cream cheese is what gives this cheesecake its classic New York Style Cheesecake density.
Final Thoughts on This New York Style Cheesecake Recipe
This New York Style Cheesecake recipe takes patience, but every step earns its place. The result is a dense, silky, bakery-quality cheesecake you can genuinely be proud of.
So, are you ready to give your springform pan a real workout? Grab your ingredients, clear your schedule for a slow afternoon, and make a cheesecake worth bragging about.
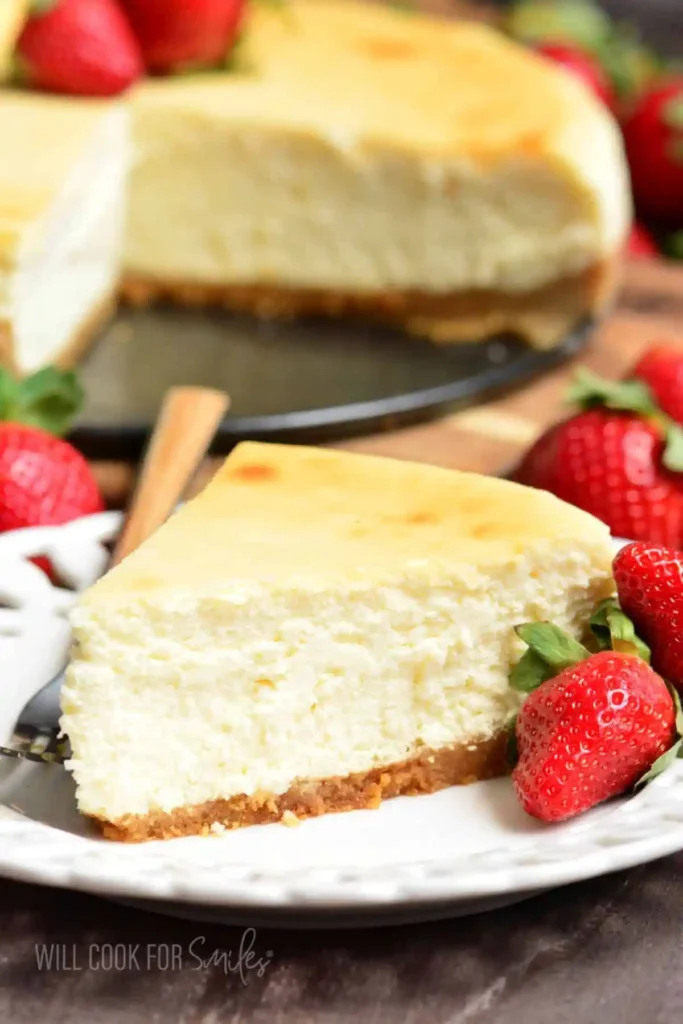
New York Style Cheesecake
Ingredients
Method
- Wrap the outside of your springform pan tightly in two to three layers of aluminum foil to prevent water from leaking in.
- Spray the inside of the springform pan lightly with nonstick spray.
- In a mixing bowl, combine the graham cracker crumbs, sugar, and melted butter until the mixture looks like wet sand. Pour it into your prepared pan.
- Use the bottom of a measuring cup to press the crust firmly across the base and slightly up the sides.
- In a large mixing bowl, beat the softened cream cheese on medium-high speed until smooth and fluffy for about 2-3 minutes.
- Add the sugar slowly while the mixer runs, and then add the eggs one at a time, mixing just until each egg is incorporated.
- Mix in sour cream, heavy cream, and vanilla until fully combined, then lower the mixer speed to add cornstarch until it disappears into the batter.
- Pour the cheesecake batter over your prepared crust and spread it evenly. Preheat your oven to 325°F.
- Place a large roasting pan in the oven, and set your foil-wrapped springform pan inside it. Fill the roasting pan with hot water until it reaches halfway up the sides of the springform.
- Bake for 85 to 90 minutes, until the center is set but still has a slight jiggle.
- Turn off the oven and crack the door open halfway, let the cheesecake rest inside for 10 minutes to cool.
- Remove the foil and let the cheesecake cool for about an hour at room temperature.
- Run a knife around the edge to loosen it, cover with plastic wrap, and refrigerate for at least 6 hours, or overnight for best results.



