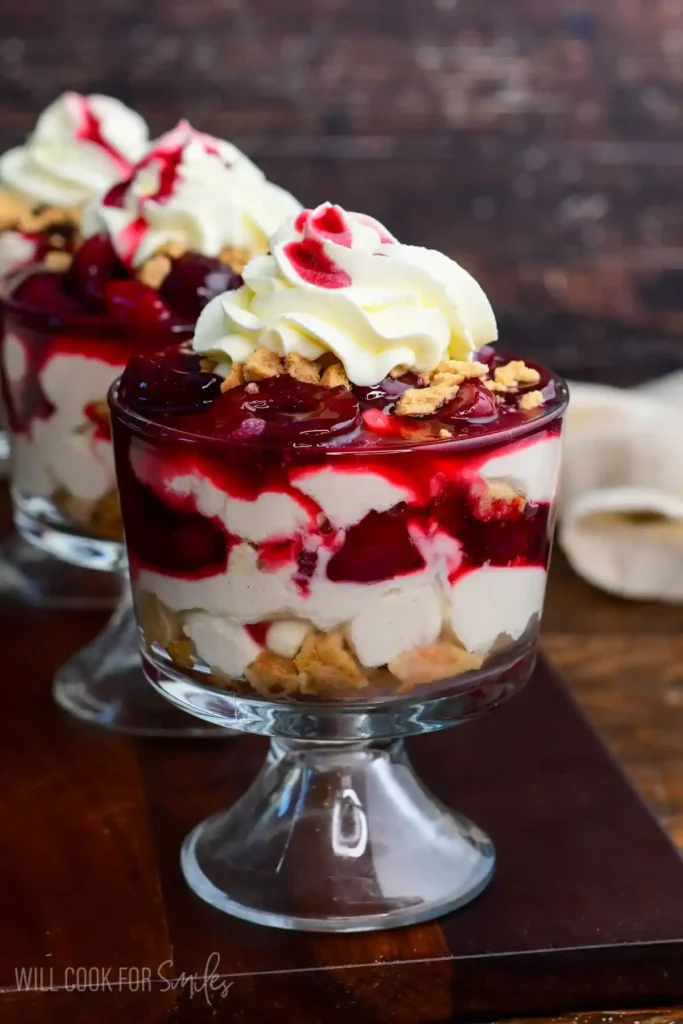
Creamy cheesecake filling, buttery graham cracker crumbs, and glossy homemade cherry sauce layered into a glass. No Bake Cherry Cheesecake Parfait gives you all the cheesecake payoff without ever touching the oven.
I started making these for summer gatherings when turning on the oven felt like a personal attack. Now they show up at basically every party I host.
Servings: 4 Prep Time: 35 minutes Chill Time: 15 minutes minimum Total Time: 50 minutes
Why This No Bake Cherry Cheesecake Parfait Works So Well
Regular cheesecake demands a water bath, careful baking times, and constant worry about cracks. This parfait skips all of that drama while still delivering that same rich, tangy cheesecake flavor.
Have you ever wondered why cheesecake filling sometimes turns out dense instead of light? That usually comes from skipping the whipped cream or not beating it long enough. Here, whipping the cream into the filling is what keeps every spoonful airy rather than heavy.
Building this in individual glasses also makes serving a crowd genuinely simple. Everyone gets their own perfectly portioned dessert, and those layers look impressive with almost no extra effort.
What You’ll Need for This Recipe
This recipe uses straightforward ingredients you can find at any regular grocery store. Here’s exactly what to grab.
For the Cherry Filling
- Fresh cherries, pitted and halved — 1 pound
- Fresh lemon juice — 1 tablespoon
- Granulated sugar — 1/4 cup
- Cornstarch — 1 tablespoon
- Water — 1 tablespoon, for the slurry
For the Cheesecake Filling
- Cream cheese, softened — 8 ounces
- Granulated sugar — 1/3 cup
- Heavy whipping cream — 1 cup
- Vanilla extract — 1 teaspoon
- Ground cinnamon — 1/4 teaspoon
- Salt — a small pinch
For Assembly
- Graham crackers, crushed — 1 cup, about 8 crackers
- Whipped cream — about 1 cup, for topping
Full-fat, block-style cream cheese matters here more than people expect. Whipped or spreadable tub varieties just don’t give you the same rich texture once mixed.
How to Make No Bake Cherry Cheesecake Parfait
This recipe breaks into three easy stages: cherry filling, cheesecake filling, and assembly. Nothing here requires special equipment or advanced skills.
Step 1: Pit and Halve the Cherries
Start by pitting each cherry, then cutting them in half or quarters depending on their size. This step takes a bit of time, but a cherry pitter speeds things up dramatically if you have one. Set the prepared cherries aside in a bowl.
Step 2: Cook the Cherries With Lemon and Sugar
Combine the halved cherries, lemon juice, and granulated sugar in a small pot over medium-low heat. Cover the pot and stir often, letting the cherries soften and release their natural juices. This usually takes about 8 to 10 minutes of gentle cooking.
Step 3: Make the Cornstarch Slurry
While the cherries cook, whisk the cornstarch together with the water in a small bowl until fully dissolved. This slurry needs to be smooth before adding it to the pot, or you’ll end up with clumps in your finished filling. Set it aside until the cherries have softened.
Step 4: Thicken the Cherry Filling
Once your cherries have softened and released their juices, stir the cornstarch slurry directly into the pot. Continue cooking and stirring for another 2 to 3 minutes, watching the mixture thicken into a glossy, syrupy consistency. It should coat the back of a spoon when it’s ready.
Step 5: Cool the Cherry Filling Completely
Remove the thickened cherry mixture from the heat and let it cool to room temperature. This step matters more than it seems, since warm filling will melt the cheesecake layer once you start assembling. Give it at least 20 to 30 minutes to cool fully.
Step 6: Combine the Cheesecake Filling Ingredients
In a mixing bowl, add the softened cream cheese, granulated sugar, heavy whipping cream, vanilla extract, cinnamon, and a small pinch of salt. Using a hand mixer or stand mixer, start on low speed just to bring everything together. Starting slow prevents cream from splattering everywhere before it thickens.
Step 7: Whip the Filling Until Light and Fluffy
Once everything is combined, increase your mixer speed to medium-high. Beat the mixture for about 2 minutes, watching it transform from liquid-y to light, soft, and fluffy. This whipped texture is really what separates a good no-bake cheesecake filling from a dense, heavy one.
Step 8: Choose Your Serving Glasses
Grab small glass parfait cups, mason jars, or any clear glasses you have on hand. Clear glass matters here, since the whole appeal of a parfait is seeing those distinct layers. Set your glasses out on the counter, ready for assembly.
Step 9: Add the Graham Cracker Layer
Spoon about 2 tablespoons of crushed graham crackers into the bottom of each glass. Press them down gently with the back of a spoon, though a firm crust isn’t necessary here. This base layer adds that classic cheesecake crust flavor without any baking involved.
Step 10: Layer in the Cheesecake Filling
Spoon or pipe a layer of the whipped cheesecake filling on top of the graham cracker crumbs. Spread it gently toward the edges of the glass using the back of a spoon. Try to keep this layer distinct rather than letting it mix into the crumbs below.
Step 11: Add the Cooled Cherry Filling
Spoon the completely cooled cherry filling directly over the cheesecake layer. Make sure the cherry filling has cooled fully before this step, or the layers underneath will start to melt together. This is the layer that really brings the color and fruity flavor to the whole dessert.
Step 12: Repeat the Layers
Repeat the graham cracker, cheesecake, and cherry layers one more time in each glass. This creates that classic parfait look with multiple visible bands of flavor and texture. Fill each glass close to the top, leaving just a little room for the final topping.
Step 13: Top With Whipped Cream
Finish each parfait with a generous dollop of whipped cream right on top. This final layer adds a light, airy contrast to the rich layers underneath. IMO, this is the step that turns a good dessert into a genuinely impressive one.
Step 14: Chill Before Serving
If you have the patience, chill the assembled parfaits for at least 15 minutes before serving. This short chilling time lets the flavors meld together and the layers set up a bit firmer. Serve them cold, straight from the fridge, for the best texture.
Tips for Getting This Recipe Right
- Cool the cherry filling completely before assembling to keep layers distinct.
- Use room-temperature cream cheese to avoid a lumpy, hard-to-pipe filling.
- Don’t skip the cinnamon—it adds subtle warmth that pairs beautifully with cherries.
- Chill for at least 15 minutes before serving to let the flavors settle.
- Hold the whipped cream topping until right before serving if making ahead.
Variations Worth Trying
Once you’ve made the classic version, these swaps keep things interesting. A few directions worth exploring:
- Different Fruit: Try strawberries, blueberries, or mixed berries using the same method.
- Chocolate Version: Use chocolate graham crackers and add mini chocolate chips between layers.
- Vanilla Wafer Crust: Swap graham crackers for crushed vanilla wafers for a different flavor.
- Toasted Coconut: Add a layer of toasted coconut flakes for extra texture.
- Shortcut Version: Use canned cherry pie filling if you’re short on time.
What to Serve With No Bake Cherry Cheesecake Parfait
These parfaits work beautifully at summer barbecues, birthday parties, or holiday gatherings without any extra fuss. A light cup of coffee or tea pairs nicely alongside the rich, creamy layers. They’re elegant enough for company but easy enough to whip up on a random Tuesday 🙂
Storing Leftovers Properly
Store assembled parfaits covered in the refrigerator for up to 3 days. The graham crackers will soften slightly over time, though they still taste great. Skip freezing these, since the texture of both the cheesecake filling and crackers changes noticeably once thawed.
Frequently Asked Questions
Can I make these parfaits in a large trifle dish? Yes, this recipe adapts well to a single large trifle dish if you’d rather serve it family-style. Just layer everything the same way, doubling ingredients as needed for the larger vessel.
Do the graham crackers need to be pressed down? Not firmly. A gentle press with the back of a spoon is enough, since you’re not trying to create a solid, baked crust like in traditional cheesecake.
Can I double this recipe? Absolutely. Simply double every ingredient and prepare a larger batch of both fillings. You’ll just need more serving glasses to accommodate the extra portions.
Do I need a stand mixer to make the cheesecake filling? No, a hand mixer works just as well here. You could even whip everything by hand with a whisk, though it takes considerably more effort and time.
How long do cherry cheesecake parfaits last? They keep well in the fridge for up to 3 days when covered properly. The flavor actually improves slightly after the first few hours of chilling.
Can I use canned cherry pie filling instead of fresh cherries? Yes, canned cherry pie filling works as a convenient substitute if fresh cherries aren’t available. It saves the cooking step entirely and still tastes great.
Final Thoughts on This No Bake Cherry Cheesecake Parfait Recipe
This dessert delivers everything you love about cheesecake without demanding any oven time or complicated technique. Between the tangy cheesecake filling, glossy cherry topping, and buttery graham cracker crumbs, every layer earns its place in the glass. It’s simple enough for a random weeknight and impressive enough for a party.
Give these a try soon, and FYI, assembling them the night before genuinely makes hosting so much easier. Once you taste that creamy filling against sweet, syrupy cherries, plain cheesecake slices just won’t feel as fun anymore.
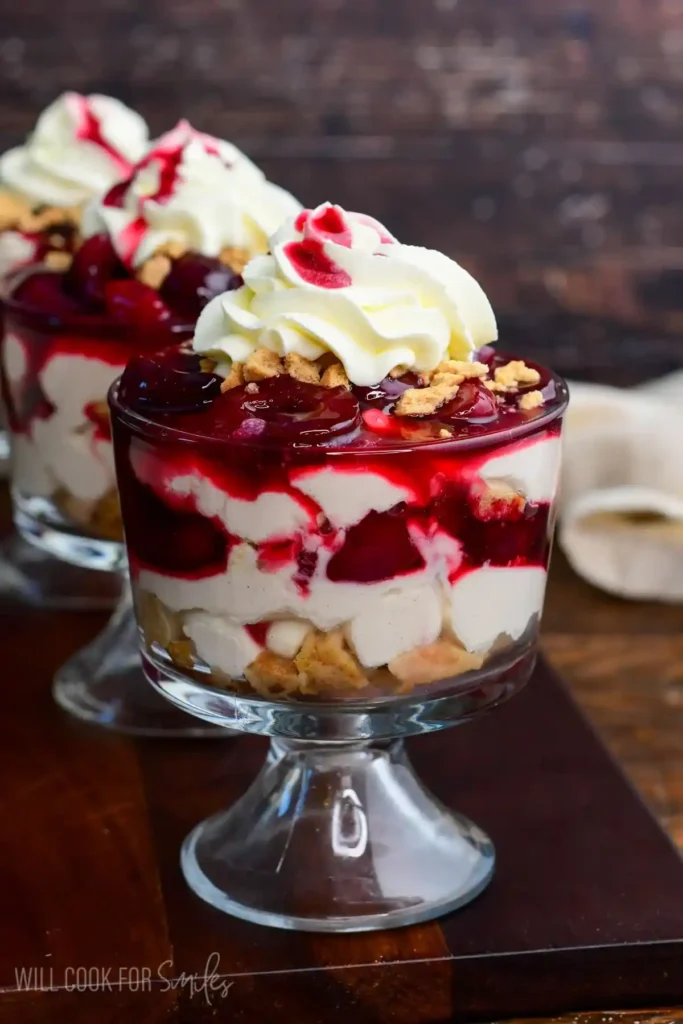
No Bake Cherry Cheesecake Parfait
Ingredients
Method
- Pit and halve the cherries, then set them aside in a bowl.
- Combine the halved cherries, lemon juice, and granulated sugar in a small pot over medium-low heat. Cover and stir often for about 8 to 10 minutes.
- While cherries are cooking, whisk together cornstarch and water in a small bowl to make a slurry.
- Once cherries have softened, stir the cornstarch slurry into the pot. Continue cooking and stirring for another 2 to 3 minutes until thickened.
- Remove from heat and let the mixture cool to room temperature for at least 20 to 30 minutes.
- In a mixing bowl, combine softened cream cheese, granulated sugar, heavy whipping cream, vanilla extract, cinnamon, and a small pinch of salt.
- Start on low speed with a mixer to combine ingredients, then increase to medium-high and beat for about 2 minutes until light and fluffy.
- Select individual serving glasses and add about 2 tablespoons of crushed graham crackers to the bottom of each glass.
- Add a layer of the cheesecake filling atop the graham crackers and spread gently with a spoon.
- Spoon the cooled cherry filling over the cheesecake layer.
- Repeat the layers of graham crackers, cheesecake, and cherry filling again.
- Top with a dollop of whipped cream.
- Chill the parfaits for at least 15 minutes before serving.
Notes
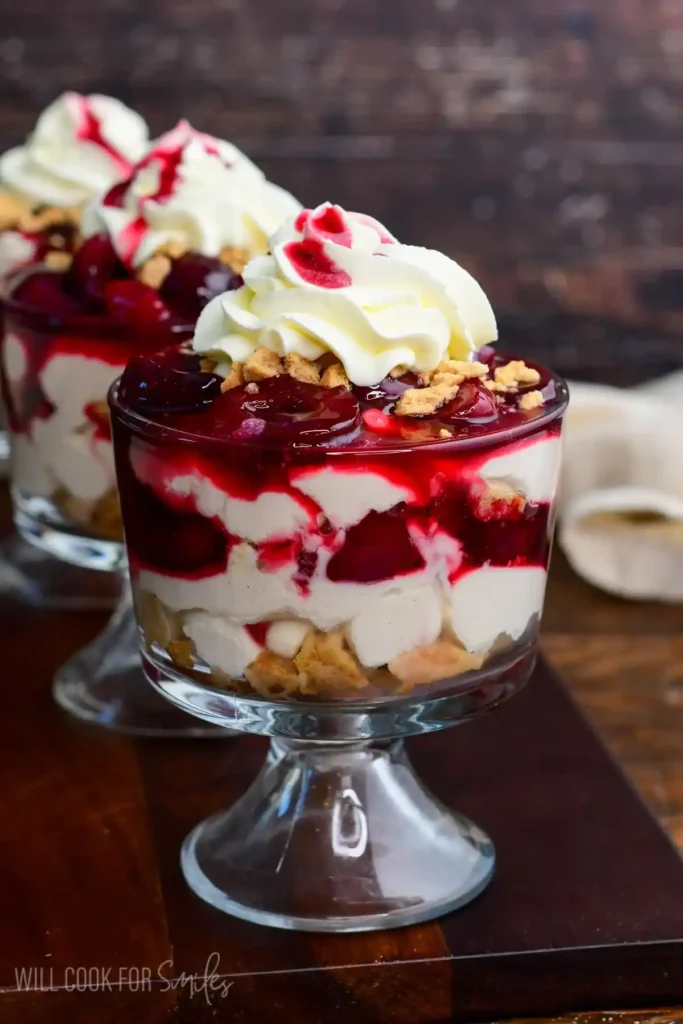
No Bake Cherry Cheesecake Parfait
Ingredients
Method
- Pit and halve the cherries, then set them aside in a bowl.
- Combine the halved cherries, lemon juice, and granulated sugar in a small pot over medium-low heat. Cover and stir often for about 8 to 10 minutes.
- While cherries are cooking, whisk together cornstarch and water in a small bowl to make a slurry.
- Once cherries have softened, stir the cornstarch slurry into the pot. Continue cooking and stirring for another 2 to 3 minutes until thickened.
- Remove from heat and let the mixture cool to room temperature for at least 20 to 30 minutes.
- In a mixing bowl, combine softened cream cheese, granulated sugar, heavy whipping cream, vanilla extract, cinnamon, and a small pinch of salt.
- Start on low speed with a mixer to combine ingredients, then increase to medium-high and beat for about 2 minutes until light and fluffy.
- Select individual serving glasses and add about 2 tablespoons of crushed graham crackers to the bottom of each glass.
- Add a layer of the cheesecake filling atop the graham crackers and spread gently with a spoon.
- Spoon the cooled cherry filling over the cheesecake layer.
- Repeat the layers of graham crackers, cheesecake, and cherry filling again.
- Top with a dollop of whipped cream.
- Chill the parfaits for at least 15 minutes before serving.



