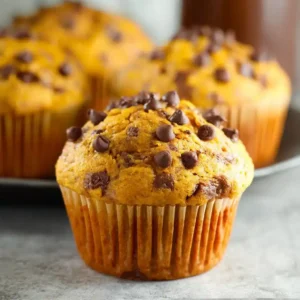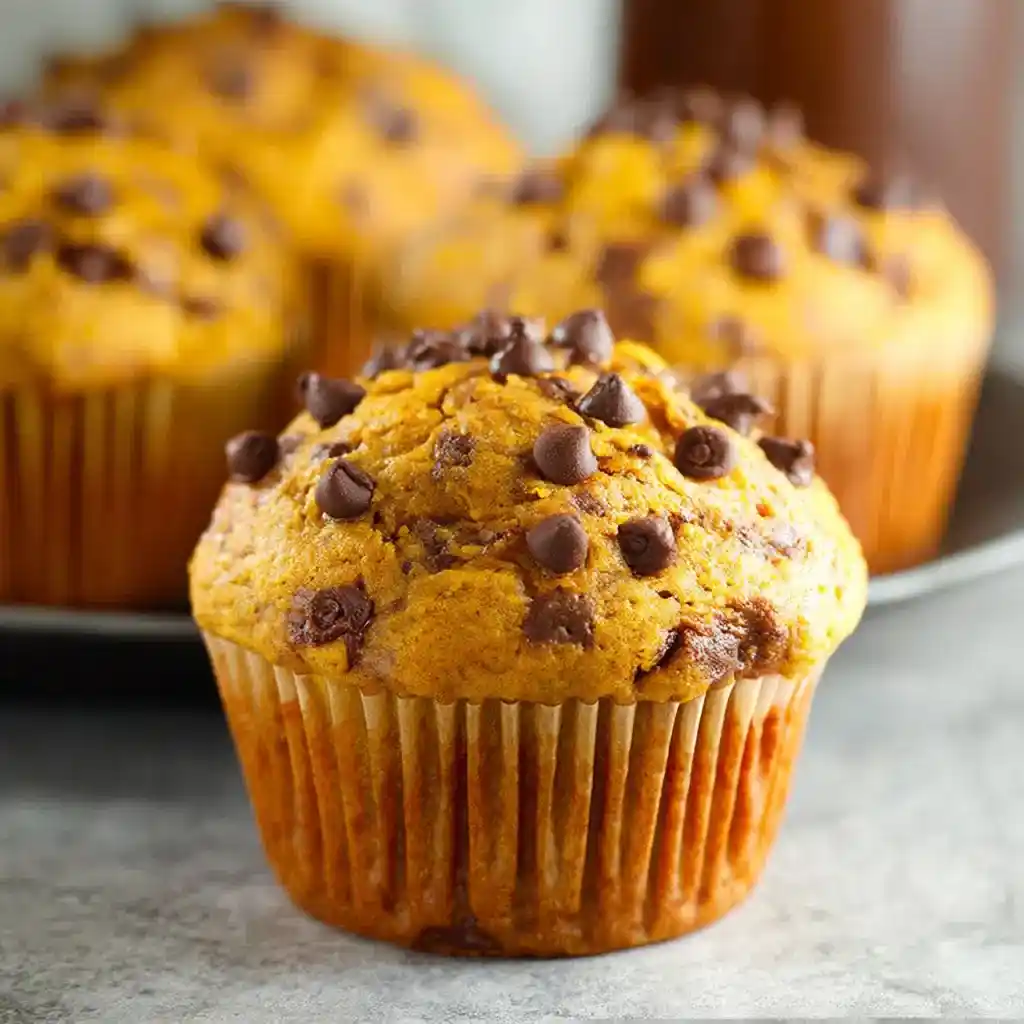
Okay, I need to talk about these Pumpkin Chocolate Chip Muffins for a second. I made a batch last weekend and my kitchen smelled like a candle store, minus the $30 price tag. If you’re craving something soft, warmly spiced, and a little indulgent, you’re in the right place.
Servings: 12 muffins Prep time: 15 minutes Bake time: 19–22 minutes Total time: About 40 minutes
That’s it. Less time than a sitcom rerun, and way more satisfying.
Why You’ll Love This Pumpkin Chocolate Chip Muffins Recipe
I’ve tried a dozen pumpkin muffin recipes over the years, and this one wins for a simple reason: it actually tastes like pumpkin, not just cinnamon-flavored cardboard. The texture stays soft for days, and the chocolate chips melt into little pockets of joy. Have you ever bitten into a “pumpkin” muffin that tasted like nothing? Yeah, this isn’t that.
A few reasons this recipe earns a permanent spot in your fall rotation:
- Real pumpkin puree, not a mystery orange paste
- Warm pumpkin pie spice that actually smells like autumn
- Mini chocolate chips for even distribution in every bite
- Simple pantry ingredients, no weird specialty items
What You’ll Need
I love recipes that don’t send me on a scavenger hunt through three grocery stores. This one sticks to basics. Grab these ingredients and you’re set:
- unsalted butter, softened, 3 tablespoons
- brown sugar, ¾ cup
- pumpkin puree, ¾ cup
- egg, 1
- vanilla extract, 1 teaspoon
- all-purpose flour, 2 cups
- baking powder, 2½ teaspoons
- baking soda, ¼ teaspoon
- pumpkin pie spice, 1½ teaspoons
- kosher salt, ½ teaspoon
- milk, ⅔ cup
- mini chocolate chips, ½ cup, plus extra for topping
IMO, the mini chocolate chips make a real difference here. Regular-sized chips sink to the bottom and leave you with a chocolate-free top half. Nobody wants muffin inequality like that.
Let’s Make Pumpkin Chocolate Chip Muffins, Step by Step
I’m going to walk you through this slowly, because rushing muffin batter is how dense hockey pucks happen. Trust the process, and don’t skip the little details below.
Step 1: Get Your Setup Ready
Preheat your oven to 350°F before you do anything else. Line a 12-cup muffin tin with paper liners, or grease it well if you’re liner-free. This little prep step saves you from scrambling later with sticky batter on your hands.
Step 2: Cream the Butter and Sugar
In a large mixing bowl, beat the softened butter and brown sugar together until the mixture turns light, fluffy, and pale. This usually takes two to three minutes with a hand mixer. Don’t rush this part, since it’s what gives your muffins that soft, tender crumb.
Step 3: Add the Wet Ingredients
Mix in the pumpkin puree, egg, and vanilla extract until everything looks smooth and fully combined. The batter will turn a gorgeous burnt-orange color at this point. Take a moment to appreciate it, because honestly, it’s kind of beautiful.
Step 4: Whisk Your Dry Ingredients Separately
Grab a second bowl and whisk together the flour, baking powder, baking soda, pumpkin pie spice, and salt. Whisking these dry ingredients separately spreads the leavening agents evenly throughout the flour. Skip this step and you risk weird pockets of baking soda flavor, which is exactly as unpleasant as it sounds.
Step 5: Combine Wet and Dry, Alternating with Milk
Add the dry mixture to the wet mixture in three additions, alternating with splashes of milk in between. Stir gently after each addition, just until the flour disappears into the batter. Overmixing at this stage activates the gluten too much, and that’s the fastest route to a tough, chewy muffin.
Step 6: Fold in the Chocolate Chips
Gently fold the mini chocolate chips into the batter using a spatula, just until they’re evenly scattered. Resist the urge to keep stirring even after they look distributed. The less you touch the batter from here, the fluffier your muffins turn out.
Step 7: Fill the Muffin Cups
Divide the batter evenly among your twelve muffin cups, filling each about three-quarters full. Sprinkle a few extra chocolate chips on top of each one for that bakery-style look. Have you ever noticed how much better food tastes when it looks pretty? Science, probably.
Step 8: Bake to Golden Perfection
Slide the tin into your preheated oven and bake for 19 to 22 minutes. You’ll know they’re done when a toothpick inserted into the center comes out clean, or with just a few moist crumbs clinging to it. Every oven runs a little differently, so start checking around the eighteen-minute mark.
Step 9: Cool Before You Dive In
Let the muffins cool in the tin for about 10 minutes before moving them anywhere. Then transfer them to a wire rack to finish cooling completely. I know waiting is torture, but biting into a molten muffin center helps nobody.
Serving and Storage Tips
These muffins taste best warm or at room temperature, paired with coffee, tea, or honestly just a cold glass of milk. For a fancier presentation, warm them slightly and dust with powdered sugar right before serving. Guests will think you hired a baker.
Keep leftovers fresh with these storage guidelines:
- Room temperature: airtight container, up to 3 days
- Refrigerator: up to 7 days for extended freshness
- Freezer: wrap individually, freeze up to 3 months
Thaw frozen muffins at room temperature, or pop one in the microwave for a quick warm-up. FYI, freezing them individually wrapped prevents that sad, soggy freezer-burn texture.
Fun Variations to Try
Once you’ve nailed the base recipe, why stop there? Here are a few twists I’ve personally tested and loved:
- Dark Chocolate Pumpkin Muffins: swap in dark chocolate chips for a richer, less sweet flavor
- Pumpkin Walnut Chocolate Chip Muffins: add ½ cup chopped walnuts for crunch
- Pumpkin Spice Latte Muffins: stir in 1 teaspoon instant espresso powder
- Double Chocolate Pumpkin Muffins: replace ¼ cup flour with cocoa powder
- Healthier Pumpkin Muffins: use half whole wheat flour and cut sugar by ¼ cup
My personal favorite is the pumpkin spice latte version. It basically tastes like your favorite coffee order decided to become a muffin.
Frequently Asked Questions
Can I use fresh pumpkin instead of canned puree? Yes, just make sure it’s well-pureed and not watery, or your batter will turn out too loose.
Can I make these muffins ahead of time? Absolutely. They actually taste even better the next day once the spices settle in.
Why are my muffins turning out dense? Overmixing the batter is almost always the culprit. Stir just until the ingredients combine, nothing more.
Can I reduce the sugar in this recipe? Yes, cutting the brown sugar by up to ¼ cup won’t ruin the texture or flavor much.
What’s the best type of milk to use? Whole milk gives the richest results, though any milk you have on hand will still work fine.
Can I turn this into mini muffins? Definitely. Just reduce your baking time to around 10 to 12 minutes and watch them closely.
Final Thoughts
Pumpkin Chocolate Chip Muffins hit that sweet spot between cozy comfort food and something special enough to share. They’re quick enough for a weekday breakfast and impressive enough for a weekend brunch table. Once you bake a batch, don’t be surprised if it disappears faster than you expected.
So, are you team classic mini chocolate chips, or ready to experiment with one of the fun variations above? Either way, grab that can of pumpkin puree sitting in your pantry and put it to good use already.