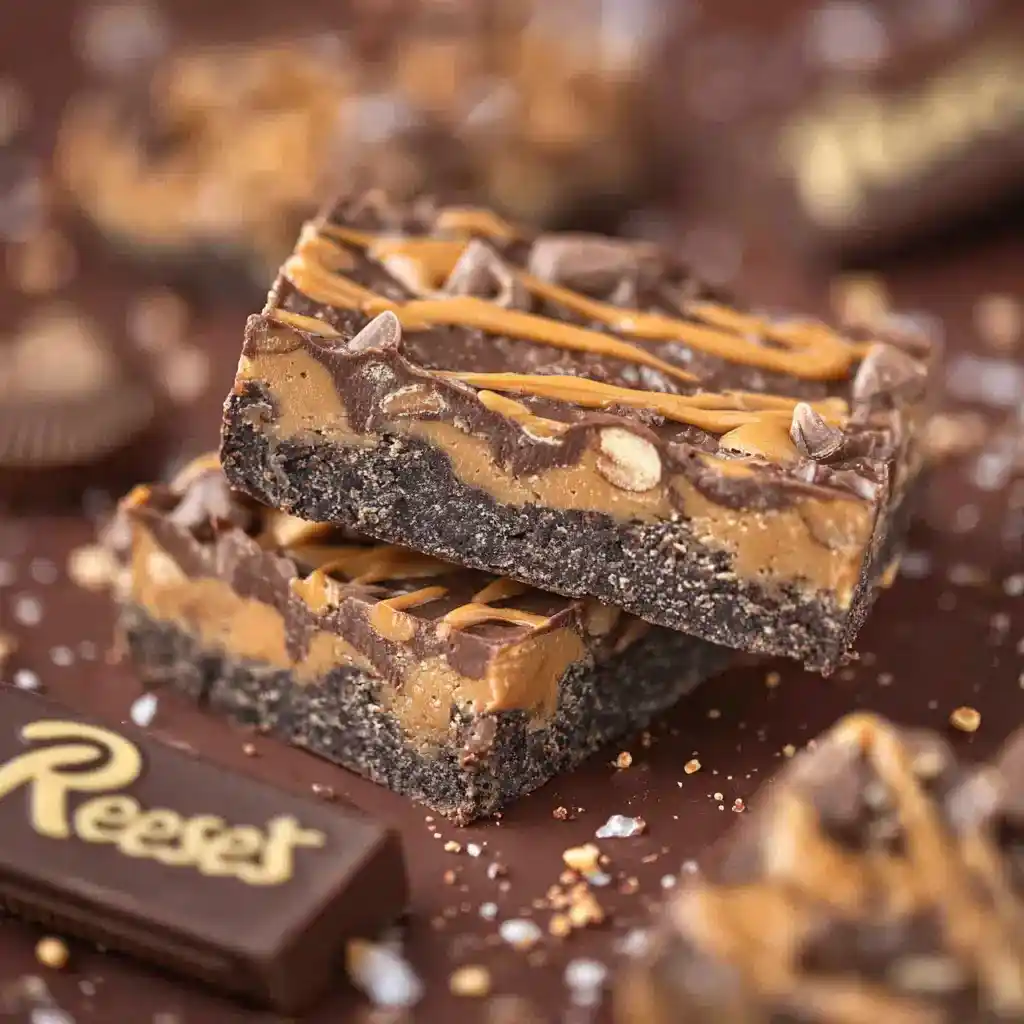
Craving something gooey, chocolatey, and dangerously easy to make? These Reese’s Bars might just ruin every other dessert for you. IMO, once you try this recipe, boxed brownie mix will never taste boring again.
I stumbled onto this combo during a lazy Sunday baking session, and honestly, I haven’t looked back. Peanut butter cups plus brownie batter plus a sweet, gooey drizzle? That’s not a snack. That’s a personality trait.
Servings: 24 bars
Prep Time: 15 minutes
Bake Time: 28–30 minutes
Total Time: Under 1 hour (plus chilling)
Why You’ll Love These Reese’s Bars
Let’s be real—brownies are great, but they’re kind of a one-trick pony. These bars fix that problem fast. They bring texture, saltiness, and that iconic peanut butter cup flavor into every single bite.
Here’s what makes them worth the counter space:
- Fudgy base that stays soft for days
- Real Reese’s cups melted right into the batter
- Peanut butter chips for extra richness
- Condensed milk drizzle that creates a gooey top layer
Have you ever had a dessert that tastes way more complicated than it actually is? This is exactly that kind of magic trick.
What You’ll Need
Nothing fancy here. You probably have most of this already sitting in your pantry, minus the peanut butter cups—unless you’re hiding a secret stash somewhere.
You’ll need brownie mix, butter, an egg, oil, chopped peanut butter cups, peanut butter chips, and sweetened condensed milk. That’s it. Seven ingredients standing between you and dessert glory.
A Quick Note on the Brownie Mix
Grab a standard 19 to 19.1 ounce box. Size actually matters here, since a smaller box throws off the texture completely.
Skip the instructions printed on the box, by the way. This recipe uses a different butter-to-oil ratio, and trust me, it makes the bars noticeably fudgier.
Let’s Talk Peanut Butter Cups
Regular size Reese’s cups work best for this recipe. Chop them roughly so you get little pockets of peanut butter and chocolate scattered through every bar.
Mini cups work too if that’s what’s in your cabinet. Just swap in about one and a half cups instead of counting individual pieces like it’s a math problem.
How to Make Reese’s Bars (Step-by-Step)
Alright, here’s where the real fun starts. This part takes patience more than skill, so don’t rush it.
Step 1: Prep Your Pan and Oven
Preheat your oven to 350 degrees Fahrenheit first. While it heats, line a 9×13 inch pan with foil, letting extra hang over the sides for easy lifting later.
Spray the foil lightly with non-stick spray. This little step saves you from scraping stuck brownie bits off foil later, which is genuinely nobody’s idea of fun.
Step 2: Mix the Brownie Base
In a large bowl, combine softened butter, one egg, vegetable oil, and the brownie mix. Stir slowly at first, since dry mix loves to fly everywhere if you go too fast.
The batter turns thick fast—thicker than typical brownie batter. That’s normal, so don’t panic and start adding extra liquid to loosen it up.
Step 3: Press It Into the Pan
Spread the batter into your prepared pan using a spatula or your hands. IMO, hands work better here since the batter is sticky and stubborn.
Spray your fingers with non-stick spray before pressing. This one trick makes the whole process smoother and way less frustrating.
Step 4: Layer On the Good Stuff
Sprinkle your chopped Reese’s cups evenly across the pressed brownie layer. Don’t overthink placement—messy coverage actually looks better once baked.
Add peanut butter chips on top next. These melt slightly during baking, creating little pockets of extra peanut butter flavor throughout the bars.
Step 5: Add the Condensed Milk Drizzle
Pour about three-quarters of your condensed milk can over the top, drizzling in a zigzag pattern. Leave a bit of brownie visible—this isn’t a frosting layer, just a rich topping.
Why not use the whole can? Because too much liquid can prevent the center from setting properly, leaving you with a sad, soupy middle.
Step 6: Bake Until Just Set
Slide the pan into your preheated oven and bake for 28 to 30 minutes. The center should look set, not jiggly or wet.
Every oven runs a little differently, so start checking around the 26-minute mark. Slight underbaking beats overbaking here, since these bars firm up more as they cool.
Step 7: Cool, Chill, and Slice
Let the pan cool completely on the counter first. Rushing this step usually ends with bars falling apart during slicing, and nobody wants that heartbreak.
Once cooled, refrigerate for at least an hour before cutting. Chilled bars slice cleanly, while warm bars turn into a gooey mess on your cutting board.
Storage and Serving Tips
These bars actually taste better the next day, once everything sets fully. Patience pays off here, even when the smell coming from your fridge is borderline unfair.
Keep leftovers in an airtight container in the fridge for up to five days. Freezing works too, lasting around two months if wrapped tightly.
Serve them chilled alongside cold milk or hot coffee. Warm knife, clean cuts—that’s the secret nobody tells you about slicing fudgy bars neatly.
Fun Variations to Try
Once you’ve nailed the basic recipe, why stop there? Small tweaks completely change the personality of these bars without extra effort.
- Double Reese’s version: use twice the chopped cups
- Dark chocolate swap: use a dark chocolate brownie mix
- Salted peanut crunch: sprinkle chopped salted peanuts on top
- Espresso kick: add a teaspoon of espresso powder to the batter
Frequently Asked Questions
Can I use a smaller brownie mix box?
No, stick with the 19 to 19.1 ounce size for proper thickness and texture.
Should I follow the instructions on the brownie box?
No, this recipe uses its own butter and oil ratio for a fudgier result.
Why do I need to refrigerate before cutting?
Chilling helps the bars firm up completely, making slicing much cleaner and less messy.
Can I freeze Reese’s Bars?
Yes, they freeze well for up to two months when wrapped tightly in foil or plastic.
Can I substitute milk for the condensed milk?
No, condensed milk creates the gooey texture that makes these bars special.
How do I know when they’re finished baking?
The center should look set rather than jiggly, though slight softness is fine since they firm up while cooling.
Final Thoughts
These Reese’s Bars deliver everything you want from a dessert: rich chocolate, gooey texture, and that unbeatable peanut butter punch. They come together fast, using ingredients you probably already own.
So next time a craving hits, skip the store run. Make a batch, share if you’re feeling generous, and watch how quickly they disappear from the counter.