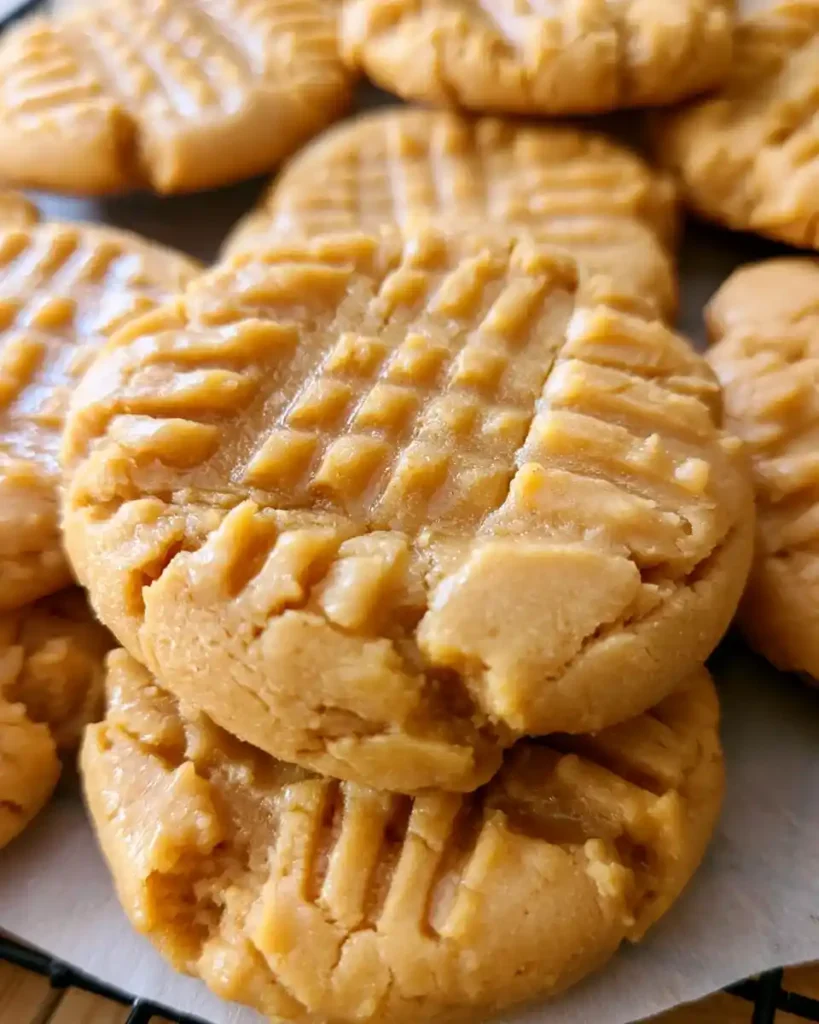
Servings: 24 cookies | Prep Time: 15 minutes | Bake Time: 10–12 minutes | Total Time: ~30 minutes
Most peanut butter cookies fall into one of two sad categories: too thin and crispy, or too cakey and soft. Neither one actually satisfies that craving. Thick and Chewy Peanut Butter Cookies sit right in the middle — dense, slightly crisp on the edges, soft and almost fudgy in the center.
I’ve tested this recipe more times than I care to admit. Failed batches, flat cookies, cookies that tasted like sweetened cardboard. What you’re reading now is the version that finally got it right. No surprises, no weird ingredients, just genuinely great cookies every single time.
Why These Thick And Chewy Peanut Butter Cookies Work So Well
The secret isn’t one magic ingredient — it’s the ratio. Brown sugar brings moisture and chewiness. Creamy peanut butter adds density and richness. Pulling them out of the oven slightly underdone lets the centers finish setting on the pan.
Most recipes miss at least one of those three things. This one doesn’t. And once you make them correctly, you’ll immediately understand why texture matters so much in a peanut butter cookie.
Ingredients for Thick And Chewy Peanut Butter Cookies
- 1/2 cup (1 stick) unsalted butter, softened to room temperature
- 3/4 cup creamy peanut butter (commercial brand, not natural)
- 1/2 cup granulated sugar
- 1/2 cup brown sugar, packed
- 1 large egg, room temperature
- 1 tsp vanilla extract
- 1 1/4 cups all-purpose flour
- 3/4 tsp baking soda
- 1/4 tsp salt
How to Make Thick And Chewy Peanut Butter Cookies
Step 1: Preheat the Oven and Line Your Baking Sheet
Set your oven to 350°F (175°C) and let it fully preheat. Baking cookies in an oven that hasn’t reached temperature yet causes them to spread too fast and bake unevenly.
Line a large baking sheet with parchment paper. Parchment prevents sticking and promotes even browning on the bottoms. Greasing the pan directly tends to make the bottoms cook faster than the tops, which throws off the whole texture. Parchment is the better call every time.
If you have two baking sheets, get both ready. You’ll be able to rotate batches faster and keep things moving.
Step 2: Cream the Butter, Peanut Butter, and Sugars
Add your softened butter and creamy peanut butter to a large mixing bowl. Using a hand mixer or stand mixer, beat them together on medium speed for about 1 minute until they’re combined and smooth.
Add both the granulated sugar and packed brown sugar to the bowl. Beat everything together on medium-high speed for 2 full minutes. Don’t rush this. You want the mixture to turn noticeably lighter in color and slightly fluffy. That incorporated air makes a real difference in how the cookies bake up.
A note on peanut butter: use a commercial creamy brand like Jif or Skippy, not natural peanut butter. Natural peanut butter separates and has a different oil content. It makes cookies greasier and causes them to spread unpredictably. IMO, this is one situation where the classic jarred stuff genuinely outperforms the “better” option. :/
Step 3: Add the Egg and Vanilla
Crack in 1 large room-temperature egg and add 1 tsp vanilla extract. Beat on medium speed until fully incorporated — about 30 to 45 seconds. The dough should look smooth and slightly glossy at this point.
Room temperature egg matters here. A cold egg straight from the fridge can cause the butter to seize slightly and create a lumpy dough. If you forgot to set your egg out early, drop it in a bowl of warm water for 5 minutes. Problem solved.
Step 4: Whisk and Add the Dry Ingredients
In a separate medium bowl, whisk together 1 1/4 cups all-purpose flour, 3/4 tsp baking soda, and 1/4 tsp salt. Whisking distributes the baking soda and salt evenly through the flour before it ever touches the wet ingredients.
Add the dry mixture to the wet ingredients in two additions. Start the mixer on low — flour everywhere is nobody’s idea of a good time — then increase to medium. Mix just until no dry flour streaks remain.
The dough will feel noticeably thick and stiff. That’s exactly right. A thick dough holds its shape in the oven instead of spreading flat. If your dough feels too soft or sticky, refrigerate it for 20 minutes before shaping.
Step 5: Scoop and Shape the Dough Balls
Use a tablespoon-sized cookie scoop or two spoons to portion the dough into balls roughly the size of a golf ball — about 1.5 tablespoons of dough each. Roll each one between your palms to smooth it out.
Place the dough balls on your prepared baking sheet, spacing them about 2 inches apart. They spread a little during baking, but not dramatically. A 2-inch gap gives them plenty of room without wasting sheet space.
Now press each ball gently with a fork in a crisscross pattern, flattening them slightly. Press down to about 3/4 inch thickness — not completely flat. This step does two things: it gives Thick and Chewy Peanut Butter Cookies their classic look, and it slightly compresses the dough so the centers bake more evenly.
If the fork sticks to the dough, dip it in a small dish of granulated sugar between presses. The sugar coating prevents sticking and adds a very subtle crunch to the surface.
Step 6: Bake — And Pull Them Out at the Right Moment
Slide the baking sheet into your preheated oven and bake for 10 to 12 minutes. Set a timer for 10 minutes and check them then.
Here’s the most important thing you’ll read in this entire recipe: pull the cookies out when the edges look set but the centers still look slightly underdone. They’ll look almost too soft. That’s intentional. The cookies continue cooking on the hot pan for several minutes after you pull them out of the oven.
If you wait until the centers look fully baked before pulling them, you’ll end up with dry, crumbly cookies by the time they cool. Underbaking by just a minute or two is the entire secret behind the chewy texture. FYI, this is the step most people skip or ignore, and it’s the main reason homemade peanut butter cookies disappoint.
The edges should look lightly golden. The tops should look dull rather than shiny. That dull surface tells you the cookies have set enough to hold their shape off the pan.
Step 7: Cool on the Pan, Then Transfer
Remove the baking sheet from the oven and let the cookies sit on the pan for 5 full minutes before moving them. They’re too soft to transfer immediately and will fall apart if you try.
After 5 minutes, use a thin spatula to move them to a wire cooling rack. Let them cool for at least another 10 minutes before eating. The texture finishes setting as they cool, and biting into one too early means missing the full chewy effect you just spent 30 minutes building.
Tips for Getting the Texture Right Every Time
- Measure flour correctly. Spoon flour into your measuring cup and level it off with a knife. Scooping directly packs the flour and can add 20–30% more than the recipe calls for, making cookies dry and dense.
- Don’t overmix after adding flour. Stop the mixer the moment the dough comes together.
- Chill the dough if it feels too soft. 20 minutes in the fridge firms it up significantly.
- Bake one test cookie first. Ovens vary. One test cookie tells you exactly how your oven runs before you commit the whole batch.
- Store in an airtight container at room temperature for up to 5 days. They stay soft and chewy the whole time.
Variations Worth Trying
- Fold in 1/2 cup chocolate chips after mixing the dough for a peanut butter and chocolate combination that nobody ever complains about.
- Press a Reese’s Peanut Butter Cup into the center of each cookie right after pulling them from the oven for a classic peanut butter blossom variation.
- Add 1/2 cup rolled oats to the dough for extra chew and a heartier bite.
- Swap granulated sugar for coconut sugar to lower the glycemic index without dramatically changing the flavor.
- For a gluten-free version, use a 1:1 gluten-free baking blend that contains xanthan gum. The texture holds up surprisingly well.
Serving Suggestions
- Serve warm with a cold glass of whole milk — the combination works for a reason that nobody can fully explain but everyone understands.
- Sandwich two cookies around a scoop of vanilla ice cream for a dessert that takes zero creativity and delivers maximum results.
- Wrap 3 or 4 in parchment paper and tie with twine for a simple homemade gift that costs almost nothing and looks genuinely thoughtful.
- Crumble one over a bowl of vanilla yogurt for a breakfast that technically involves dairy and fruit-adjacent ingredients.
Equipment You Need
- Large mixing bowl
- Hand mixer or stand mixer
- Medium bowl for dry ingredients
- Whisk
- Cookie scoop or tablespoon
- Baking sheet
- Parchment paper
- Wire cooling rack
- Fork for pressing
FAQs About Thick And Chewy Peanut Butter Cookies
Why did my cookies spread too flat? Usually butter that’s too warm or too much butter relative to flour. Make sure your butter is softened, not melted. Also check your flour measurement — under-measuring flour is the second most common cause of flat cookies.
Can I freeze the dough before baking? Yes, and it works beautifully. Shape the dough into balls, freeze them on a baking sheet until solid, then transfer to a zip-lock bag. Bake directly from frozen at 350°F for 12 to 14 minutes. Perfect for baking exactly as many as you need.
Can I use natural peanut butter? You can, but expect different results. Natural peanut butter produces a slightly greasier, more fragile cookie that spreads more. If you must use it, refrigerate the dough for 30 minutes before baking to help it hold its shape.
Why do the centers look underdone when I pull them out? That’s intentional. The centers finish cooking from the residual heat of the pan. If they look fully done in the oven, they’ll be overdone by the time they cool. Trust the process.
Can I double the recipe? Absolutely. This recipe doubles without any adjustments. Mix in a large stand mixer bowl and bake in multiple batches. The cookies freeze well, so doubling makes sense if you’re going to the effort anyway.
How do I keep them chewy after storing? Add one slice of sandwich bread to the airtight container. The cookies absorb just enough moisture from the bread to stay soft without tasting like bread. Replace the bread every couple of days.
Final Thoughts on Thick And Chewy Peanut Butter Cookies
Thick and Chewy Peanut Butter Cookies aren’t complicated. They need the right ratio of ingredients, a proper cream of butter and sugar, and the discipline to pull them from the oven before they look done. That last part is the hardest for most people, and it’s also the most important.
Follow these steps once and you’ll understand exactly what you were doing wrong before. Make them a second time and they’ll become automatic. Make them a third time and people will start asking you for the recipe. Go make them.
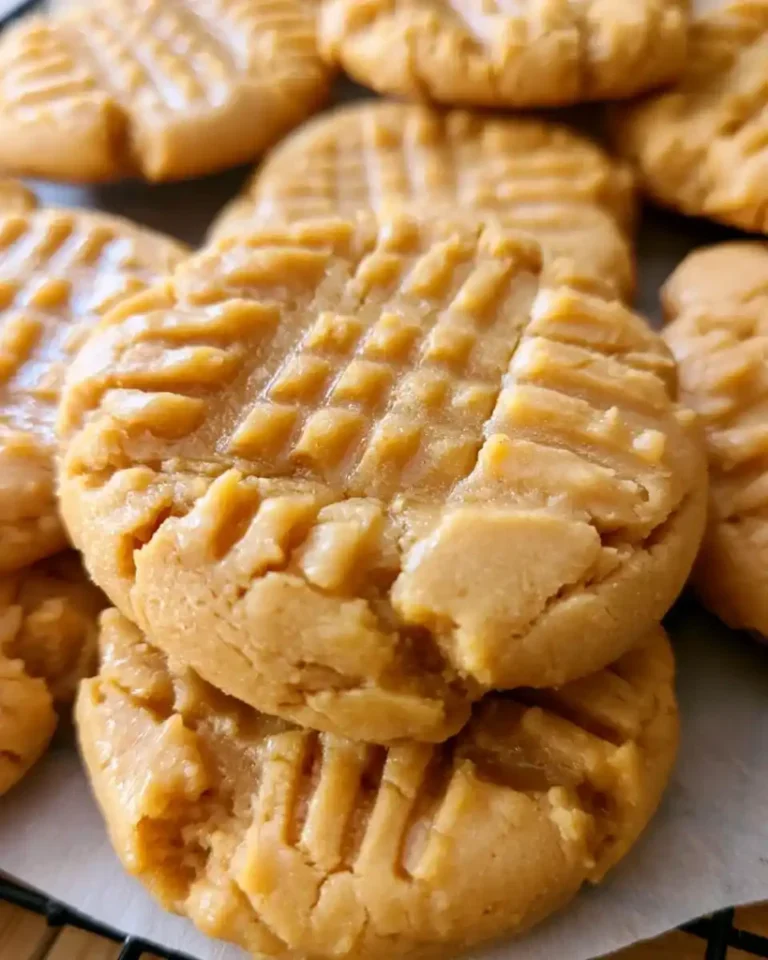
Thick and Chewy Peanut Butter Cookies
Ingredients
Method
- Preheat the oven to 350°F (175°C) and line a large baking sheet with parchment paper.
- In a large mixing bowl, cream together the softened butter and creamy peanut butter using a mixer until smooth.
- Add granulated sugar and brown sugar; beat on medium-high speed for 2 minutes until light and fluffy.
- Add egg and vanilla extract, mixing until fully incorporated.
- In a separate bowl, whisk together the flour, baking soda, and salt.
- Gradually add the dry ingredients to the wet ingredients, mixing until just combined.
- Scoop tablespoon-sized balls of dough and place them about 2 inches apart on the prepared baking sheet.
- Gently press each ball with a fork in a crisscross pattern.
- Bake for 10 to 12 minutes, removing them when the edges are set but the centers look slightly underdone.
- Let the cookies cool on the pan for 5 minutes before transferring them to a wire cooling rack.



