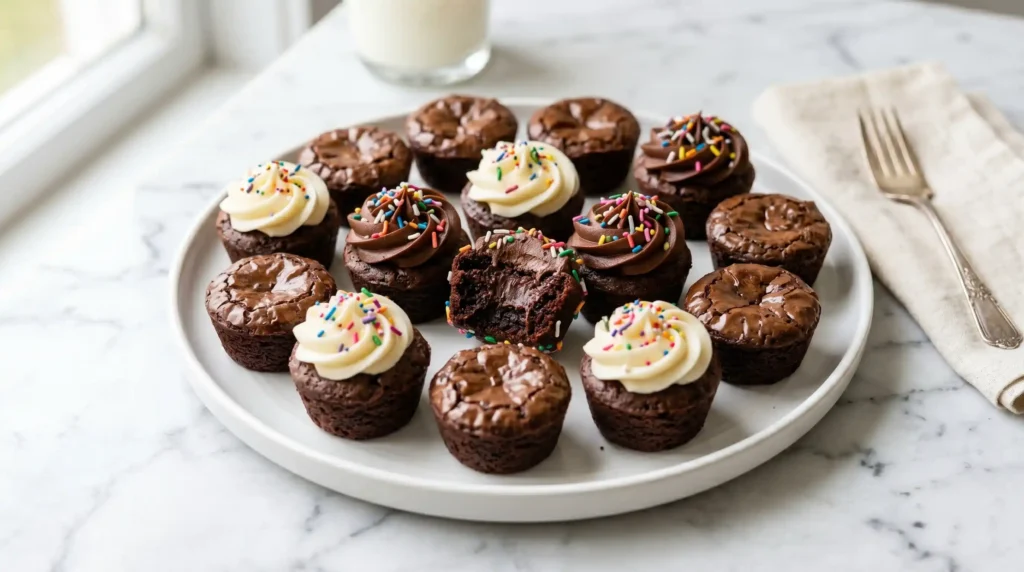
You know that feeling when one brownie just isn’t enough? Yeah, Brownie Bites solve that problem entirely — because now you can eat six and technically still say you only had “a few.” I started making these for potlucks and birthday parties, and honestly, they disappear faster than I can set the tray down.
Servings: 24 bites | Prep Time: 15 minutes | Bake Time: 12–13 minutes | Total Time: ~30 minutes
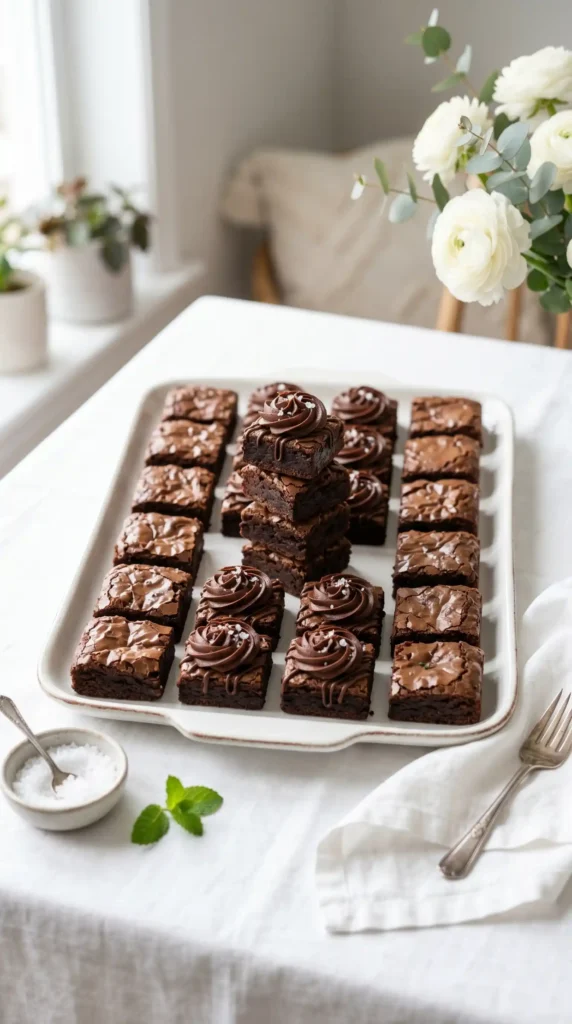
Why Brownie Bites Beat a Regular Brownie Pan Every Time
Have you ever cut a pan of brownies and ended up with uneven, crumbly edges that nobody wants? Brownie bites fix that completely. Every single piece has its own crispy edge and a fudgy, soft center. No awkward corner arguments at the dessert table.
They’re also perfectly portioned, which means less mess, easier serving, and — let’s be real — you feel slightly less guilty eating four of them. IMO, bite-sized desserts are just objectively better for parties. Everyone gets a clean, neat piece without the drama of slicing.
Ingredients You’ll Need
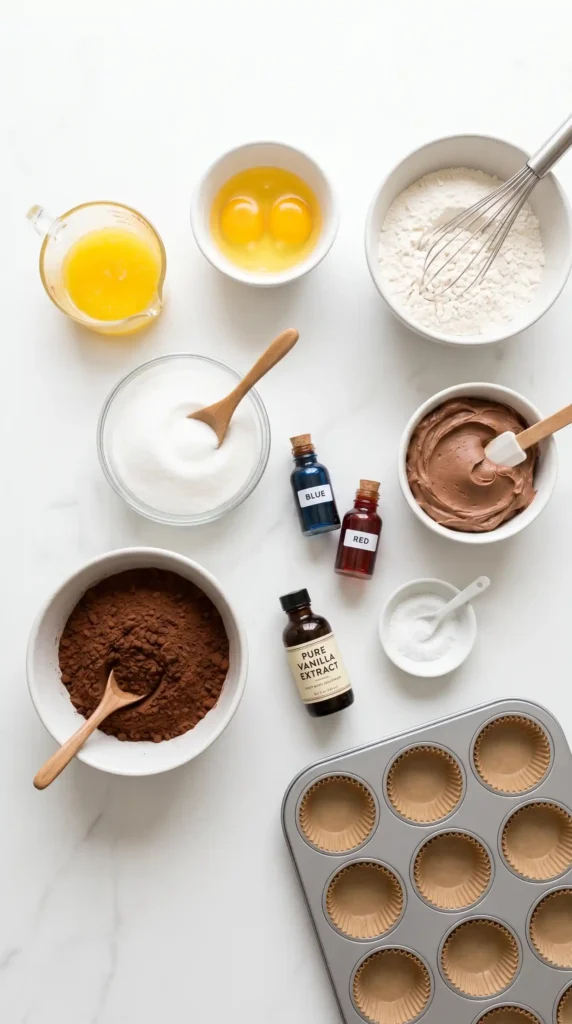
Here’s the full list with exact quantities. Nothing fancy, nothing hard to find.
- 1 cup white sugar
- 1/2 cup all-purpose flour
- 1/3 cup unsweetened cocoa powder
- 1/4 teaspoon salt
- 1/2 cup real unsalted butter, melted
- 2 large eggs
- 1 teaspoon vanilla extract
- 1 cup cake frosting (cream cheese, buttercream, or vanilla — your pick)
- Red and blue food coloring (optional, for festive decorating)
Short list, big flavor. Every ingredient here pulls serious weight.
How to Make Brownie Bites
Step 1: Preheat the Oven and Prep Your Pan
Start by preheating your oven to 325 degrees Fahrenheit. This lower temperature is intentional — it keeps the centers fudgy instead of drying them out completely. While the oven heats up, grab your mini muffin pan and spray every single cup generously with nonstick cooking spray.
Don’t skip the spray. Seriously. A stuck brownie bite is a tragedy nobody deserves. Get into every corner of each cup, including the flat surface between them. Once the pan is prepped, set it aside and move on to the batter.
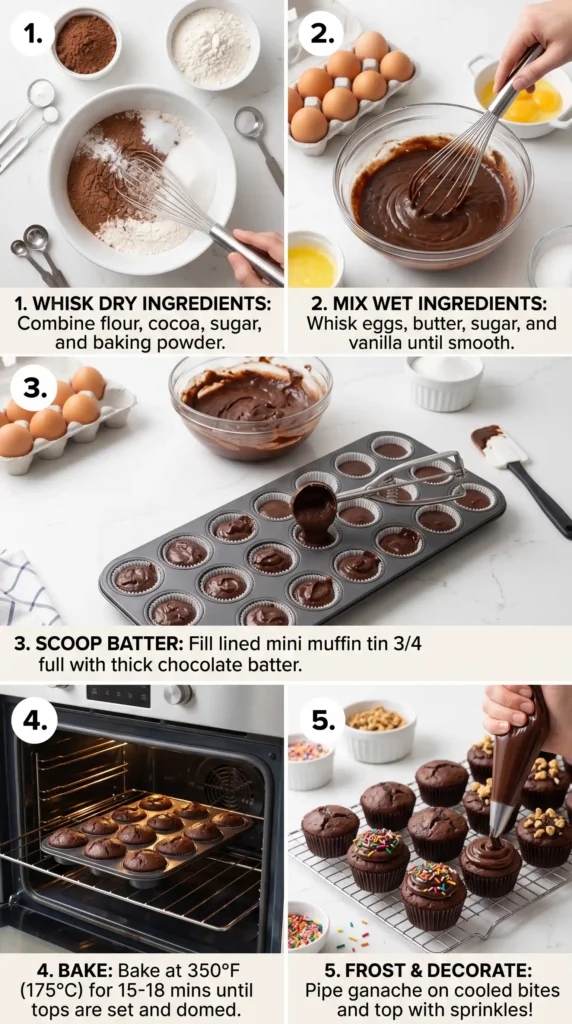
Step 2: Mix the Dry Ingredients Together
In a large mixing bowl, combine the white sugar, all-purpose flour, unsweetened cocoa powder, and salt. Use a whisk or fork to stir everything together until fully blended with no visible clumps. A smooth, even dry mix makes for a smoother batter later — skip this and you’ll have pockets of flour hiding in your finished bites.
Take your time here. It only takes about sixty seconds, but it genuinely matters. The cocoa powder tends to clump, so break up any lumps you spot as you whisk. Once the dry mix looks uniform and chocolatey, you’re ready for the next step.
Step 3: Combine the Wet Ingredients
In a separate medium bowl, add the melted butter, eggs, and vanilla extract. Whisk them together vigorously until the mixture looks glossy and fully combined. The butter should be melted but not scalding hot — if it’s too hot, it can start cooking the eggs right in the bowl. Not ideal.
Room temperature eggs mix in more smoothly than cold ones straight from the fridge. If you forgot to pull them out early, just rest them in a bowl of warm water for five minutes. Once your wet ingredients look uniform and silky, you’re good to go.
Step 4: Make the Batter
Pour the wet ingredient bowl into the dry ingredient bowl. Using a rubber spatula or wooden spoon, stir everything together until just combined. You’re looking for a thick, glossy, deeply chocolatey batter with no dry streaks remaining. Stop mixing the moment everything comes together.
Overmixing develops too much gluten in the flour, which gives you cakey brownies instead of fudgy ones. Nobody asked for a chocolate muffin. Stir just enough to incorporate everything, and then put the spoon down and step away.
Step 5: Fill the Mini Muffin Cups
Spoon the batter into each prepared muffin cup, filling them about three-quarters full. Use a small cookie scoop if you have one — it speeds things up and keeps each portion consistent. Consistent sizing means they all bake evenly at the same time, which matters a lot in a mini muffin pan.
Once all the cups are filled, let the pan sit on the counter for about ten minutes before baking. This short rest period helps the batter settle and contributes to that dense, fudgy texture in the center. It’s a small step that makes a real difference in the final result.
Step 6: Bake Them to Perfection
Slide the pan into your preheated oven and bake for 12 to 13 minutes. At the 12-minute mark, check them. The edges should look set and slightly pulling away from the pan walls, while the centers should look just barely done — not wet, but not firm either. That’s your sweet spot.
Pull them out right at that point. They’ll continue cooking slightly from the residual heat in the pan, which is exactly what you want. Overbaking is the number one mistake people make with brownie bites — a minute too long and you lose all that gorgeous fudginess. Set a timer and trust it.
Step 7: Cool the Bites Properly
Let the brownie bites sit in the hot pan for exactly three minutes after you pull them from the oven. Then, using a butter knife, gently loosen the edges of each bite and transfer them to a wire cooling rack. Give them at least fifteen minutes to cool completely before frosting.
Frosting warm brownie bites is a mess — the frosting melts, slides off, and everything looks like a sad chocolatey disaster. Patience here is worth it. While they cool, you can prep your frosting and get your decorating setup ready to go.
Step 8: Frost and Decorate
Once the bites are fully cooled, it’s time for the fun part. Divide your frosting into separate bowls depending on how many colors you want to use. Add food coloring if you’re going festive, or keep it simple with plain vanilla or cream cheese frosting. Both work beautifully.
Use a piping bag or a zip-top bag with a small corner snipped off to pipe frosting neatly onto each bite. A simple swirl or rosette looks polished and professional with almost zero skill required. Top with sprinkles if you’re feeling extra. Arrange them on a serving tray and try not to eat them all before your guests arrive. 🙂
Tips That Actually Make a Difference
These aren’t filler tips — each one genuinely improves your results:
- Don’t overbake. Pull them at 12 minutes if your oven runs hot.
- Use room temperature eggs for a smoother, more uniform batter.
- Mini muffin liners make cleanup faster and prevent any sticking issues.
- Let the batter rest for 10 minutes before baking — it improves the texture noticeably.
- Melt butter slowly over low heat or in short microwave bursts; avoid scorching it.
- Taste your frosting before dividing — add a pinch of salt if it tastes too sweet.
Fun Variations to Try
Brownie Bites are endlessly customizable. Here are a few directions worth exploring:
- Nutty version: Fold in 1/2 cup of chopped walnuts or pecans before filling the cups.
- Mint chocolate: Add 1/2 teaspoon of peppermint extract to the batter for a refreshing twist.
- Gluten-free: Swap all-purpose flour with a 1:1 gluten-free baking blend.
- Dark chocolate: Use dark cocoa powder instead of regular for a richer, more intense flavor.
- Vegan option: Replace eggs with flax eggs (1 tbsp ground flax + 3 tbsp water per egg) and use dairy-free butter.
How to Store Brownie Bites
Store unfrosted brownie bites in an airtight container at room temperature for up to four days. Frosted bites keep well for up to three days at room temp or up to a week in the fridge. Freeze unfrosted bites for up to one month — just thaw at room temperature and frost fresh before serving.
FYI, they actually taste even better on day two once the flavors have settled. If you can resist eating them all immediately, you’re a stronger person than I am.
Frequently Asked Questions
Q1: Can I make Brownie Bites ahead of time? Absolutely. Bake and cool them fully, then store unfrosted in an airtight container for up to two days before your event. Frost them the morning of serving for the freshest look and taste.
Q2: Why did my Brownie Bites turn out cakey instead of fudgy? Two likely reasons: overbaking or overmixing the batter. Pull them from the oven when the center still looks slightly underdone, and stir the batter only until the dry streaks disappear.
Q3: Can I use a regular muffin pan instead of a mini muffin pan? Yes, but the bake time increases to around 18–20 minutes. Check them with a toothpick — it should come out with a few moist crumbs, not wet batter, for the right texture.
Q4: What frosting works best on Brownie Bites? Cream cheese frosting and vanilla buttercream both work wonderfully. Cream cheese adds a slight tang that balances the sweetness. Chocolate ganache drizzled on top is another fantastic option if you want to go full chocolate.
Q5: Can I double this recipe? Easily. Double every ingredient and bake in two mini muffin pans simultaneously. Rotate the pans halfway through baking to ensure even heat distribution across both trays.
Final Thoughts
Brownie Bites are one of those recipes that look impressive but require almost zero effort. You get rich, fudgy chocolate, perfectly portioned servings, and a dessert that genuinely makes people happy every single time. What’s not to love?
Make a batch this weekend. Share them, gift them, or keep them all to yourself — no judgment here. Either way, once you try homemade brownie bites, the boxed version stops feeling adequate.