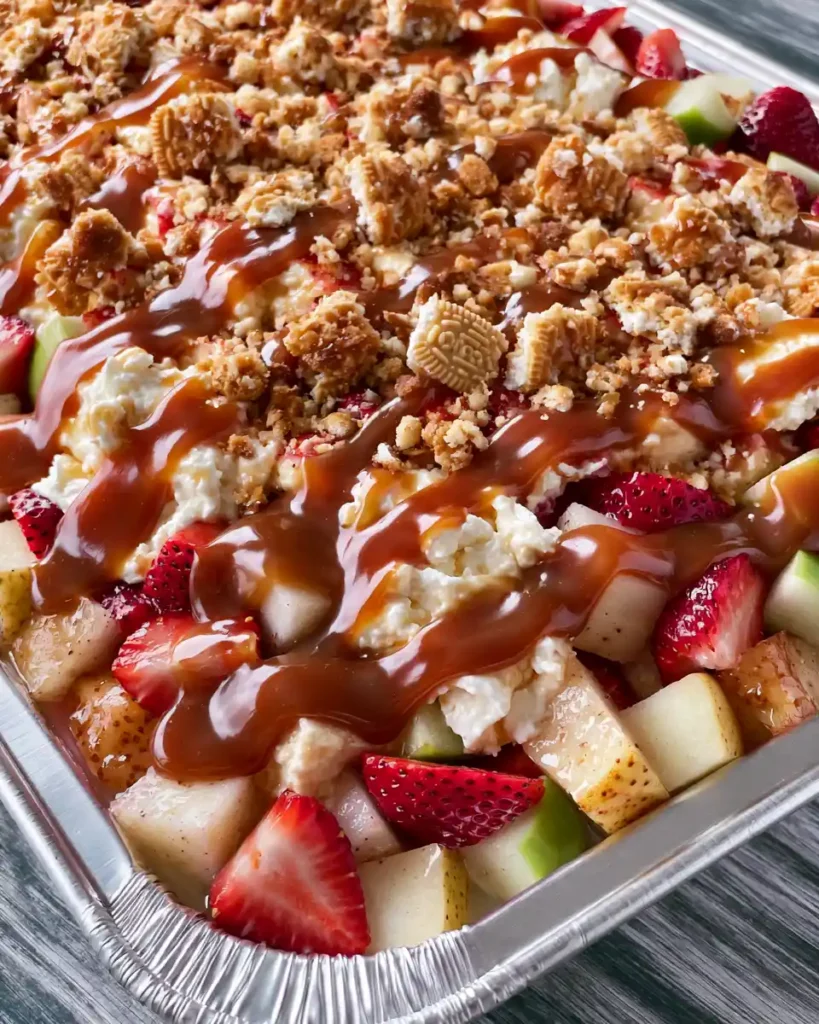
Prep Time: 15 minutes | Chill Time: 1 hour | Total Time: About 1 hour 15 minutes | Servings: 8-10
The Fruit Salad That Stopped Being Boring
Fruit salad has a reputation problem. It’s the dish everyone brings to a potluck out of obligation, not excitement. Cheesecake Fruit Salad fixes that completely, and I say this as someone who used to skip the fruit bowl entirely.
Have you ever tasted something and immediately wondered why nobody told you about it sooner? That’s exactly how I felt the first time I made this. Creamy, tangy, sweet, and loaded with fresh fruit, it somehow feels indulgent and refreshing at the same time.
This recipe skips the oven completely, which already puts it ahead of most desserts. It takes about fifteen minutes of actual work, and the rest is just letting the fridge do its thing.
Why This Cheesecake Fruit Salad Actually Works
The whole idea is simple: take everything people love about cheesecake and turn it into something lighter and faster. No crust, no baking, no water bath drama. You get that same tangy-sweet cheesecake flavor in a fraction of the time.
It also solves a real problem, since fruit alone can feel a little plain at gatherings. Wrapping it in a creamy, pudding-based mixture gives it body and makes it feel like an actual dessert. IMO, that’s what separates a forgettable fruit bowl from something people fight over at the dessert table.
Kids gravitate toward it because it’s sweet and colorful. Adults appreciate it because it feels a little less heavy than traditional cheesecake. That combination makes it one of the easiest desserts to bring anywhere without overthinking it.
What You’ll Need: Ingredients
Here’s exactly what goes into this recipe, with amounts included so nothing gets left to guesswork:
- Cream cheese, 8 ounces, softened
- Instant cheesecake pudding mix, 1 box (3.4 ounces)
- Vanilla yogurt, 1 cup
- Whipped topping, 2 cups, thawed
- Sliced strawberries, 2 cups
- Blueberries, 1 cup
- Pineapple chunks, 1 cup, well drained
- Sliced bananas, 1 cup
- Seedless grapes, 1 cup (optional)
- Honey or maple syrup, 2 tablespoons, or to taste (optional)
Nothing here requires a special trip to a specialty store. That’s part of why this recipe works so well for last-minute gatherings.
How to Make Cheesecake Fruit Salad
This recipe breaks down into three simple stages: build the creamy base, fold in the fruit, then let everything chill together. None of it is complicated, but a little care at each stage makes a real difference in texture.
Step 1: Beat the Cream Cheese Until Smooth
Place the softened cream cheese in a large mixing bowl. Using an electric mixer on medium speed, beat it for about two minutes until it turns light and fluffy. Softened cream cheese matters here, since cold cream cheese clumps and refuses to blend smoothly.
If you forgot to soften it ahead of time, cut it into cubes first. Smaller pieces warm up faster and blend more evenly with less mixing time. This base sets the tone for the entire dish, so don’t rush past it.
Step 2: Mix In the Pudding and Yogurt
Sprinkle the instant cheesecake pudding mix directly over the beaten cream cheese. Add the vanilla yogurt next, then mix on low speed until everything combines into one thick, creamy mixture. This step is where the actual cheesecake flavor comes alive without any baking involved.
Keep the mixer on low here, since higher speeds can splash pudding mix out of the bowl before it incorporates. The final texture should feel thick enough to hold its shape but still smooth and spreadable. Scrape the bowl once to catch any unmixed pudding hiding at the bottom.
Step 3: Fold In the Whipped Topping
Add the whipped topping to the bowl. Using a rubber spatula, fold it in gently with a scooping motion rather than stirring hard. Overmixing here deflates the topping and flattens the airy texture you’re going for.
Work slowly and stop as soon as no white streaks remain. This lighter, folded-in texture is what gives the finished salad its cloud-like consistency instead of feeling like a dense dip. Patience during this step pays off in every future bite.
Step 4: Fold In the Fresh Fruit
Add the strawberries and pineapple first, since firmer fruits hold their shape better during mixing. Fold gently, turning the bowl as you go rather than stirring in one direction repeatedly. This keeps fruit pieces intact instead of mashing them into mush.
Add the blueberries and grapes next, folding just until distributed. Save the bananas for last, since they’re the most delicate and prone to breaking down if handled too much. A few gentle folds are all they need to blend in evenly.
Step 5: Adjust the Sweetness
Taste the mixture once everything is combined. If you want extra sweetness, drizzle in a small amount of honey or maple syrup and fold it through. Add gradually rather than all at once, since it’s easy to oversweeten a dish that already has plenty of natural sugar from the fruit.
This step is entirely optional, and many people skip it since the pudding mix and fruit already bring plenty of sweetness. Trust your own taste buds here rather than following a rigid amount.
Step 6: Chill Before Serving
Cover the bowl tightly with plastic wrap or a lid. Refrigerate for at least one hour, though longer chilling only improves the flavor and texture. This resting period lets everything firm up slightly and allows the flavors to meld into one cohesive dessert.
Give it a light stir before serving if any liquid has pooled at the bottom from the fruit. Serve chilled, straight from the fridge, for the best texture and flavor.
Tips for the Best Cheesecake Fruit Salad
- Always soften cream cheese fully before mixing to avoid lumps
- Fold gently rather than stirring to keep the texture light and fluffy
- Add bananas last and right before serving to prevent browning
- Drain pineapple thoroughly, since extra liquid thins out the mixture
- Store leftovers in a sealed container and eat within two days
Equipment Needed
- A large mixing bowl for combining everything
- An electric mixer for beating the cream cheese smooth
- A rubber spatula for gently folding in the whipped topping
- Measuring cups and spoons for accurate ingredient amounts
Fun Variations to Try
- Swap strawberries and blueberries for raspberries or blackberries for a tangier version
- Replace pineapple with mango and add shredded coconut for a tropical twist
- Fold in chopped pecans or walnuts for extra crunch
- Use low-fat cream cheese and sugar-free pudding mix for a lighter option
- Substitute cashew cream and coconut yogurt for a fully dairy-free version
Serving Suggestions
Serve the salad in individual cups for a clean, party-friendly presentation. Add a scoop of vanilla ice cream on top for extra indulgence, or pair it with iced tea on a warm afternoon. A light sprinkle of crushed graham crackers on top adds a satisfying crunch.
FAQs About Cheesecake Fruit Salad
Can I make this ahead of time? Yes, and it actually benefits from a little rest. Making it a few hours or even a day ahead lets the flavors blend together more fully.
What fruits work best in this recipe? Strawberries, blueberries, pineapple, and bananas form the classic combination. Feel free to swap in kiwi, peaches, or raspberries depending on what’s in season.
Can I make a healthier version? Yes, swap the cream cheese for Greek yogurt to add protein and cut richness. Low-fat whipped topping and sugar-free pudding mix also work well as substitutes.
Is this recipe gluten-free? Yes, every ingredient listed here is naturally gluten-free. Just double check any optional toppings, like graham crackers, if that matters for your gathering.
How long do leftovers last? Store leftovers in an airtight container in the fridge for up to two days. The texture holds up well, though bananas may soften slightly over time.
Final Thoughts
Cheesecake Fruit Salad takes everything satisfying about cheesecake and turns it into something quicker, lighter, and easier to share. Between the creamy base and the fresh fruit, every spoonful delivers that perfect balance of tangy and sweet. It’s the kind of dish that gets requested by name at every gathering.
FYI, it disappears fast once it hits the table, so don’t be surprised if seconds vanish before you even sit down. Make a batch, chill it well, and watch it become a permanent fixture on your dessert rotation.
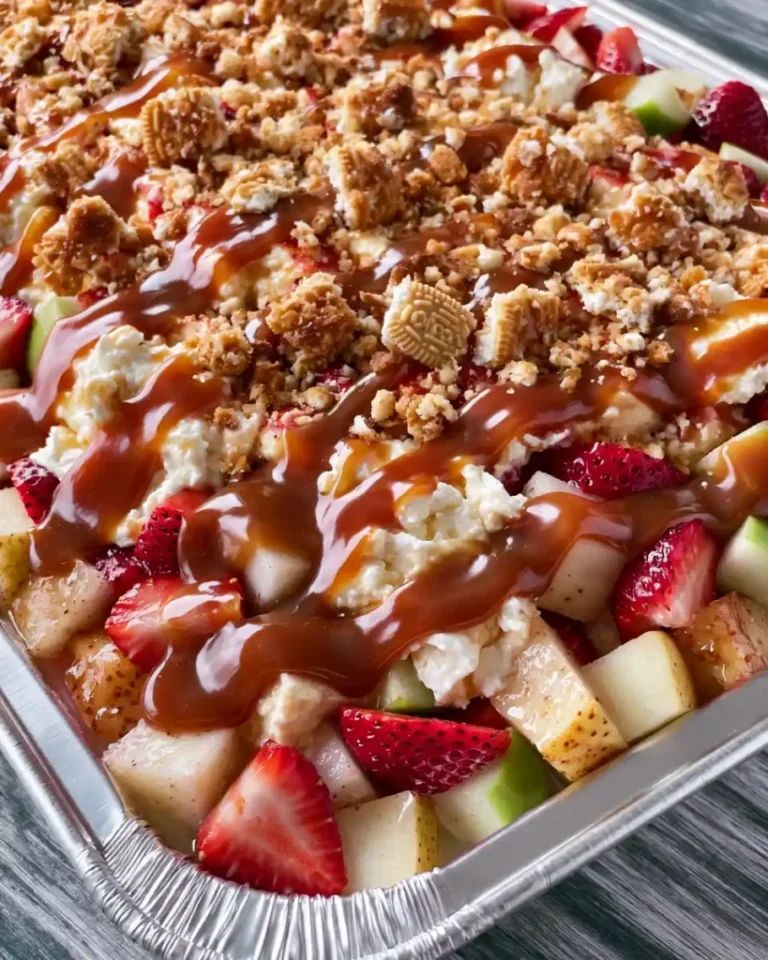
Cheesecake Fruit Salad
Ingredients
Method
- Beat the softened cream cheese in a large mixing bowl using an electric mixer on medium speed for about two minutes until smooth and fluffy.
- Sprinkle the instant cheesecake pudding mix over the cream cheese, then add the vanilla yogurt. Mix on low speed until well combined.
- Gently fold in the whipped topping using a rubber spatula until no white streaks remain.
- Fold in the sliced strawberries and pineapple first, followed by the blueberries and grapes. Add the sliced bananas last to avoid breaking down.
- Taste the mixture and adjust sweetness by adding honey or maple syrup as needed, folding it through gently.
- Cover the bowl with plastic wrap and refrigerate for at least one hour before serving.



